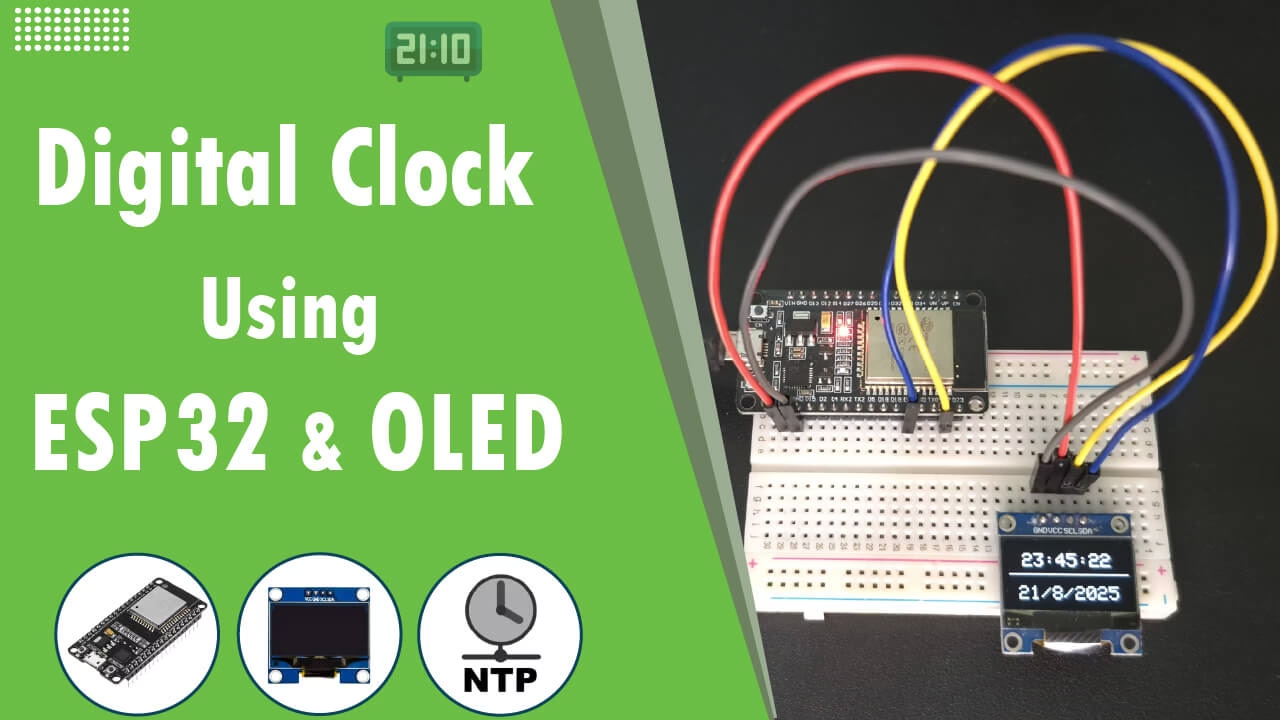
Introduction
ESP32 Digital Clock projects are a great way to explore both the Wi-Fi capabilities of ESP32 and the usefulness of NTP (Network Time Protocol). Accurate timekeeping is essential for many electronic projects. From simple digital clocks to advanced IoT systems, having the correct time allows devices to log data properly, schedule events, or simply display the current hour on a screen.
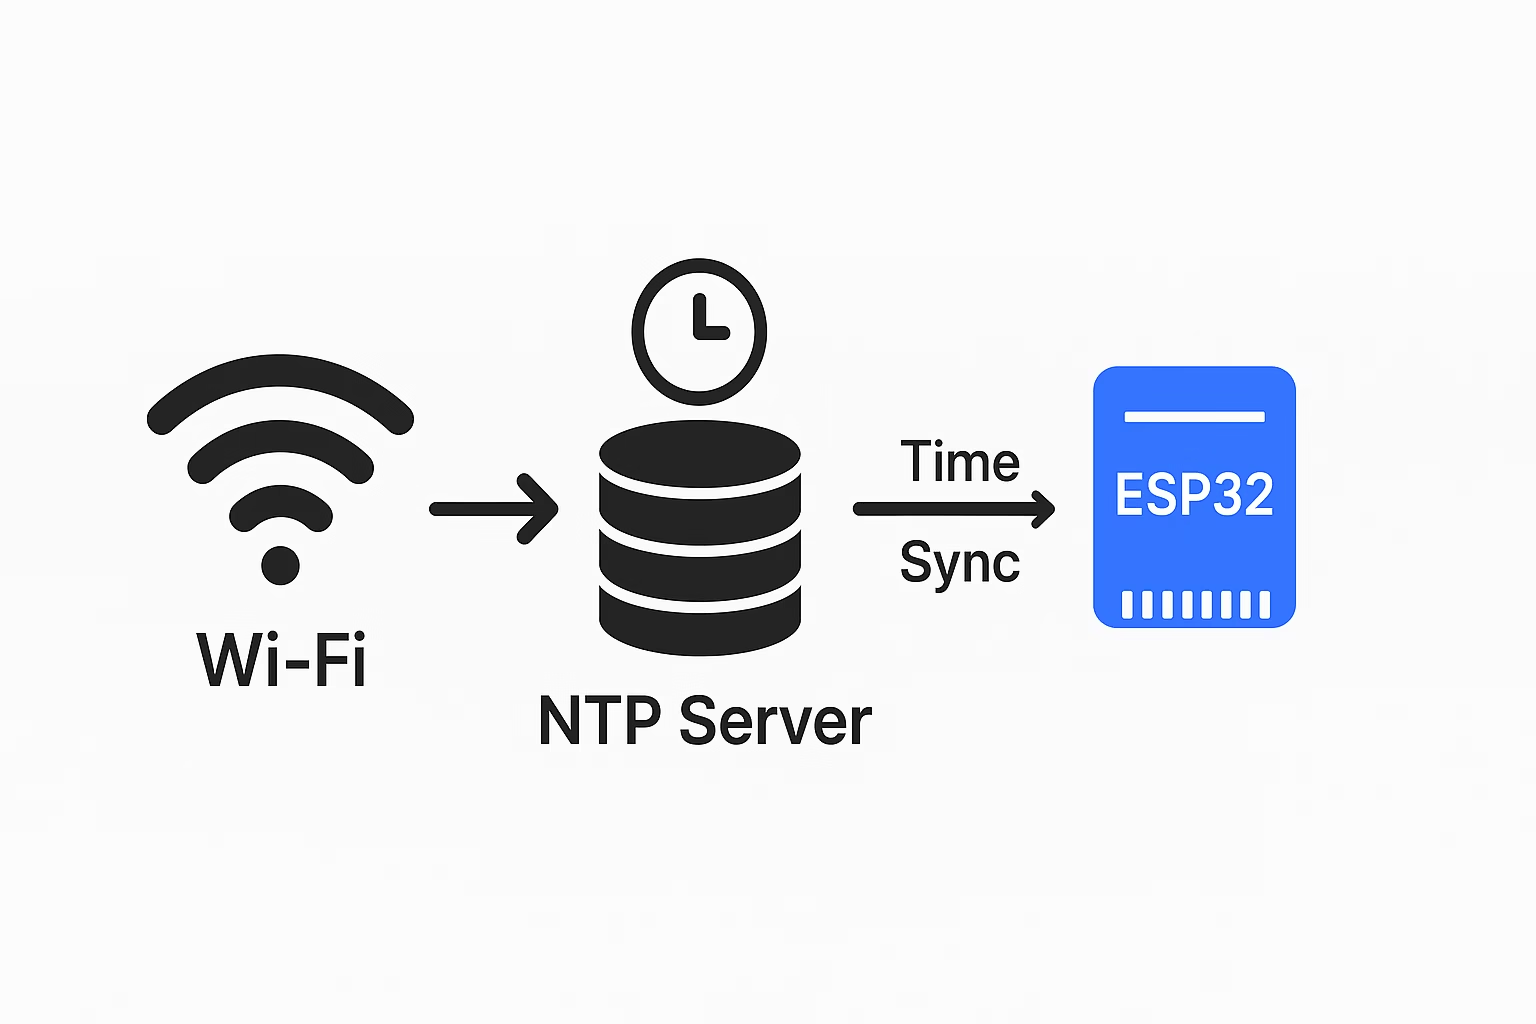
Traditionally, hobbyists use a Real-Time Clock (RTC) module such as DS1307 or DS3231 to keep track of time. However, when you’re working with an ESP32, you don’t need an extra chip. Thanks to its built-in Wi-Fi, the ESP32 can connect to the internet and fetch the current time from NTP (Network Time Protocol) servers. This makes your clock always accurate, without worrying about drifting seconds or battery backups.
In this project, we’ll build a Digital Clock using ESP32 and a 0.96-inch OLED display. The ESP32 will connect to Wi-Fi, fetch the current time and date using NTP, and display it on the OLED screen in real time.
👉 At the end of the article, you’ll also find a demo video showing the clock in action.
How NTP Works (A Quick Overview)
NTP stands for Network Time Protocol. It’s a standard way for devices to synchronize their internal clocks with highly accurate internet time servers.
- Your ESP32 connects to Wi-Fi.
- It sends a request to an NTP server (for example,
pool.ntp.org). - The server replies with the current date and time.
- ESP32 adjusts its internal clock and continues updating the time.
This is why we don’t need an RTC module. As long as ESP32 is connected to Wi-Fi, it can fetch and maintain the correct time automatically.
For more about how NTP works, check out: Network Time Protocol (NTP) – Wikipedia
Components Required
To build this project, you only need a few parts:
- ESP32 development board
- 0.96-inch OLED display (128×64, I2C type)
- Breadboard
- Jumper wires
- USB cable for programming
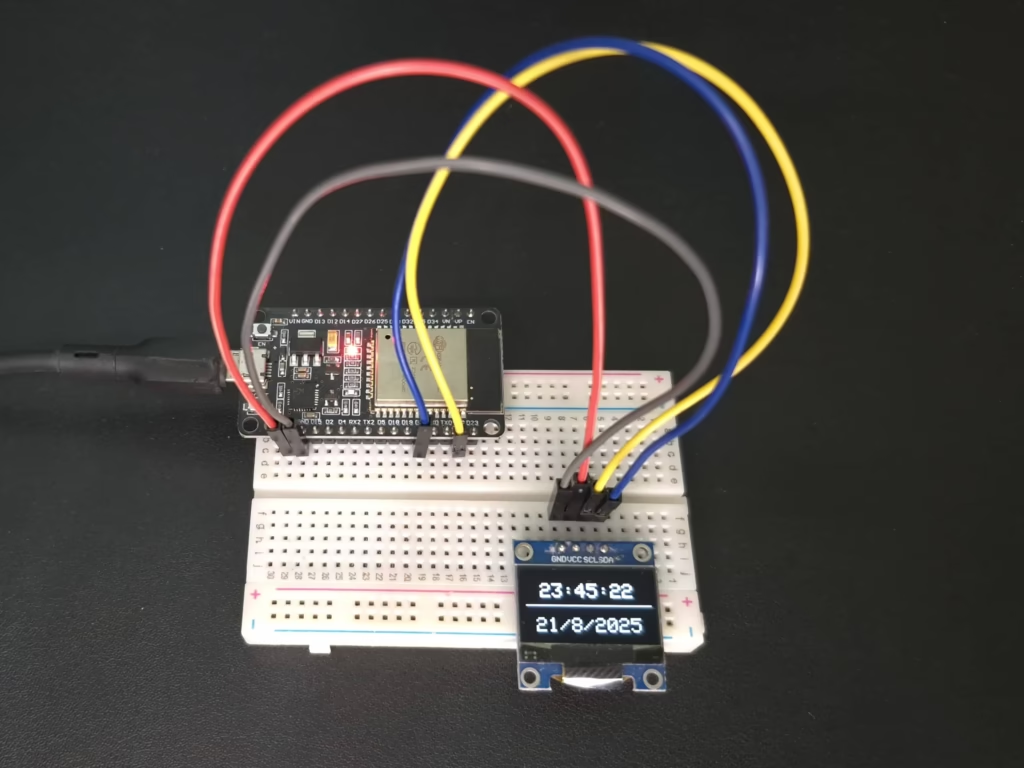
Circuit Diagram & Connections
The OLED display uses the I2C communication protocol, which requires only two data pins along with power.
| OLED Pin | ESP32 Pin |
|---|---|
| VCC | 3.3V |
| GND | GND |
| SCL | GPIO 22 |
| SDA | GPIO 21 |

💡 If your OLED doesn’t light up, check the I2C address. Most modules use 0x3C, but some use 0x3D.
Preparing the Arduino IDE
Before uploading the code, install the required libraries in Arduino IDE:
- Adafruit SSD1306 – for controlling the OLED.
- Adafruit GFX – provides fonts and graphics support.
- NTPClient – for fetching time from NTP servers.
Go to Sketch → Include Library → Manage Libraries and install them.
ESP32 Digital Clock Code
// ESP32 Digital Clock by ArduinoYard
#include <WiFi.h>
#include <NTPClient.h>
#include <WiFiUdp.h>
#include <Adafruit_GFX.h>
#include <Adafruit_SSD1306.h>

// OLED settings
#define SCREEN_WIDTH 128
#define SCREEN_HEIGHT 64
Adafruit_SSD1306 display(SCREEN_WIDTH, SCREEN_HEIGHT, &Wire, -1);

// Wi-Fi credentials: Enter your own Wi-Fi network name (SSID) and password here
const char* ssid = "YOUR_WIFI_SSID";
const char* password = "YOUR_WIFI_PASSWORD";

// NTP client setup
WiFiUDP ntpUDP;
NTPClient timeClient(ntpUDP, "pool.ntp.org", 0, 60000);
// Offset in seconds: adjust for your timezone (e.g., +5 hours = 5*3600 = 18000)

void setup() {
  Serial.begin(115200);

  // Connect to Wi-Fi
  WiFi.begin(ssid, password);
  while (WiFi.status() != WL_CONNECTED) {
    delay(500);
    Serial.print(".");
  }
  Serial.println("\nConnected to Wi-Fi");

  // Initialize OLED
  if (!display.begin(SSD1306_SWITCHCAPVCC, 0x3C)) {
    Serial.println("SSD1306 allocation failed");
    for (;;);
  }
  display.clearDisplay();

  // Initialize NTP client
  timeClient.begin();
}

void loop() {
  timeClient.update();

  display.clearDisplay();

  // ----- TIME at the top -----
  display.setTextSize(2);
  display.setTextColor(WHITE);
  display.setCursor(15, 10);  // Top area
  String formattedTime = timeClient.getFormattedTime();
  display.println(formattedTime);

  // ----- SEPARATION LINE -----
  display.drawLine(0, 32, SCREEN_WIDTH, 32, WHITE);

  // ----- DATE at the bottom -----
  unsigned long epochTime = timeClient.getEpochTime();
  int currentDay   = day(epochTime);
  int currentMonth = month(epochTime);
  int currentYear  = year(epochTime);

  display.setTextSize(2);
  display.setCursor(10, 45);  // Bottom area
  display.print(currentDay);
  display.print("/");
  display.print(currentMonth);
  display.print("/");
  display.print(currentYear);

  display.display();

  delay(1000);
}
How Timezone Offset Works
The third parameter in the NTPClient constructor sets the time offset in seconds relative to UTC. This allows you to adjust the clock for your local timezone.
- Format:
NTPClient(ntpUDP, "pool.ntp.org", timeOffset, updateInterval); timeOffsetis the difference between your local time and UTC, in seconds.
For example:- UTC+0 →
0 - UTC+5 →
5 * 3600 = 18000 - UTC-4 →
-4 * 3600 = -14400
- UTC+0 →
So, if you live in a timezone that is UTC+5, use:
NTPClient timeClient(ntpUDP, "pool.ntp.org", 18000, 60000);
This ensures the displayed time matches your local time instead of UTC.
Output and Demo
Once the code is uploaded, the ESP32 will:
- Connect to your Wi-Fi network.
- Fetch the correct time from the NTP server.
- Display the hours, minutes, and seconds on top half of the OLED screen.
- Display the date, month, and year on bottom half of the OLED screen.
The time updates every second, just like a regular digital clock, but with internet-level accuracy.
👉 Watch the demo video below to see it running:
Applications of ESP32 Digital Clock
This simple project can be extended in many ways:
- A desk clock powered via USB or battery.
- Adding alarms or reminders with a buzzer.
- Integrating with sensors (log temperature/humidity with timestamps).
- A world clock that switches between multiple time zones.
Related Guides
If you want to explore more about ESP32 and OLED, check these guides on ArduinoYard:
Conclusion
We’ve successfully built a digital clock with ESP32 and OLED display that uses NTP for accurate timekeeping. Unlike clocks based on RTC modules, this design never drifts, because it fetches the exact time from the internet.
This project is a great starting point for beginners exploring IoT and ESP32 projects. With just a few extra lines of code, you can expand it into a world clock, a data logger with timestamps, or even a smart alarm system.
So, grab an ESP32, connect your OLED, and start experimenting. Accurate time is just one Wi-Fi connection away.
Nice page, thorough explanation. Very Helpful!
Thank you, glad you found it helpful!