This article serves as a complete ESP-IDF introduction, explaining what it is, how it differs from Arduino IDE, and how to get started.
The ESP32 microcontroller has gained worldwide popularity in embedded systems and IoT development. With built-in Wi-Fi, Bluetooth, and extensive hardware support, it offers a cost-effective platform for hobbyists and professionals alike. Many newcomers begin programming ESP32 with the Arduino IDE due to its simplicity. However, to fully utilize the capabilities of the ESP32, developers should explore the official framework provided by Espressif Systems.
What is ESP-IDF?

ESP-IDF stands for Espressif IoT Development Framework. It is the official open-source environment for programming ESP32 and related chips. Unlike Arduino IDE, which simplifies the process by hiding low-level hardware details, ESP-IDF gives developers professional-grade tools and complete control over the microcontroller.
At its core, ESP-IDF is built on FreeRTOS, a real-time operating system that manages tasks, scheduling, and system resources. This enables multitasking, allowing developers to run multiple processes simultaneously, such as sensor monitoring, networking, and data logging. Written in C and C++, the framework is efficient, powerful, and suitable for both small-scale projects and large industrial IoT applications.
Why Learn ESP-IDF?
The main reason to learn ESP-IDF is to move beyond basic prototypes and into production-grade solutions. Arduino IDE is beginner-friendly but limited when it comes to advanced functionality. ESP-IDF provides:
- Direct access to all ESP32 hardware features
- Optimized Wi-Fi and Bluetooth libraries
- Built-in support for OTA (Over-the-Air) firmware updates
- Secure communication with TLS/SSL
- Ability to write multitasking applications using FreeRTOS
- Professional debugging and performance optimization tools
This ESP-IDF introduction highlights that while the learning curve is steeper, the benefits are significant for developers aiming to build scalable and reliable IoT systems.
Arduino IDE vs ESP-IDF
When starting with ESP32 development, the most common question is whether to use Arduino IDE or ESP-IDF. Both have their place, but their target users and use cases differ.
Comparison Table
| Feature | Arduino IDE | ESP-IDF |
|---|---|---|
| Target Audience | Beginners, hobbyists, students | Intermediate to professional developers |
| Programming Language | Simplified C++ (Arduino-style functions) | C and C++ with FreeRTOS support |
| Learning Curve | Easy, beginner-friendly | Steeper, requires deeper knowledge |
| Development Tools | Lightweight IDE, simple editor | VS Code extension, idf.py, advanced debugging |
| Hardware Access | Limited, abstracts low-level details | Full control over ESP32 hardware and registers |
| Multitasking | Not native (workarounds with timers) | Built-in FreeRTOS for true multitasking |
| Networking | Basic Wi-Fi and Bluetooth support | Optimized Wi-Fi, BLE, and advanced networking |
| OTA Updates | Limited community libraries | Official OTA support with robust features |
| Use Cases | Quick prototypes, small IoT projects | Production-grade IoT systems, advanced apps |
In simple terms, Arduino IDE is excellent for quick learning and experimentation, while ESP-IDF is the tool of choice for advanced applications. This ESP-IDF introduction makes it clear that developers should consider switching as their projects grow in complexity.
Setting Up ESP-IDF
Getting started with ESP-IDF takes a little more effort than Arduino IDE, but once configured, it gives you full control over the ESP32. Espressif provides detailed documentation for Windows, Linux, and macOS. Below is a simplified guide that outlines the main steps:
1. Install Prerequisites
Before installing ESP-IDF, you need a few tools:
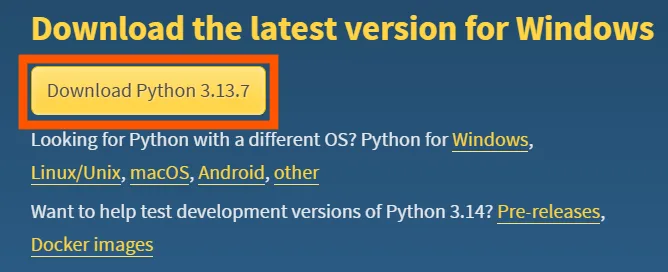
- Python (3.8 or later) – required because ESP-IDF uses Python scripts for build and project management.
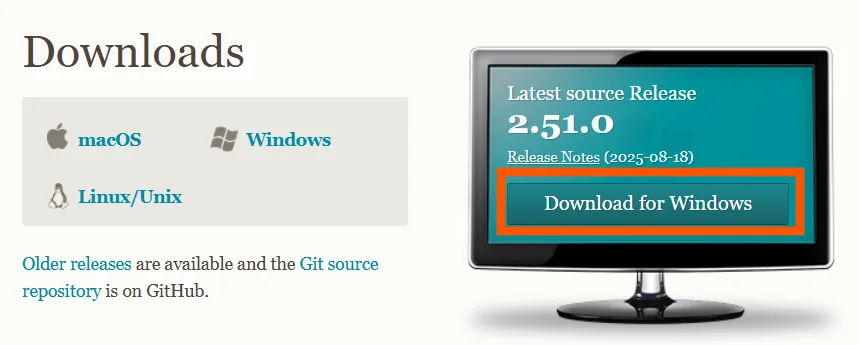
- Git – needed to clone the ESP-IDF framework and keep it updated.
You can download them from Python.org and Git SCM.
Python Download:
Git scm download:
2. Get ESP-IDF Framework
There are two main ways to install ESP-IDF:
- Using the official installer (Windows) – Espressif provides an easy-to-use offline installer that sets up everything automatically. Visit dl.espressif.com/dl/esp-idf/?idf=4.4 to install the ESP-IDF offline Installer. After the installation, go direct to the verification step.
- Cloning from GitHub (Linux/macOS) – Developers often use Git to download the latest version directly:
git clone --recursive https://github.com/espressif/esp-idf.git
This gives you the complete SDK with examples and build tools.
3. Configure Environment Variables
For ESP-IDF commands to work anywhere in your system, environment variables must be set correctly. This usually means adding the ESP-IDF path to your system’s PATH.
On Linux/macOS, you’ll typically run:
. $HOME/esp/esp-idf/export.sh
On Windows, the ESP-IDF installer does this automatically.
4. Install the Toolchain
The toolchain includes:
- Compiler (xtensa-esp32-elf-gcc) – to compile code for ESP32.
- Build system (CMake + Ninja) – manages project building.
If you’re using the installer, this is already handled. Otherwise, you’ll follow platform-specific instructions from Espressif’s docs.
5. Verify Installation
Once everything is installed, check if ESP-IDF is working:
idf.py --version
If it prints the version number, your setup is complete.

6. Choose Your Workflow
You now have two main options to start development:
- Command-Line (idf.py) – works on all platforms. You can build, flash, and monitor your ESP32 entirely from the terminal. Example:
idf.py build idf.py -p COM3 flash monitor - Visual Studio Code Extension – many developers prefer using ESP-IDF VS Code Extension. It provides:
- One-click build & flash
- Integrated serial monitor
- Debugging support
- Project templates
This makes ESP-IDF much easier for beginners and feels closer to Arduino IDE but with more power.
Conclusion
This ESP-IDF introduction shows why the framework is more powerful than Arduino IDE for ESP32 development. While Arduino is ideal for beginners and small projects, ESP-IDF offers complete hardware access, FreeRTOS multitasking, and advanced networking features required for professional IoT solutions.
By following this tutorial series, you will gradually learn how to handle GPIOs, manage tasks, establish Wi-Fi connectivity, and build production-ready applications. With time and practice, ESP-IDF will become your primary tool for unlocking the full capabilities of ESP32.
learn how to run first program on esp32 in esp-idf(toggle led):
Programming ESP32 With ESP-IDF — An Easy Guide For Beginners – ArduinoYard
HOW TO USE ESP32 FREERTOS IN ARDUINO iDE:
Introduction To FreeRTOS On ESP32 – ArduinoYard
ESP32 FreeRTOS Task Priorities And Scheduling Explained: A Basic Guide – ArduinoYard
FreeRTOS Queues On ESP32: Inter-Task Communication – ArduinoYard
ESP-IDF introduction ESP-IDF introduction ESP-IDF introduction ESP-IDF introduction ESP-IDF introduction ESP-IDF introduction
ESP-IDF sounds like the serious, slightly intimidating older brother of Arduino IDE, ready to build real production systems, while Arduino is just the fun-loving kid with limited plans. The article makes it clear: choose ESP-IDF when your project stops being a quick sketch and starts needing actual backbone, even if it means climbing a slightly steeper learning ladder. It’s like upgrading from a bicycle to a car – more complex setup, but way more capable once you’re driving!
Exactly! Arduino IDE is better choice for newcomers and ESP-IDF provides us with deeper control of ESP32.