Introduction
How to control RGB LED using ESP32 is a common requirement in many beginner and intermediate projects, especially when working with PWM and visual indicators. By controlling the brightness of the red, green, and blue channels, the ESP32 can generate a wide range of colors using a single RGB LED.
In this guide, you’ll learn how to control an RGB LED using an ESP32 step by step, starting with a simple approach and moving toward more efficient and flexible methods using PWM. Each example builds on the previous one, making it easy to follow and understand.
We’ll use Wokwi for simulation so you can test everything instantly without physical hardware. If you’re new to Wokwi, this Wokwi Arduino simulation guide will help you get started quickly.
Components Required
- ESP32 Dev Module
- RGB LED (common cathode)
- 3 × 220Ω resistors
- Wokwi simulator (if you don’t want to use hardware)
💡 Tip: This guide assumes a common cathode RGB LED. If you’re using a common anode LED, logic will be inverted.
Understanding RGB LED Basics
An RGB LED has three LEDs inside one package:
- Red
- Green
- Blue
By adjusting the brightness of each color using PWM, you can mix colors:
- Red + Green → Yellow
- Red + Blue → Magenta
- Green + Blue → Cyan
- Red + Green + Blue → White
This makes PWM essential, and the ESP32 is excellent at PWM.
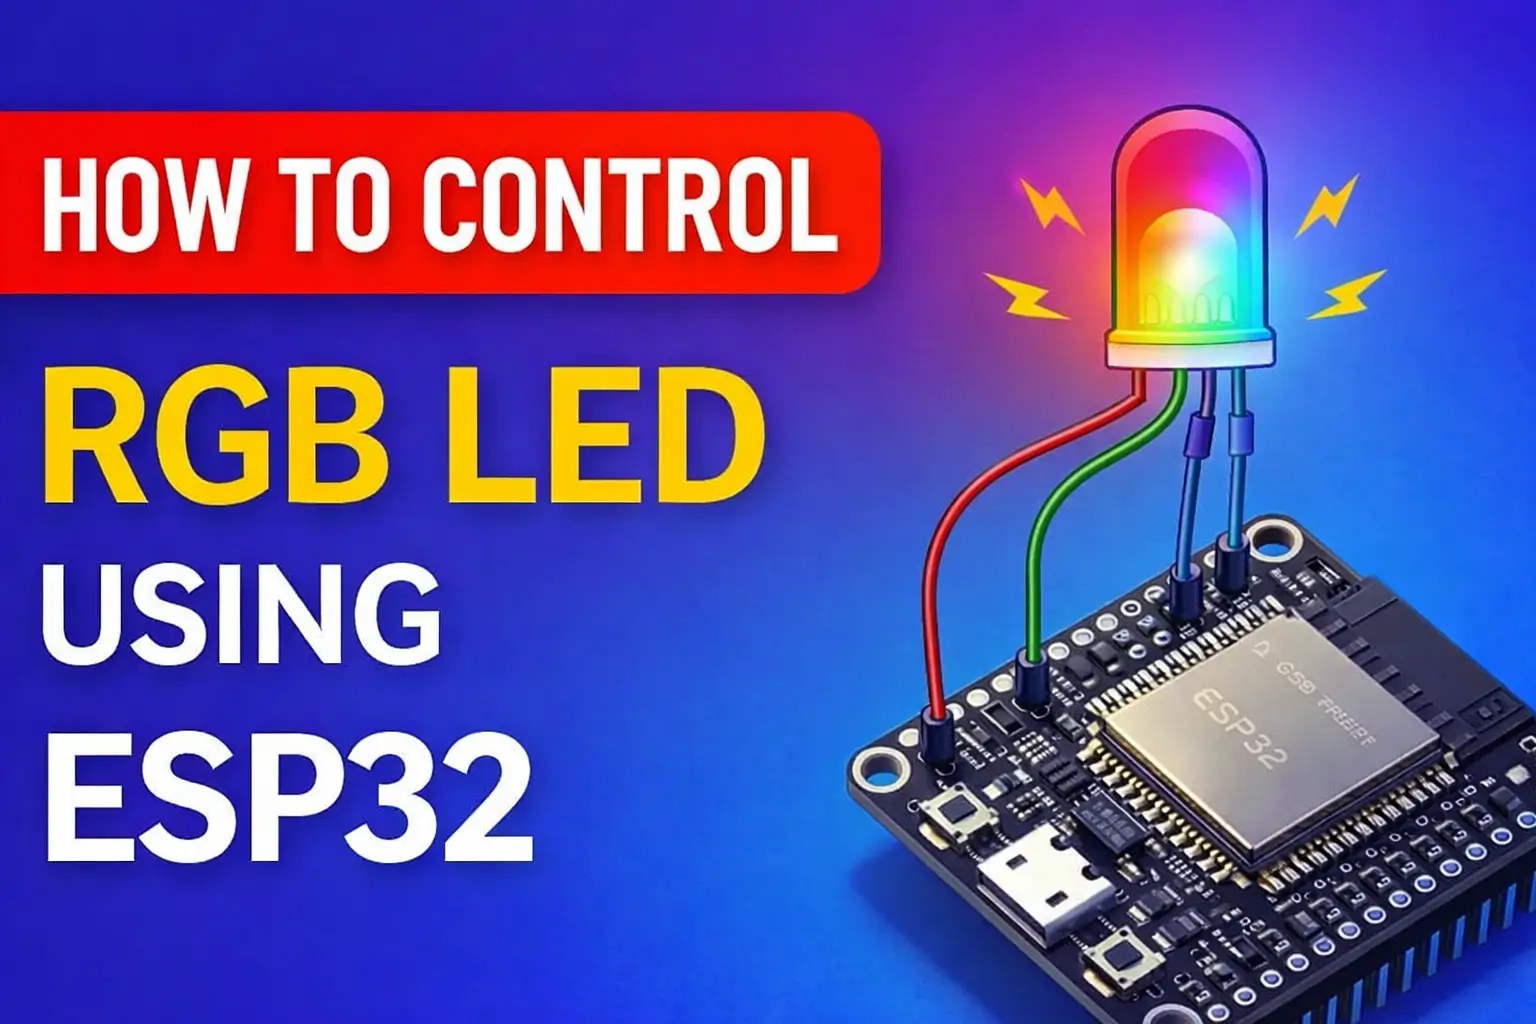
Pin Connections
| RGB Pin | ESP32 GPIO |
|---|---|
| Red | GPIO 25 |
| Green | GPIO 26 |
| Blue | GPIO 27 |
| Common Cathode | GND |

If you’re unsure which GPIO pins are safe to use for PWM or output, refer to this ESP32 pinout and GPIO guide before wiring your RGB LED.
Method 1: Simple RGB Control (Digital ON/OFF)
This is the most basic way to control an RGB LED.
No PWM, just turning colors ON or OFF.
When to use this?
- Learning basics
- Status indicators (error, success, warning)
Code
Before uploading the code, make sure the ESP32 board is properly installed in the Arduino IDE. If not, follow this step-by-step ESP32 board installation guide.
// How to Control RGB LED Using ESP32 - Basic Example
#define RED_PIN   25
#define GREEN_PIN 26
#define BLUE_PIN  27

void setup() {
  pinMode(RED_PIN, OUTPUT);
  pinMode(GREEN_PIN, OUTPUT);
  pinMode(BLUE_PIN, OUTPUT);
}

void loop() {
  // Red
  digitalWrite(RED_PIN, HIGH);
  digitalWrite(GREEN_PIN, LOW);
  digitalWrite(BLUE_PIN, LOW);
  delay(1000);

  // Green
  digitalWrite(RED_PIN, LOW);
  digitalWrite(GREEN_PIN, HIGH);
  digitalWrite(BLUE_PIN, LOW);
  delay(1000);

  // Blue
  digitalWrite(RED_PIN, LOW);
  digitalWrite(GREEN_PIN, LOW);
  digitalWrite(BLUE_PIN, HIGH);
  delay(1000);
}What you learn here
- RGB pins control individual colors
- Simple but very limited
- No brightness control
Try it online (Wokwi Simulation):
You can run and experiment with all the RGB LED examples in this tutorial using Wokwi. Open this ready-made simulation project to follow along without any hardware:
👉 RGB LED with ESP32 – Wokwi Simulation
Method 2: RGB LED Control Using ESP32 PWM (Recommended)
In this method, we use the ESP32’s hardware PWM system (LEDC). If you want a deeper understanding of how ESP32 LEDC works, including timers, channels, and advanced use cases, check out this detailed ESP32 LEDC PWM guide.
This allows:
- Brightness control
- Smooth color mixing
- Better visual output
Why PWM matters
Digital ON/OFF gives only 7 colors.
PWM gives millions of colors.
Code for PWM Setup
// How to Control RGB LED Using ESP32 - PWM Example
#define RED_PIN   25
#define GREEN_PIN 26
#define BLUE_PIN  27

#define PWM_FREQ  5000
#define PWM_RES   8       // (0-255)

void setup() {
  // Attach pin to LEDC with frequency + resolution
  ledcAttach(RED_PIN, PWM_FREQ, PWM_RES);
  ledcAttach(GREEN_PIN, PWM_FREQ, PWM_RES);
  ledcAttach(BLUE_PIN, PWM_FREQ, PWM_RES);
}

void setColor(uint8_t r, uint8_t g, uint8_t b) {
  // Write duty to a pin
  ledcWrite(RED_PIN, r);
  ledcWrite(GREEN_PIN, g);
  ledcWrite(BLUE_PIN, b);
}

void loop() {
  setColor(255, 0, 0);  // Red
  delay(1000);

  setColor(0, 255, 0);  // Green
  delay(1000);

  setColor(0, 0, 255);  // Blue
  delay(1000);

  setColor(255, 255, 0);  // Yellow
  delay(1000);
}What you learn here
- ESP32 hardware PWM (LEDC)
- Independent control of RGB channels
- Much smoother and professional output
This is the most common and useful approach for RGB LEDs.
ESP32 PWM is implemented using a dedicated hardware peripheral called LEDC. For official technical details, you can also refer to the Espressif LEDC documentation.
Method 3: Advanced RGB Control (Smooth Color Fading)
Now let’s make it look really good.
In this version:
- Colors fade smoothly
- No sudden jumps
- Looks like real lighting effects
Perfect for:
- Ambient lights
- Smart home indicators
- Decorative projects
Advanced Code (Smooth Fade Effect)
// How to Control RGB LED Using ESP32 - Advanced PWM Example
#define RED_PIN   25
#define GREEN_PIN 26
#define BLUE_PIN  27

#define PWM_FREQ  5000
#define PWM_RES   8   // 0–255

void setup() {
  // Attach PWM directly to pins
  ledcAttach(RED_PIN, PWM_FREQ, PWM_RES);
  ledcAttach(GREEN_PIN, PWM_FREQ, PWM_RES);
  ledcAttach(BLUE_PIN, PWM_FREQ, PWM_RES);
}

void loop() {
  // Fade Red → Blue
  for (int i = 0; i <= 255; i++) {
    ledcWrite(RED_PIN, 255 - i);
    ledcWrite(BLUE_PIN, i);
    delay(10);
  }

  // Fade Blue → Green
  for (int i = 0; i <= 255; i++) {
    ledcWrite(BLUE_PIN, 255 - i);
    ledcWrite(GREEN_PIN, i);
    delay(10);
  }

  // Fade Green → Red
  for (int i = 0; i <= 255; i++) {
    ledcWrite(GREEN_PIN, 255 - i);
    ledcWrite(RED_PIN, i);
    delay(10);
  }
}What you learn here
- Color transitions
- PWM blending logic
- How animations work under the hood
This is a big step toward professional LED effects.
Testing This in Wokwi
Wokwi supports:
- ESP32 LEDC PWM
- RGB LEDs
- Real-time simulation
You can:
- Change colors live
- Experiment without hardware
- Share links with others
Perfect for learning and tutorials.
Common Mistakes (From Real Experience)
- Forgetting current-limiting resistors
- Using the wrong LED type (common anode vs cathode)
- Using
analogWrite()Instead of LEDC with ESP32 - Expecting smooth fades without PWM
Avoiding these saves a lot of frustration.
FAQs
Q: Can ESP32 control RGB LED without PWM?
Yes, but only basic ON/OFF colors.
Q: How many PWM channels does ESP32 have?
Up to 16 channels, perfect for RGB LEDs.
Q: What PWM frequency is best for RGB LEDs?
Around 1–5 kHz works great.
Conclusion
Learning how to control RGB LED using ESP32 is one of the best ways to understand PWM, color mixing, and real-world output control. Starting from simple digital control and moving toward advanced PWM fading gives you a strong foundation for larger projects.
Once you’re comfortable with this, you can easily:
- Control RGB LEDs from a web page
- Add sensors to change colors
- Build smart lighting systems