Table of Contents
Overview
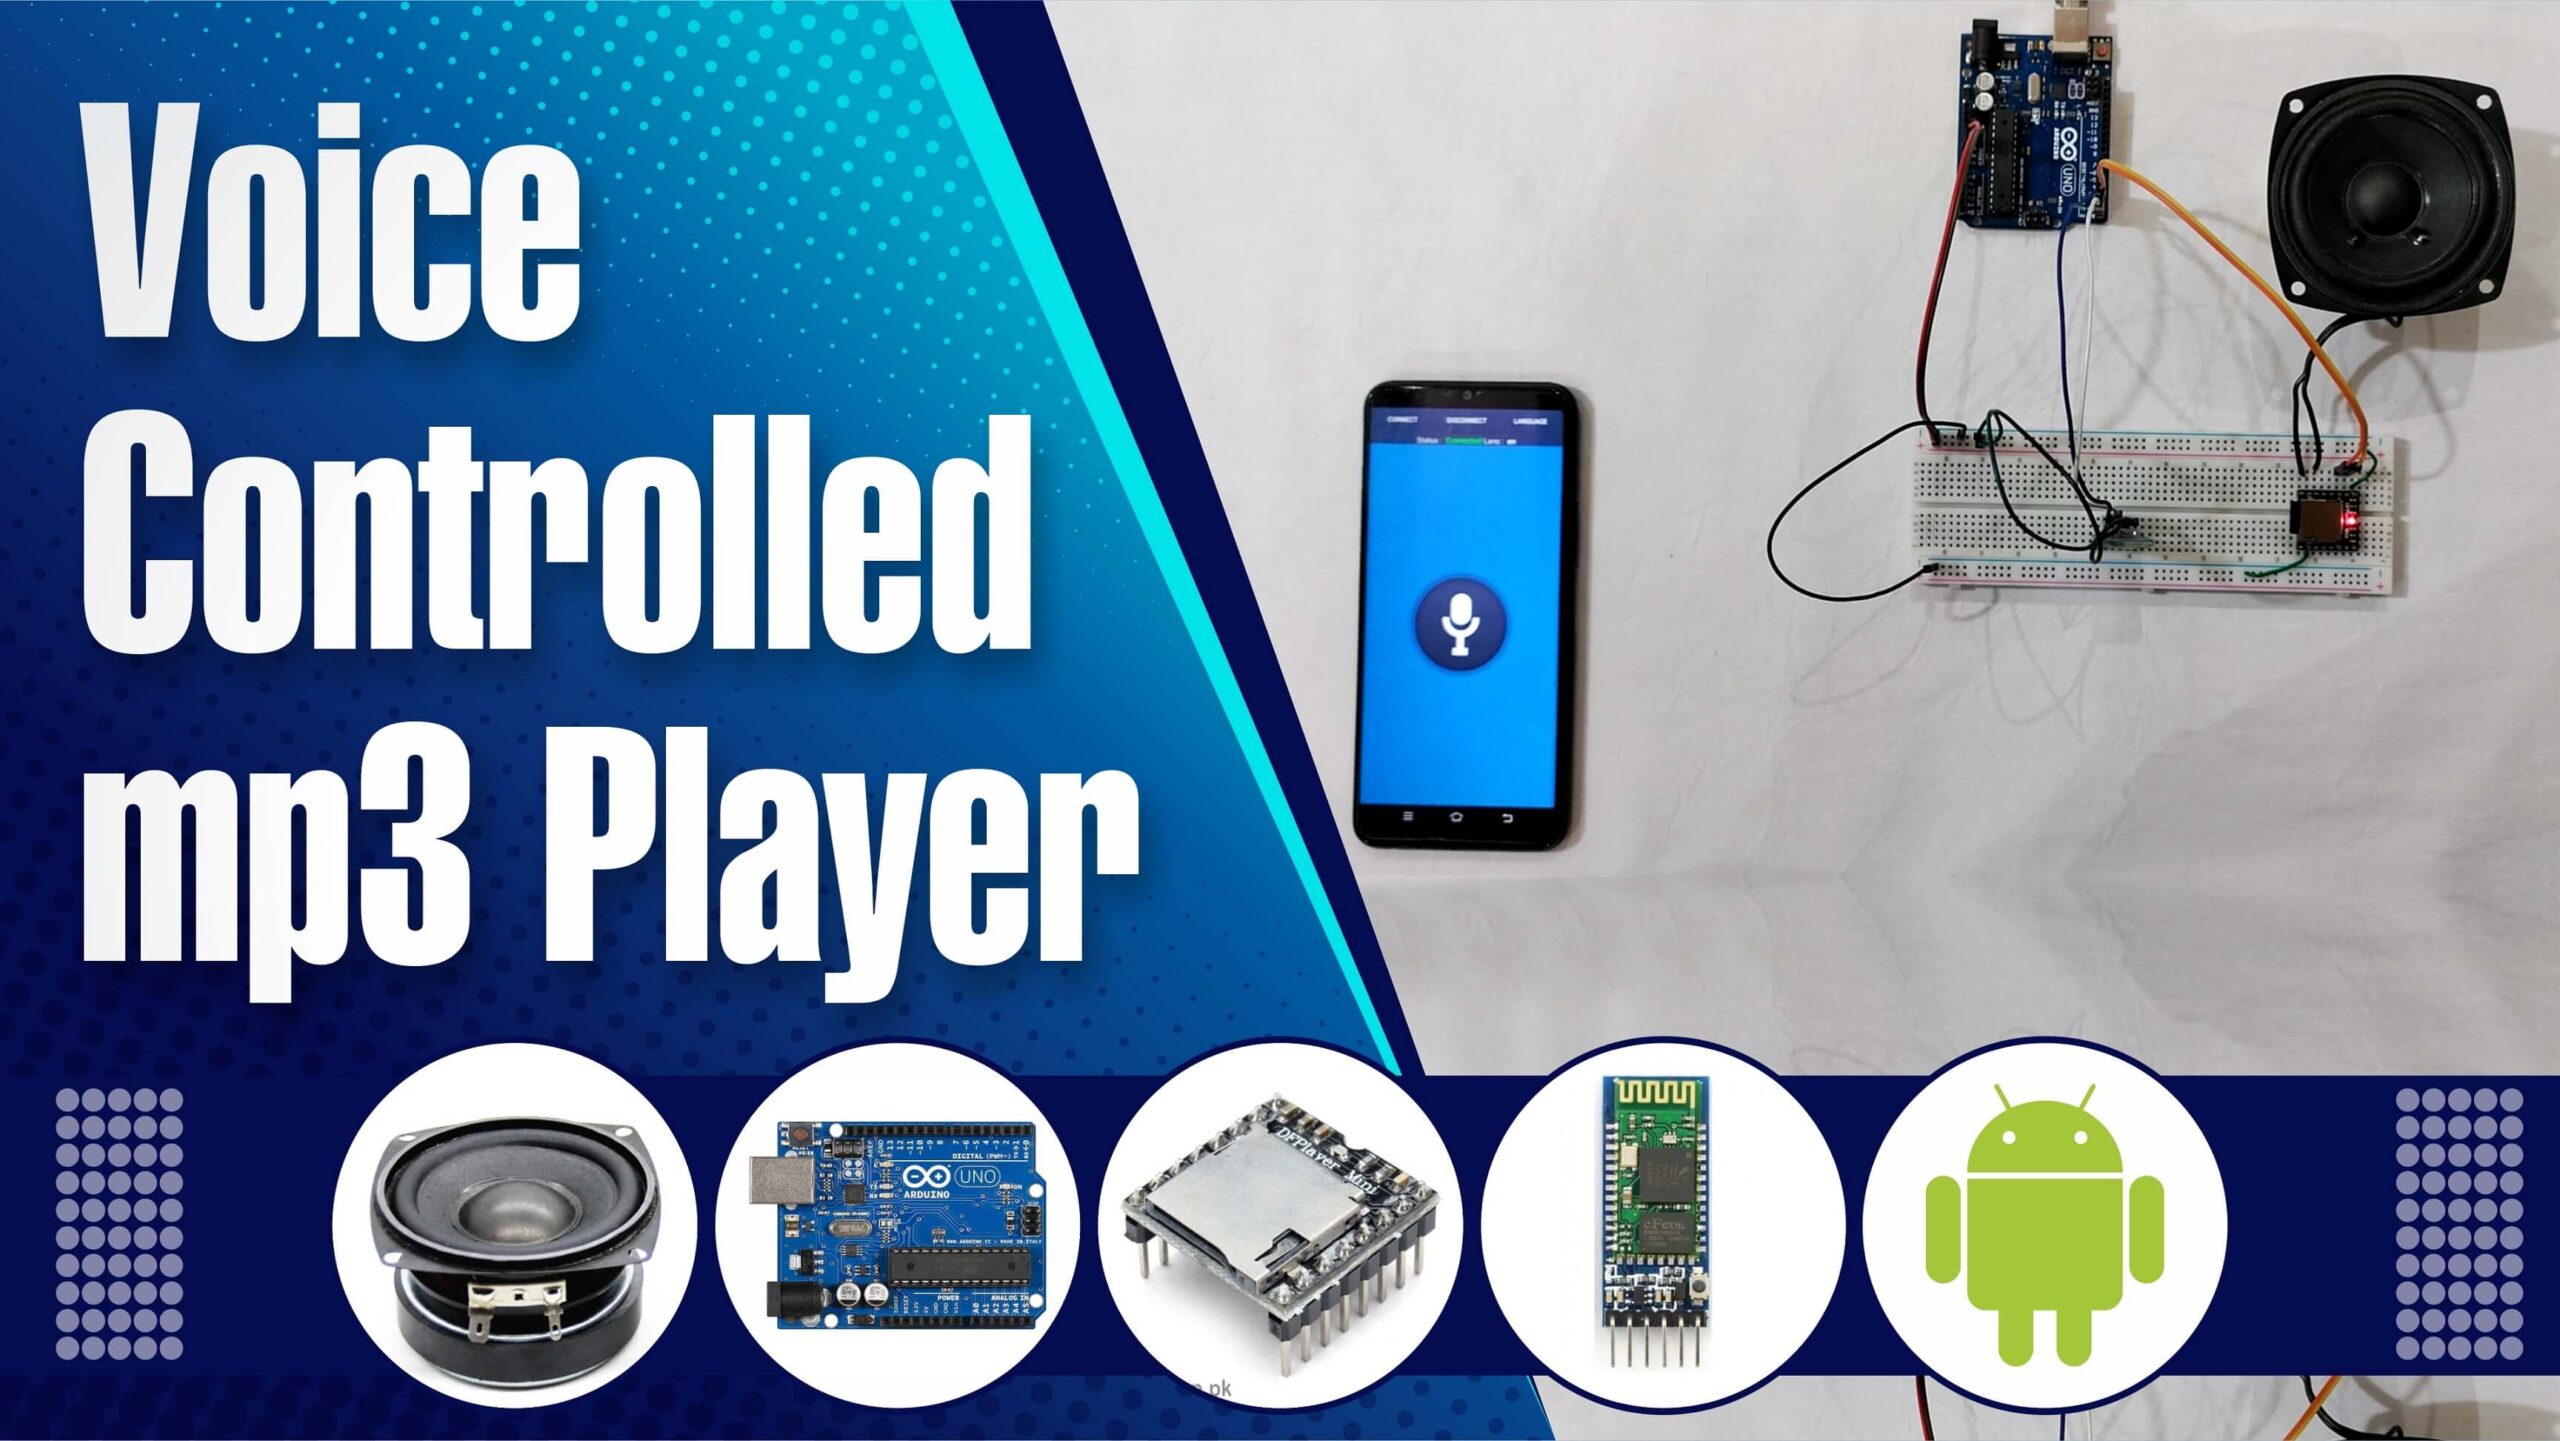
In this project we show you how you can make an Arduino mp3 player and control it using voice commands. For voice recognition and sending the commands to Arduino we use a free app from Google Play Store(link below). An HC-05 Bluetooth Module is being used to receive the voice commands sent from a mobile phone. After command is received, Arduino plays the required song on speaker with the help of a DFplayer mini mp3 player.
Watch it on YouTube.
Components Required
• Arduino UNO
• HC-05 Bluetooth Module
• DFplayer mini mp3 player
• SD Card (32GB or less)
• Speaker
• Jumper Cables
• Breadboard
SD Card Setup
We can use a maximum of 32GB SD card in a DFplayer mini. Make sure it is not bigger than 32GB or the DFplayer will not initialize.
- Format your SD card, set File system as FAT32.

2. Copy songs in the SD card. Name then in ascending order as shown in the picture below. You can use as many songs as you like. We are using just 4 for our demonstration.

Adding Required Libraries
Before starting, we need to add Libraries to make Voice Controlled Arduino Bluetooth Music Player.
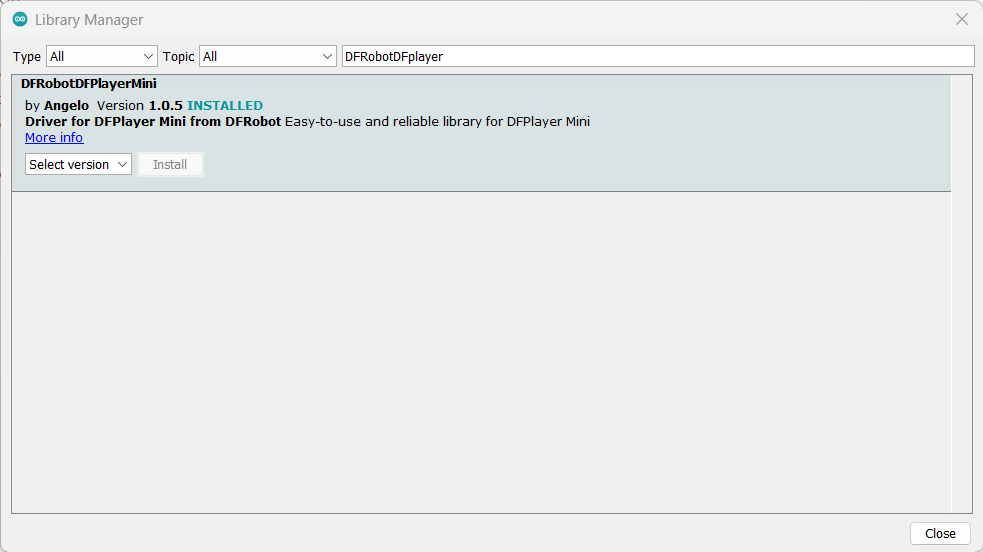
Go to Sketch -> Include Library-> Manage Libraries
Search for DFRobotDFplayer and install the library shown in the image below:
Alternatively you can go to this link:
https://github.com/DFRobot/DFRobotDFPlayerMini
And download the library in a zip file.
Then go to Sketch -> Include Library-> Add .ZIP Library. And install the downloaded zip file.
Wiring Diagram
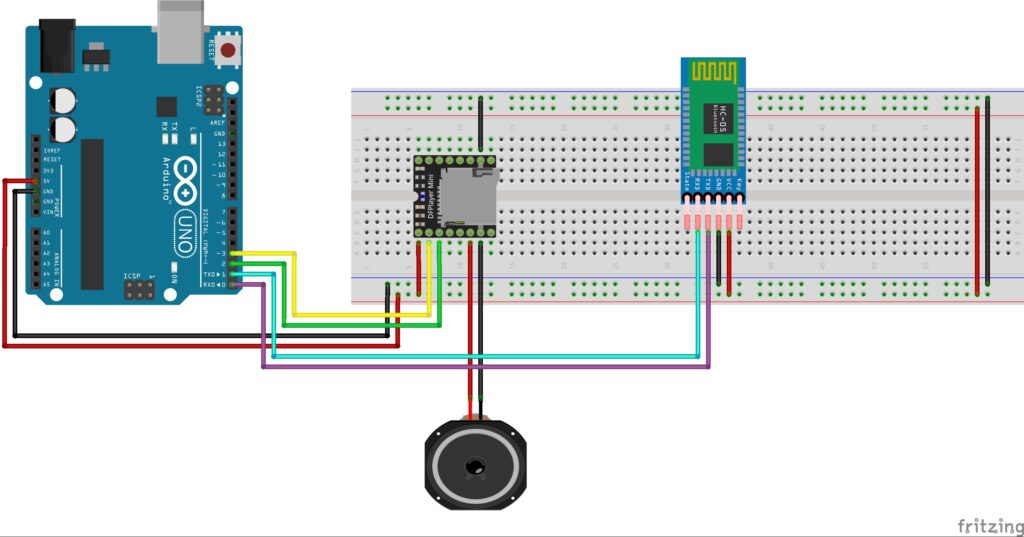
We are done with all the necessary setup to make Voice Controlled Arduino MP3 Player. Now its time to wire the circuit. Wire the Voice Controlled Arduino MP3 Player according to the following wiring diagram:
Arduino Voice Control App
Download and install the Arduino Voice Control app from the following APK:
https://drive.google.com/file/d/1BV3do0yW9Zi0JmZjyad4FHWO0rHqMvdv/view?usp=sharing
Once installed, open your mobile phone’s Bluetooth settings and pair your phone with the HC-05 Bluetooth module.
After the devices are paired, open the Arduino Voice Control app and connect it to HC-05 module.
NOTE: This app is only for Android devices, HC-05 does not work with iPhone and iOS.
Code
Here is the complete code for this project:
/*
  Code for Voice Controlled Arduino MP3 Player
  Created by ArduinoYard.com
*/
#include <SoftwareSerial.h>
#include <DFRobotDFPlayerMini.h>

SoftwareSerial mySoftwareSerial(2, 3); // RX, TX
DFRobotDFPlayerMini myDFPlayer;

String readSerial;

void setup() {
  mySoftwareSerial.begin(9600);
  Serial.begin(9600);
  Serial.println(F("Voice Controlled mp3 player Demo."));
  Serial.println(F("Initializing DFPlayer ... (May take 3~5 seconds)"));

  if (!myDFPlayer.begin(mySoftwareSerial)) {  //Use softwareSerial to communicate with mp3.
    Serial.println(F("Unable to begin:"));
    Serial.println(F("1.Please recheck the connection!"));
    Serial.println(F("2.Please insert the SD card!"));
    while (true);
  }
  Serial.println(F("DFPlayer Mini online."));

  myDFPlayer.setTimeOut(500); //Set serial communictaion time out 500ms

  //----Set volume----
  myDFPlayer.volume(30);  //Set volume value (0~30).

  //----Set different EQ----
  myDFPlayer.EQ(DFPLAYER_EQ_CLASSIC);
  myDFPlayer.outputDevice(DFPLAYER_DEVICE_SD);
}

void loop() {
  if (Serial.available()) {
    readSerial = Serial.readStringUntil('#');
    Serial.println(readSerial);

    if (readSerial == "play song number 1")      myDFPlayer.play(1);

    else if (readSerial == "play song number 2")      myDFPlayer.play(2);

    else if (readSerial == "play song number 3")      myDFPlayer.play(3);

    else if (readSerial == "play song number 4")      myDFPlayer.play(4);

    else if (readSerial == "stop song")               myDFPlayer.stop();

    else if (readSerial == "pause song")              myDFPlayer.pause();

    else if (readSerial == "resume song")             myDFPlayer.start();

    else if (readSerial == "play next song")          myDFPlayer.next();

    else if (readSerial == "play previous song")      myDFPlayer.previous();

  }
}
// Voice Controlled Arduino MP3 PlayerNOTE: Remove the Arduino pin 0 and 1 from Bluetooth module while uploading the code. Otherwise it may not be able upload. Once done uploading, you can connect these 2 wires again to the Bluetooth module.
Final Working
After code has been uploaded, open the Arduino Voice Control app and start sending the commands to the Voice Controlled Arduino MP3 Player. The Arduino will play the song according to the received commands.
You can open the Serial Monitor in Arduino IDE to observe the commands received by the Arduino. Commands can be easily changed of added according to your requirements.
NOTE: The app uses Google’s Speech Recognition services, so keep your mobile phone’s internet/Wi-Fi ON while using the app for best results.
Thank you for reading!
Detailed YouTube Video
You may also like:
DHT11 WITH ADAFRUIT.IO: TEMP AND HUM MONITORING WITH NODEMCU