PCB soldering is the process of attaching electronic components to a printed circuit board (PCB) and connecting them in their required layout. The process is crucial for ensuring seamless operation of the electronic components, as poor soldering can lead to oscillations, flickering, and component failure.

Components Required
Before you begin, it’s important to design PCB layouts carefully, as proper design ensures that soldering will be efficient and components will function correctly.
To get started with PCB soldering, you will need the following components:
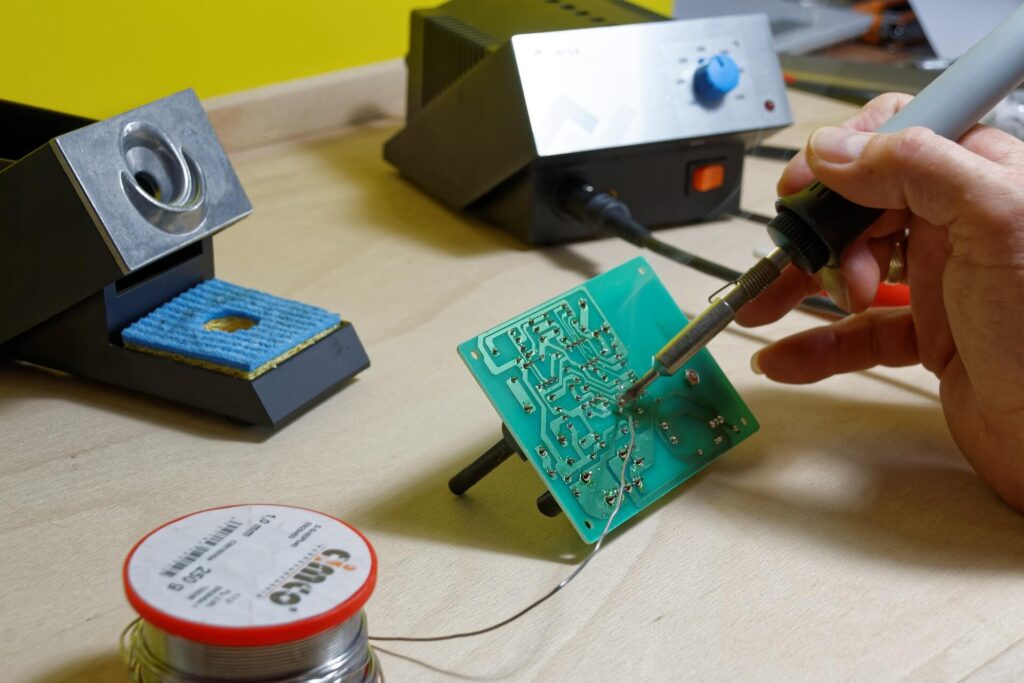
- Soldering Iron – A soldering iron with a high wattage heats up quickly, while a thicker tip is best for transferring heat to melt the solder wire onto the components. A variable temperature PCB soldering iron can be useful for soldering components that require different melting points.
- Solder wire – Solder wire is usually made of tin and lead (60% tin and 40% lead), but some may also contain small quantities of silver and copper. Lead-free solder wire is becoming more popular due to lead’s toxic nature.
- Flux – A flux is a reducing agent used to remove any oxidation layer on components and circuit boards, and help create a better connection between the board, device, and solder. Rosin flux is commonly used in electronics, but water-soluble flux is becoming more popular for reducing the risk of toxic waste pollution.
- Solder Stand – A soldering stand keeps the hot iron away from electrical wires, components, and hands. It often comes with a cleaning sponge to clean the soldering iron’s tip.
- Solder Sucker – A solder sucker is a pen-like tool used to desolder joints by sucking melted residue away from the circuit board.
- Wire Cutter – A small wire cutter is useful for cutting excess wire or terminals on the circuit board.
- Wet Sponge – A wet sponge helps remove oxidation from the surface of the soldering iron.
- Soldering Paste – Soldering paste is used to clean the tip of the soldering iron, removing melted solder or rust.
- Small Lamp – A small lamp can help clearly see the circuit board and joints during soldering.
- Safety Goggles – A pair of safety goggles protects the eyes from small solder particles and toxic fumes produced during soldering.

Where to Get Soldering Tools for PCB Work
If you’re just getting started with PCB soldering, having the right soldering tools makes learning much easier and safer. While electronics suppliers like SparkFun, Adafruit, and DFRobot offer quality components, beginners often struggle to choose the right kit.
To simplify this, we’ve put together a detailed guide comparing the best soldering kits for beginners and hobbyists, covering budget options, hobbyist kits, and more advanced soldering stations.
👉 Read here:
Best soldering kits for beginners & hobbyists
This guide explains what to look for in a soldering kit and helps you choose the right tools for your skill level and project needs.
Types of PCB soldering
- Reflow Soldering – Reflow soldering is a modern technique used for mass production of PCBs. In this process, the placement of components and the actual soldering process are separated. Solder paste is applied to the PCB pads using a stencil and then the components are placed. The PCB is then placed in a convection oven where the solder reflows onto the terminals and the board is allowed to cool.
- Wave Soldering – In wave soldering, the PCB is passed through a wave of molten solder for through-hole and mixed technology boards.
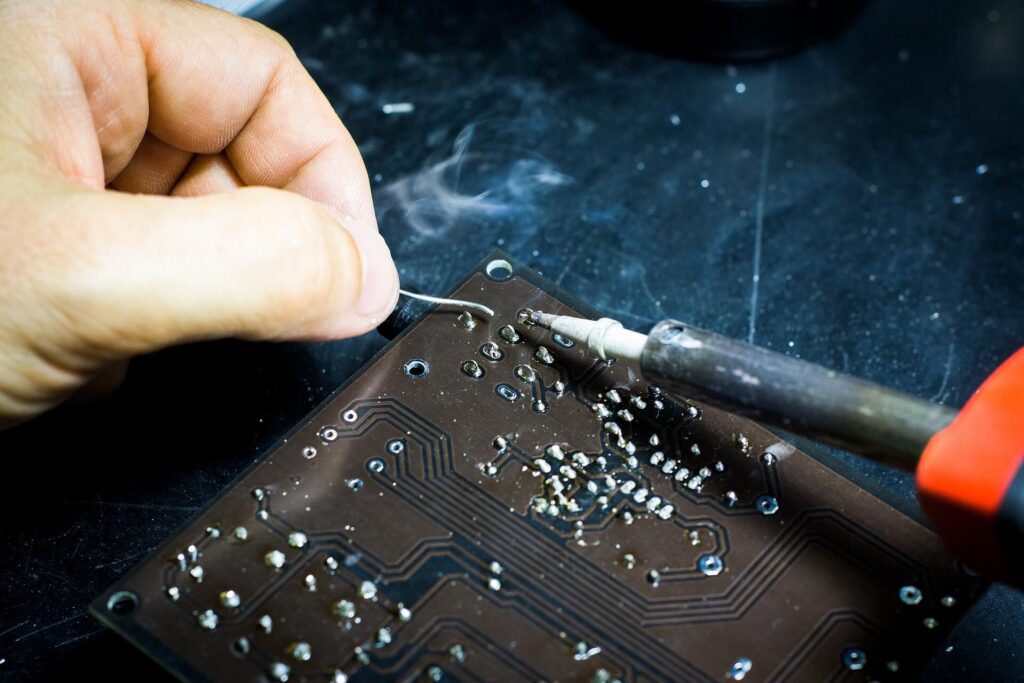
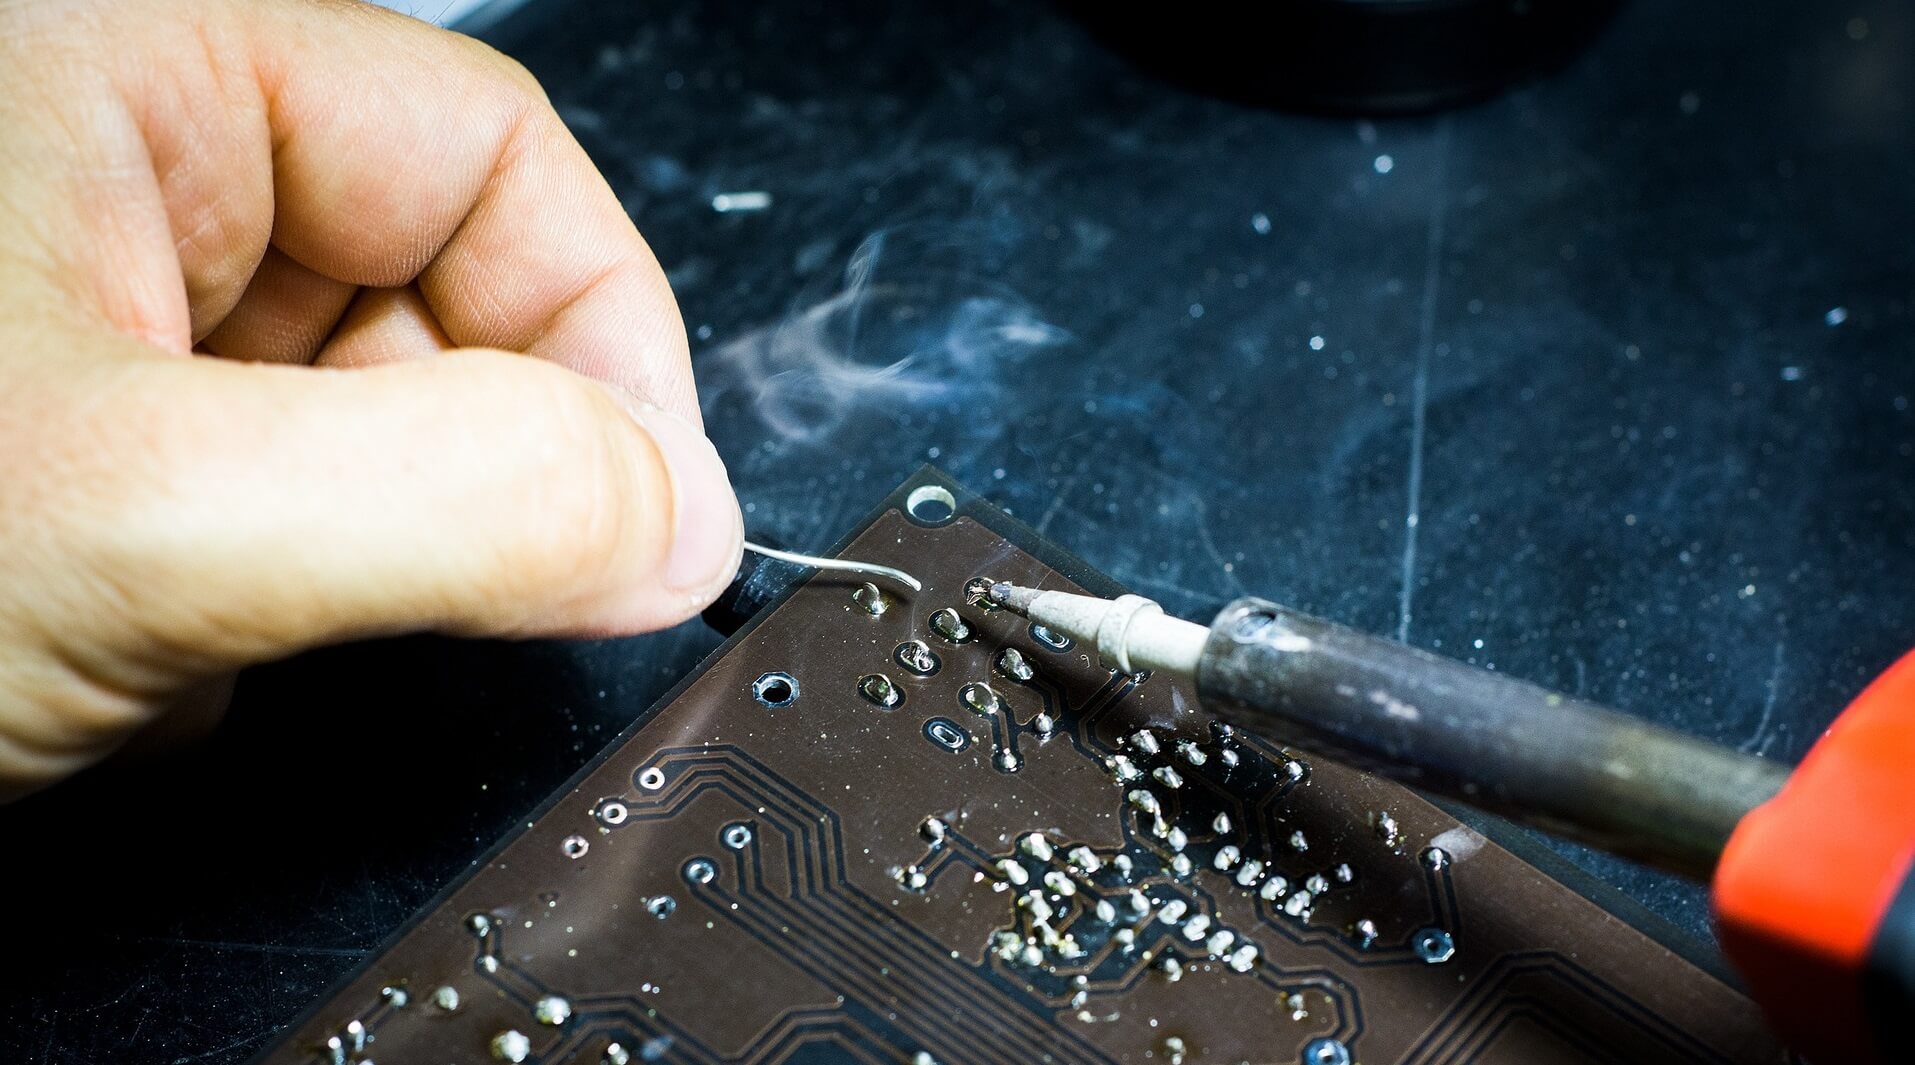
- Hand Soldering – Hand soldering is a traditional soldering method where a soldering iron is used to heat the joint and melt the solder. This method is mostly used for repairing or reworking of PCBs, as well as for hobby projects or one-off prototypes. Hand soldering requires more skill than reflow or wave soldering and is slower but can be more precise. The process involves applying heat to the joint using a soldering iron and then applying the solder to the joint to create a connection. The solder should be melted until it flows into the joint, filling any gaps and creating a strong, secure connection.

Procedure for Hand Soldering
- Clean the joint: Clean the joint to be soldered with a solvent or alcohol to remove any oils or debris.
- Heat the joint: Apply heat to the joint with the soldering iron. The tip of the soldering iron should be heated to its operating temperature.
- Apply solder: Apply the solder to the joint, not the soldering iron tip. The solder should be melted and flow into the joint, filling any gaps and creating a strong, secure connection.
- Remove the heat: Once the solder has melted and flowed into the joint, remove the heat source.
- Clean the joint: Clean the joint with a solvent or alcohol to remove any flux residue.
Note: Always use proper safety equipment when soldering, such as safety goggles and gloves, to protect yourself from the heat and fumes produced during soldering.
Tricks, Tips, and Precautions
Here are some tricks, tips, and precautions to consider when doing PCB soldering:
- Clean the surfaces: Clean the pads and components with a flux cleaner or isopropyl alcohol to ensure a strong and reliable joint.
- Use the right soldering iron: Choose a soldering iron with the appropriate wattage for the task, and make sure it has a fine tip for precision work.
- Use quality soldering wire: Use a high-quality, rosin-core soldering wire for the best results.
- Apply heat correctly: Apply heat to the pad, not the component lead, and let the heat transfer to the component. This will prevent damage to the component and ensure a strong joint.
- Be patient: Allow sufficient time for the solder to melt and flow into the joint before removing the soldering iron.
- Inspect the joint: After soldering, inspect the joint to ensure it’s smooth, shiny, and has good wetting. If not, re-heat the joint and add more solder if needed.
- Avoid overheating: Overheating can damage components, so be careful not to heat the joint for too long.
- Use protection: Wear protective gloves and eyewear to avoid injury and protect against fumes.
- Store soldering iron properly: When not in use, store your soldering iron in a safe place to prevent accidents and keep it in good condition for the next time you use it.
- Practice: Like with any new skill, the more you practice, the better you’ll become at PCB soldering. Start with simple projects and work your way up to more complex ones.
Conclusion
PCB Soldering is an essential skill for any engineer or technician working with electronics. Good soldering techniques ensure the reliability and longevity of electronic components, while bad soldering can lead to component failures and malfunctions. Whether you are using reflow, wave, or hand soldering, having the right equipment, proper preparation, and a good understanding of the soldering process is crucial for success.
New to Electronics?
Also read: Getting Started with Arduino: A Simple Beginner’s Guide
