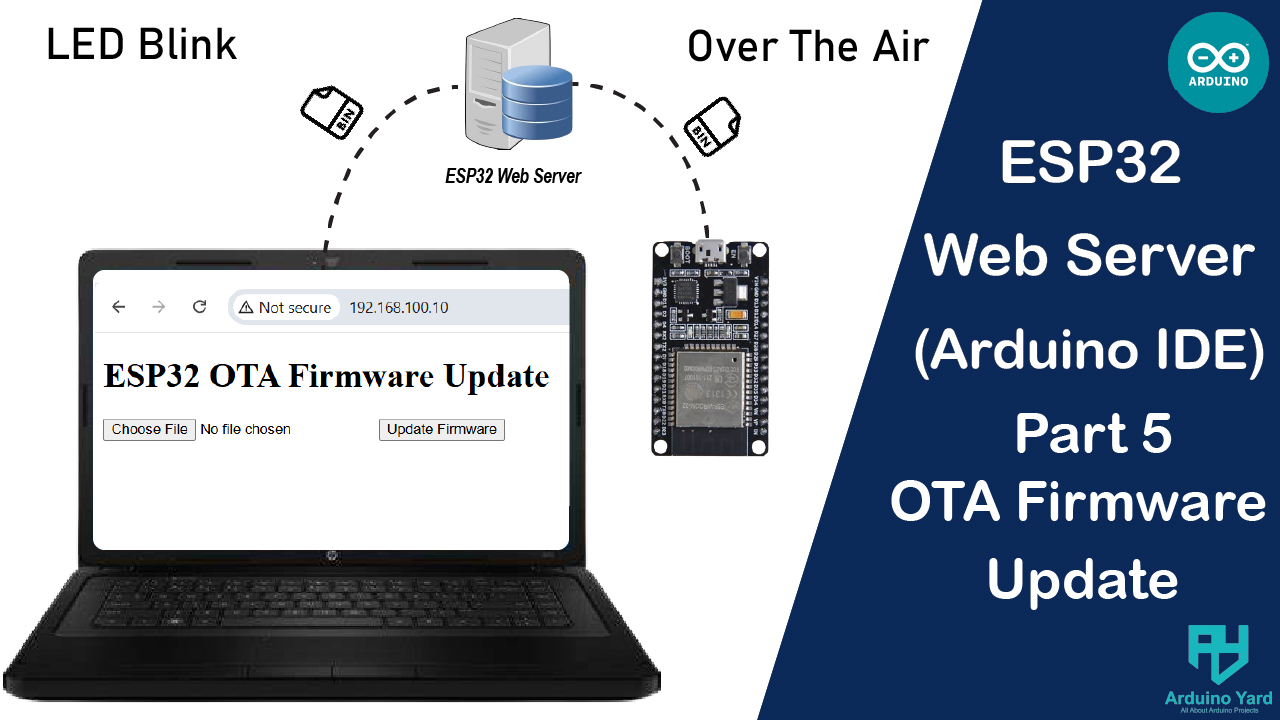
In this guide, we’ll create a web-based ESP32 OTA Firmware Update, allowing you to upload new firmware directly from a browser. Updating firmware remotely is essential for IoT devices, making maintenance easier without physical access.
What is Over-The-Air?
An over-the-air update (or OTA update), also known as over-the-air programming (or OTA programming), is an update to an embedded system that is delivered through a wireless network, such as Wi-Fi or a cellular network. These embedded systems include mobile phones, Tablets, set-top boxes, cars and telecommunications equipment. OTA updates for cars and internet of things devices can also be called firmware over-the-air (FOTA). Various components may be updated OTA, including the device’s operating system, applications, configuration settings, or parameters like encryption keys.
Why Use OTA Updates?
- No need for a USB connection after deployment.
- Fix bugs and add new features remotely.
- Simplifies IoT device maintenance.
Requirements
- ESP32 board
- Micro-USB cable
- Wi-Fi network
Ensure you have the latest version of the ESPAsyncWebServer and AsyncTCP libraries installed:
- Go to Sketch > Include Library > Manage Libraries in the Arduino IDE.
- Search for ESPAsyncWebServer and install it.

- Search for AsyncTCP and install it.

Step 1: ESP32 OTA Firmware Update Code
This code creates a web interface where you can upload a firmware file (.bin) to update the ESP32. To get started, this code needs to be uploaded manually. This code will add OTA capability in our esp32.
#include <WiFi.h>
#include <ESPAsyncWebServer.h>
#include <Update.h>

const char* ssid = "YourWiFiSSID";    // WiFi SSID
const char* password = "YourWiFiPassword";  // WiFi Password

AsyncWebServer server(80);

// HTML page for OTA update
const char index_html[] PROGMEM = R"rawliteral(
<!DOCTYPE html>
<html>
<head>
  <title>ESP32 OTA Update</title>
</head>
<body>
  <h1>ESP32 OTA Firmware Update</h1>
  <form method="POST" action="/update" enctype="multipart/form-data">
    <input type="file" name="firmware">
    <input type="submit" value="Update Firmware">
  </form>
</body>
</html>
)rawliteral";

void setup() {
  Serial.begin(9600);

  // Connect to Wi-Fi
  WiFi.begin(ssid, password);
  Serial.print("Connecting to Wi-Fi");
  while (WiFi.status() != WL_CONNECTED) {
    delay(500);
    Serial.print(".");
  }
  Serial.println("\nConnected!");
  Serial.println(WiFi.localIP());

  // Serve the OTA update page
  server.on("/", HTTP_GET, [](AsyncWebServerRequest *request) {
    request->send(200, "text/html", index_html);
  });

  // Handle file upload for firmware update
  server.on(
    "/update", HTTP_POST,
    [](AsyncWebServerRequest *request) {
      request->send(200, "text/plain", (Update.hasError()) ? "Update Failed!" : "Update Successful!");
      ESP.restart(); // Restart ESP32 after update
    },
    [](AsyncWebServerRequest *request, const String& filename, size_t index, uint8_t *data, size_t len, bool final) {
      if (!index) {
        Serial.printf("Updating: %s\n", filename.c_str());
        if (!Update.begin(UPDATE_SIZE_UNKNOWN)) {
          Update.printError(Serial);
        }
      }
      if (Update.write(data, len) != len) {
        Update.printError(Serial);
      }
      if (final) {
        if (!Update.end(true)) {
          Update.printError(Serial);
        } else {
          Serial.println("Update complete!");
        }
      }
    }
  );

  server.begin();
}

void loop() {
  // Nothing needed, server runs asynchronously
}
Step 2: Testing OTA with an LED Blinking Firmware
Once OTA is working, let’s test it by blinking the onboard LED (GPIO 2).
Create a New Firmware with LED Blinking
Now, create a new sketch that blinks the ESP32 onboard LED (GPIO 2) every second. The code used in Step 1 should always be included in our firmware to have the OTA option available all the time. It will show you how to use blink LED code with the ESP32 OTA Firmware Update code.
#include <WiFi.h>
#include <ESPAsyncWebServer.h>
#include <Update.h>

const char* ssid = "YourWiFiSSID";    // WiFi SSID
const char* password = "YourWiFiPassword";  // WiFi Password

AsyncWebServer server(80);

// HTML page for OTA update
const char index_html[] PROGMEM = R"rawliteral(
<!DOCTYPE html>
<html>
<head>
  <title>ESP32 OTA Update</title>
</head>
<body>
  <h1>ESP32 OTA Firmware Update</h1>
  <form method="POST" action="/update" enctype="multipart/form-data">
    <input type="file" name="firmware">
    <input type="submit" value="Update Firmware">
  </form>
</body>
</html>
)rawliteral";

void setup() {
  Serial.begin(9600);

  // Connect to Wi-Fi
  WiFi.begin(ssid, password);
  Serial.print("Connecting to Wi-Fi");
  while (WiFi.status() != WL_CONNECTED) {
    delay(500);
    Serial.print(".");
  }
  Serial.println("\nConnected!");
  Serial.println(WiFi.localIP());

  // Serve the OTA update page
  server.on("/", HTTP_GET, [](AsyncWebServerRequest *request) {
    request->send(200, "text/html", index_html);
  });

  // Handle file upload for firmware update
  server.on(
    "/update", HTTP_POST,
    [](AsyncWebServerRequest *request) {
      request->send(200, "text/plain", (Update.hasError()) ? "Update Failed!" : "Update Successful!");
      ESP.restart(); // Restart ESP32 after update
    },
    [](AsyncWebServerRequest *request, const String& filename, size_t index, uint8_t *data, size_t len, bool final) {
      if (!index) {
        Serial.printf("Updating: %s\n", filename.c_str());
        if (!Update.begin(UPDATE_SIZE_UNKNOWN)) {
          Update.printError(Serial);
        }
      }
      if (Update.write(data, len) != len) {
        Update.printError(Serial);
      }
      if (final) {
        if (!Update.end(true)) {
          Update.printError(Serial);
        } else {
          Serial.println("Update complete!");
        }
      }
    }
  );

  server.begin();

  pinMode(2, OUTPUT); //setup code for blink led
}

void loop() {
  // loop code for blinking onboard esp32 led
  digitalWrite(2, HIGH);
  delay(1000);
  digitalWrite(2, LOW);
  delay(1000);
}
Upload This Firmware Over OTA
- Compile the LED blink sketch in Arduino IDE:
- Go to Sketch → Export compiled Binary.

- Find the
.binfile inside the sketch folder.

2. Upload the new firmware:
- Open your ESP32’s IP in a web browser.
- Select the
.binfile and click Update Firmware.
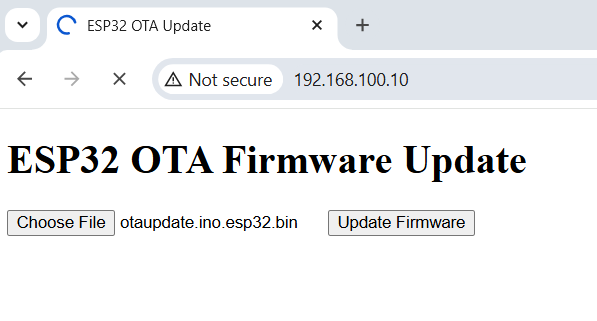
- After updating, ESP32 will restart automatically and start blinking the LED.
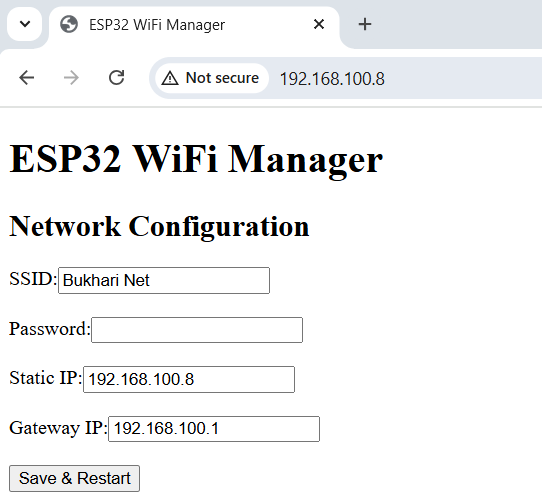
How to Find Your ESP32’s IP?
After connecting to Wi-Fi, ESP32 prints its local IP address in the Serial Monitor (e.g., 192.168.100.10).

Conclusion
This ESP32 OTA Firmware Update method allows seamless firmware updates from a web interface, making it ideal for remote IoT deployments. It eliminates the need for physical USB updates, simplifying maintenance and bug fixes. You can add the OTA firmware update support in your esp32 in same way as I added in my blinking LED code. We made it look very easy. You can try and let us know if it makes the firmware updates seamless getting rid of using USB cable all the time.
Thank You!!!
In case you missed:
Part 1: Getting Started With The ESP32 Web Server: Hello World! – ArduinoYard
Part 2: ESP32 Webserver LED Control: Toggle An LED Using A Webpage – ArduinoYard
Part 3: ESP32 Webserver PWM Control: Control Brightness Of An LED Using A Webpage – ArduinoYard
Part 4: ESP32 Webserver Alarm System: Building An Alarm System Using A Webpage – ArduinoYard