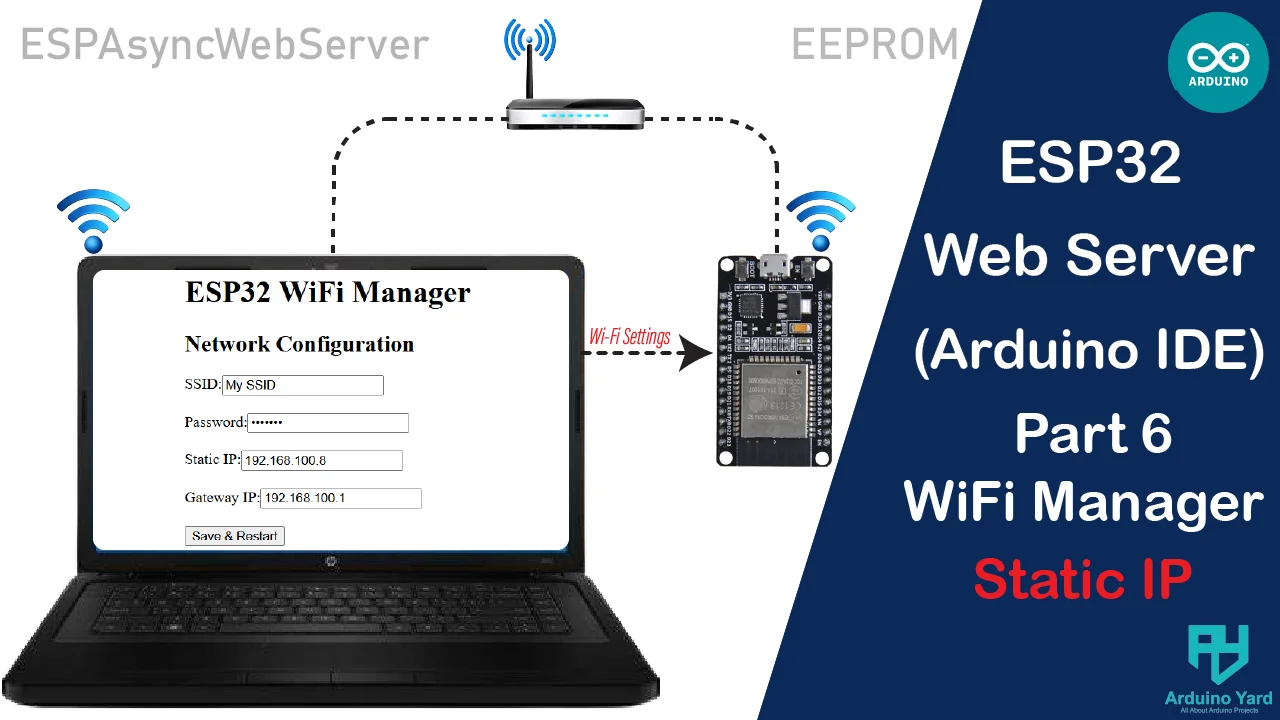
Managing WiFi credentials for ESP32 projects can be challenging, especially when deploying multiple devices. An ESP32 WiFi Manager allows users to configure SSID, password, static IP, and Gateway IP via a web interface. This guide demonstrates how to create a WiFi Manager using ESPAsyncWebServer and store settings in EEPROM.
Why Use a WiFi Manager?
- No need to hardcode WiFi credentials
- Configure SSID, password, static IP, and Gateway IP via a webpage
- Stores settings in EEPROM for persistence
- Prevents re-flashing when changing networks
WHY ARE STATIC IP AND GATEWAY IP IMPORTANT IN WIFI mANAGER?
1. Static IP Address
A static IP address ensures that the ESP32 always has the same network address, making it easy to access its web interface without searching for a dynamically assigned IP. This is particularly useful for:
- Remote Access: Knowing the fixed IP eliminates the need to check the router’s DHCP table.
- Device Integration: Other network devices (e.g., MQTT brokers, home automation systems) can consistently communicate with the ESP32.
- Network Stability: Prevents IP conflicts when multiple ESP32 devices are deployed.
2. Gateway IP Address
The gateway IP is the address of the router that connects the ESP32 to the wider network (and the internet). It is necessary for:
- Internet Connectivity: Without a correct gateway, the ESP32 won’t be able to reach external servers.
- Correct Routing: It ensures that data packets reach the right destination in a local or extended network.
By setting both a static IP and a gateway IP, we ensure that the ESP32 remains accessible and properly networked without relying on DHCP configurations.
How to get Gateway IP of the network?
- Connect your PC to that network
- Open command window and type ipconfig command
- The IP given in Default Gateway is your network Gateway IP.

Install Required Libraries
Ensure you have the latest version of the ESPAsyncWebServer and AsyncTCP libraries installed:
- Go to Sketch > Include Library > Manage Libraries in the Arduino IDE.
- Search for ESPAsyncWebServer and install it.

- Search for AsyncTCP and install it.

.
ESP32 WiFi Manager Code
This code sets up a web server for configuring WiFi credentials and an optional static IP address.
Complete Code
#include <WiFi.h>
#include <EEPROM.h>
#include <ESPAsyncWebServer.h>

#define EEPROM_SIZE 100
#define LED_BUILTIN 2

// Structure to store WiFi credentials
struct WiFiConfig {
char ssid[32];
char password[32];
char ip[16];
char gateway[16];
} config;

AsyncWebServer server(80);

void saveConfig() {
EEPROM.put(0, config);
EEPROM.commit();
}

void loadConfig() {
EEPROM.get(0, config);
if (strlen(config.ssid) == 0) {
strcpy(config.ssid, "DefaultSSID");
strcpy(config.password, "DefaultPass");
strcpy(config.ip, "192.168.1.200");
strcpy(config.gateway, "192.168.1.1");
}
}


const char index_html[] PROGMEM = R"rawliteral(
<!DOCTYPE html>
<html>
<head>
  <title>ESP32 WiFi Manager</title>
</head>
<body>
  <h1>ESP32 WiFi Manager</h1>
  <h2>Network Configuration</h2>
  <form action='/save' method='GET'>
    <label>SSID:</label><input type='text' name='ssid' value='%SSID%'><br><br>
    <label>Password:</label><input type='password' name='password'><br><br>
    <label>Static IP:</label><input type='text' name='ip' value='%IP%'><br><br>
    <label>Gateway IP:</label><input type='text' name='gateway' value='%GATEWAY%'><br><br>

    <input type='submit' value='Save & Restart'>
  </form>
 </body>
</html>
)rawliteral";
void setup() {
Serial.begin(115200);
EEPROM.begin(EEPROM_SIZE);
loadConfig();

pinMode(LED_BUILTIN, OUTPUT);

// Try to connect to WiFi for 20 seconds
WiFi.begin(config.ssid, config.password);
Serial.print("Connecting to WiFi");
unsigned long startAttemptTime = millis();
while (WiFi.status() != WL_CONNECTED && millis() - startAttemptTime < 20000) {
delay(500);
Serial.print(".");
}

if (WiFi.status() == WL_CONNECTED) {
// Set static IP
IPAddress local_IP, gateway;
local_IP.fromString(config.ip);
gateway.fromString(config.gateway);
WiFi.config(local_IP, gateway, IPAddress(255,255,255,0));
Serial.println("\nConnected! IP Address: " + WiFi.localIP().toString());
} else {
// Switch to Access Point mode
Serial.println("\nFailed to connect. Switching to AP mode...");
WiFi.softAP("ESP32_Setup");
Serial.println("AP Mode IP Address: 192.168.4.1");
}

server.on("/", HTTP_GET, [](AsyncWebServerRequest *request) {
String page = index_html;
page.replace("%SSID%", config.ssid);
page.replace("%IP%", config.ip);
page.replace("%GATEWAY%", config.gateway);
request->send(200, "text/html", page);
});

server.on("/save", HTTP_GET, [](AsyncWebServerRequest *request) {
if (request->hasParam("ssid") && request->hasParam("password") && request->hasParam("ip") && request->hasParam("gateway")) {
strcpy(config.ssid, request->getParam("ssid")->value().c_str());
strcpy(config.password, request->getParam("password")->value().c_str());
strcpy(config.ip, request->getParam("ip")->value().c_str());
strcpy(config.gateway, request->getParam("gateway")->value().c_str());
saveConfig();
request->send(200, "text/html", "Settings Saved! Restarting...");
delay(2000);
ESP.restart();
} else {
request->send(400, "text/html", "Missing Parameters!");
}
});

server.begin();
Serial.println("HTTP Server Started");
}

void loop() {

}
How It Works
- ESP32 tries to connect to the stored WiFi for 20 seconds
- If connected, it uses Static IP from EEPROM and hosts a web page
- If not connected, it switches to AP mode (ESP32_Setup) at 192.168.4.1
- The user can enter WiFi credentials and static IP settings
- Settings are saved to EEPROM, and ESP32 restarts
Testing the WiFi Manager
When loading the code for the first time.
- Flash the code to ESP32
- If ESP32 is not connecting, connect to “ESP32_Setup” WiFi.
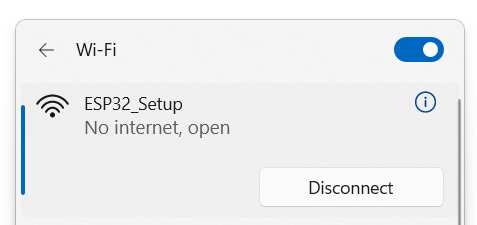
- Open 192.168.4.1 in a browser and Enter WiFi SSID, Password, Static IP, and Gateway IP.
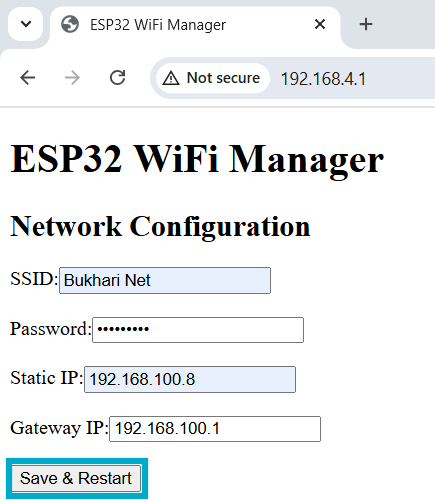
- Click Save & Restart

- ESP32 will reboot and attempt connection with the new settings.
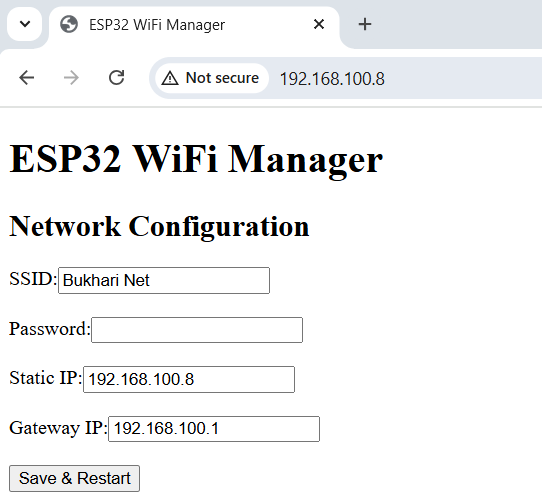
- Finally, you can test the ESP32 WiFi Manager webpage to access it by using static IP Address we entered in settings.
Changing Networks
If old network is not available:
- Wait 20 seconds for ESP32 to open its Network as Access point.
- Connect to “ESP32_Setup” WiFi Network on your PC or Mobile.
- Open 192.168.4.1 in a browser
- Enter WiFi SSID, Password, Static IP, and Gateway IP.
- Click Save & Restart
- ESP32 will reboot and attempt connection with the new settings
If It’s already connected to old network:
- Make sure your PC/Mobile is connected to the same network as esp32.
- Open your browser and type the static IP address we set previously It will open the WiFi Manager webpage.
- Now Enter WiFi SSID, Password, Static IP, and Gateway IP
- Click Save & Restart
- ESP32 will reboot and attempt connection with the new settings
Conclusion
Now, your ESP32 can store and manage WiFi settings dynamically. Using a static IP and gateway IP in the ESP32 WiFi Manager ensures stability, reliability, and seamless connectivity in IoT projects.
Thank You!!!
If you are interested in updating ESP32 Firmware Wirelessly, must visit:
ESP32 OTA Firmware Update: Update The ESP32 Firmware Using A Local Webpage – ArduinoYard