When working with FreeRTOS queues on ESP32, one of the most important features you’ll come across is inter-task communication. FreeRTOS gives you multiple mechanisms to allow tasks to talk to each other. Among these, queues are the most widely used and reliable method. They are simple, flexible, and ideal for transferring data safely between different tasks running on the ESP32.
If you’re planning to build scalable ESP32 projects with multiple tasks, mastering FreeRTOS queues should be at the top of your list.
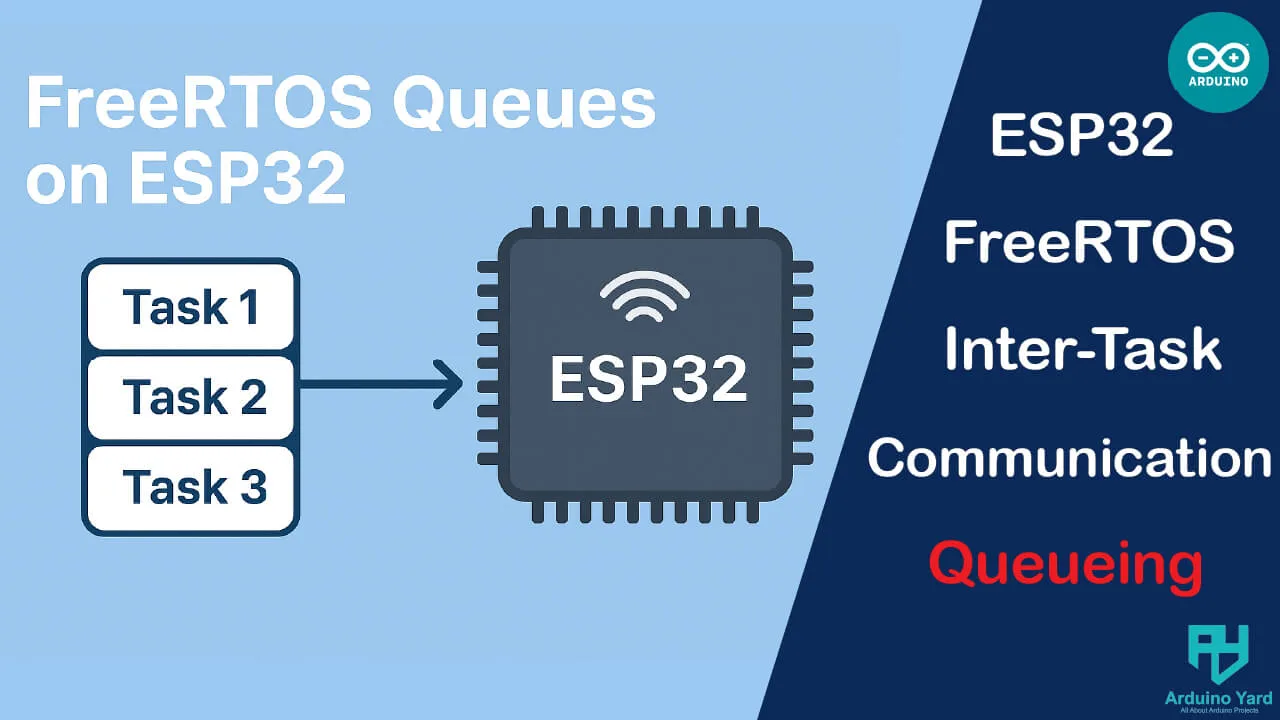
What Are FreeRTOS Queues on ESP32?
A queue is essentially a FIFO (First-In-First-Out) buffer that allows tasks (or interrupts) to send data to one another. You can think of it as a “mailbox” where one task posts a message, and another task retrieves it later.
Queues are especially useful on ESP32 because they:
- Prevent data corruption when multiple tasks share information.
- Allow synchronization between producer and consumer tasks.
- Provide a thread-safe way to exchange messages.
Why Use FreeRTOS Queues on ESP32?
The ESP32 runs FreeRTOS under the hood, and many real-world IoT applications require multiple tasks. For example:
- A sensor task collects data.
- A processing task filters or averages the data.
- A communication task sends the data to a server.
Instead of sharing global variables (which can cause race conditions), using FreeRTOS queues on ESP32 ensures that each task communicates safely and reliably.
Example: Sending Data Between Tasks
Let’s create a simple example where:
- Task A (Producer) sends numbers into a queue.
- Task B (Consumer) receives and prints those numbers.
Code Example
#include <Arduino.h>

QueueHandle_t myQueue;

void producerTask(void *pvParameters) {
  int count = 0;
  while (1) {
    if (xQueueSend(myQueue, &count, portMAX_DELAY) == pdPASS) {
      Serial.print("Sent: ");
      Serial.println(count);
    }
    count++;
    vTaskDelay(1000 / portTICK_PERIOD_MS);
  }
}

void consumerTask(void *pvParameters) {
  int receivedValue;
  while (1) {
    if (xQueueReceive(myQueue, &receivedValue, portMAX_DELAY) == pdPASS) {
      Serial.print("Received: ");
      Serial.println(receivedValue);
    }
  }
}

void setup() {
  Serial.begin(115200);

  myQueue = xQueueCreate(5, sizeof(int));

  if (myQueue != NULL) {
    xTaskCreate(producerTask, "Producer", 2048, NULL, 1, NULL);
    xTaskCreate(consumerTask, "Consumer", 2048, NULL, 1, NULL);
  } else {
    Serial.println("Queue creation failed!");
  }
}

void loop() {}
How to Program ESP32 using Arduino IDE:
- Connect the ESP32 to your PC via USB.
- Install the Arduino IDE if you don’t have. Open the Arduino IDE.
- Install ESP32 boards in arduino IDE if not installed.
- Select your ESP32 board under Tools → Board and correct Port.
- Copy-paste the provided code.
- Upload the sketch to your ESP32.
Serial Monitor Result:

Practical Uses of FreeRTOS Queues on ESP32
- Sensor Data Handling – one task reads sensor data, another processes or transmits it.
- Event Logging – multiple tasks send logs to a logging task.
- Motor Control – commands are passed to a motor control task via a queue.
Task for Readers
Modify the example so that Task A sends random numbers instead of sequential ones, and Task B only prints values greater than 50. This exercise will give you real practice with FreeRTOS queues on ESP32.
Conclusion
Using FreeRTOS queues on ESP32 makes inter-task communication safe, efficient, and structured. Instead of relying on global variables or complicated synchronization mechanisms, queues provide a clean and thread-safe solution.
If you’re planning to build scalable ESP32 projects with multiple tasks, mastering FreeRTOS queues should be at the top of your list.
PREVIOUS ESP32 FREERTOS ARTICLES ON THE WEBSITE
Introduction To FreeRTOS On ESP32 – ArduinoYard
ESP32 FreeRTOS Task Priorities And Scheduling Explained: A Basic Guide – ArduinoYard