
Arduino is an open-source electronics platform based on simple software and hardware. It is a popular choice for DIY projects, hobbyists, and beginners because of its ease of use and versatility. In this getting started with Arduino guide, we will cover the basics of Arduino, its components, and how to set up the development environment.
What is Arduino?
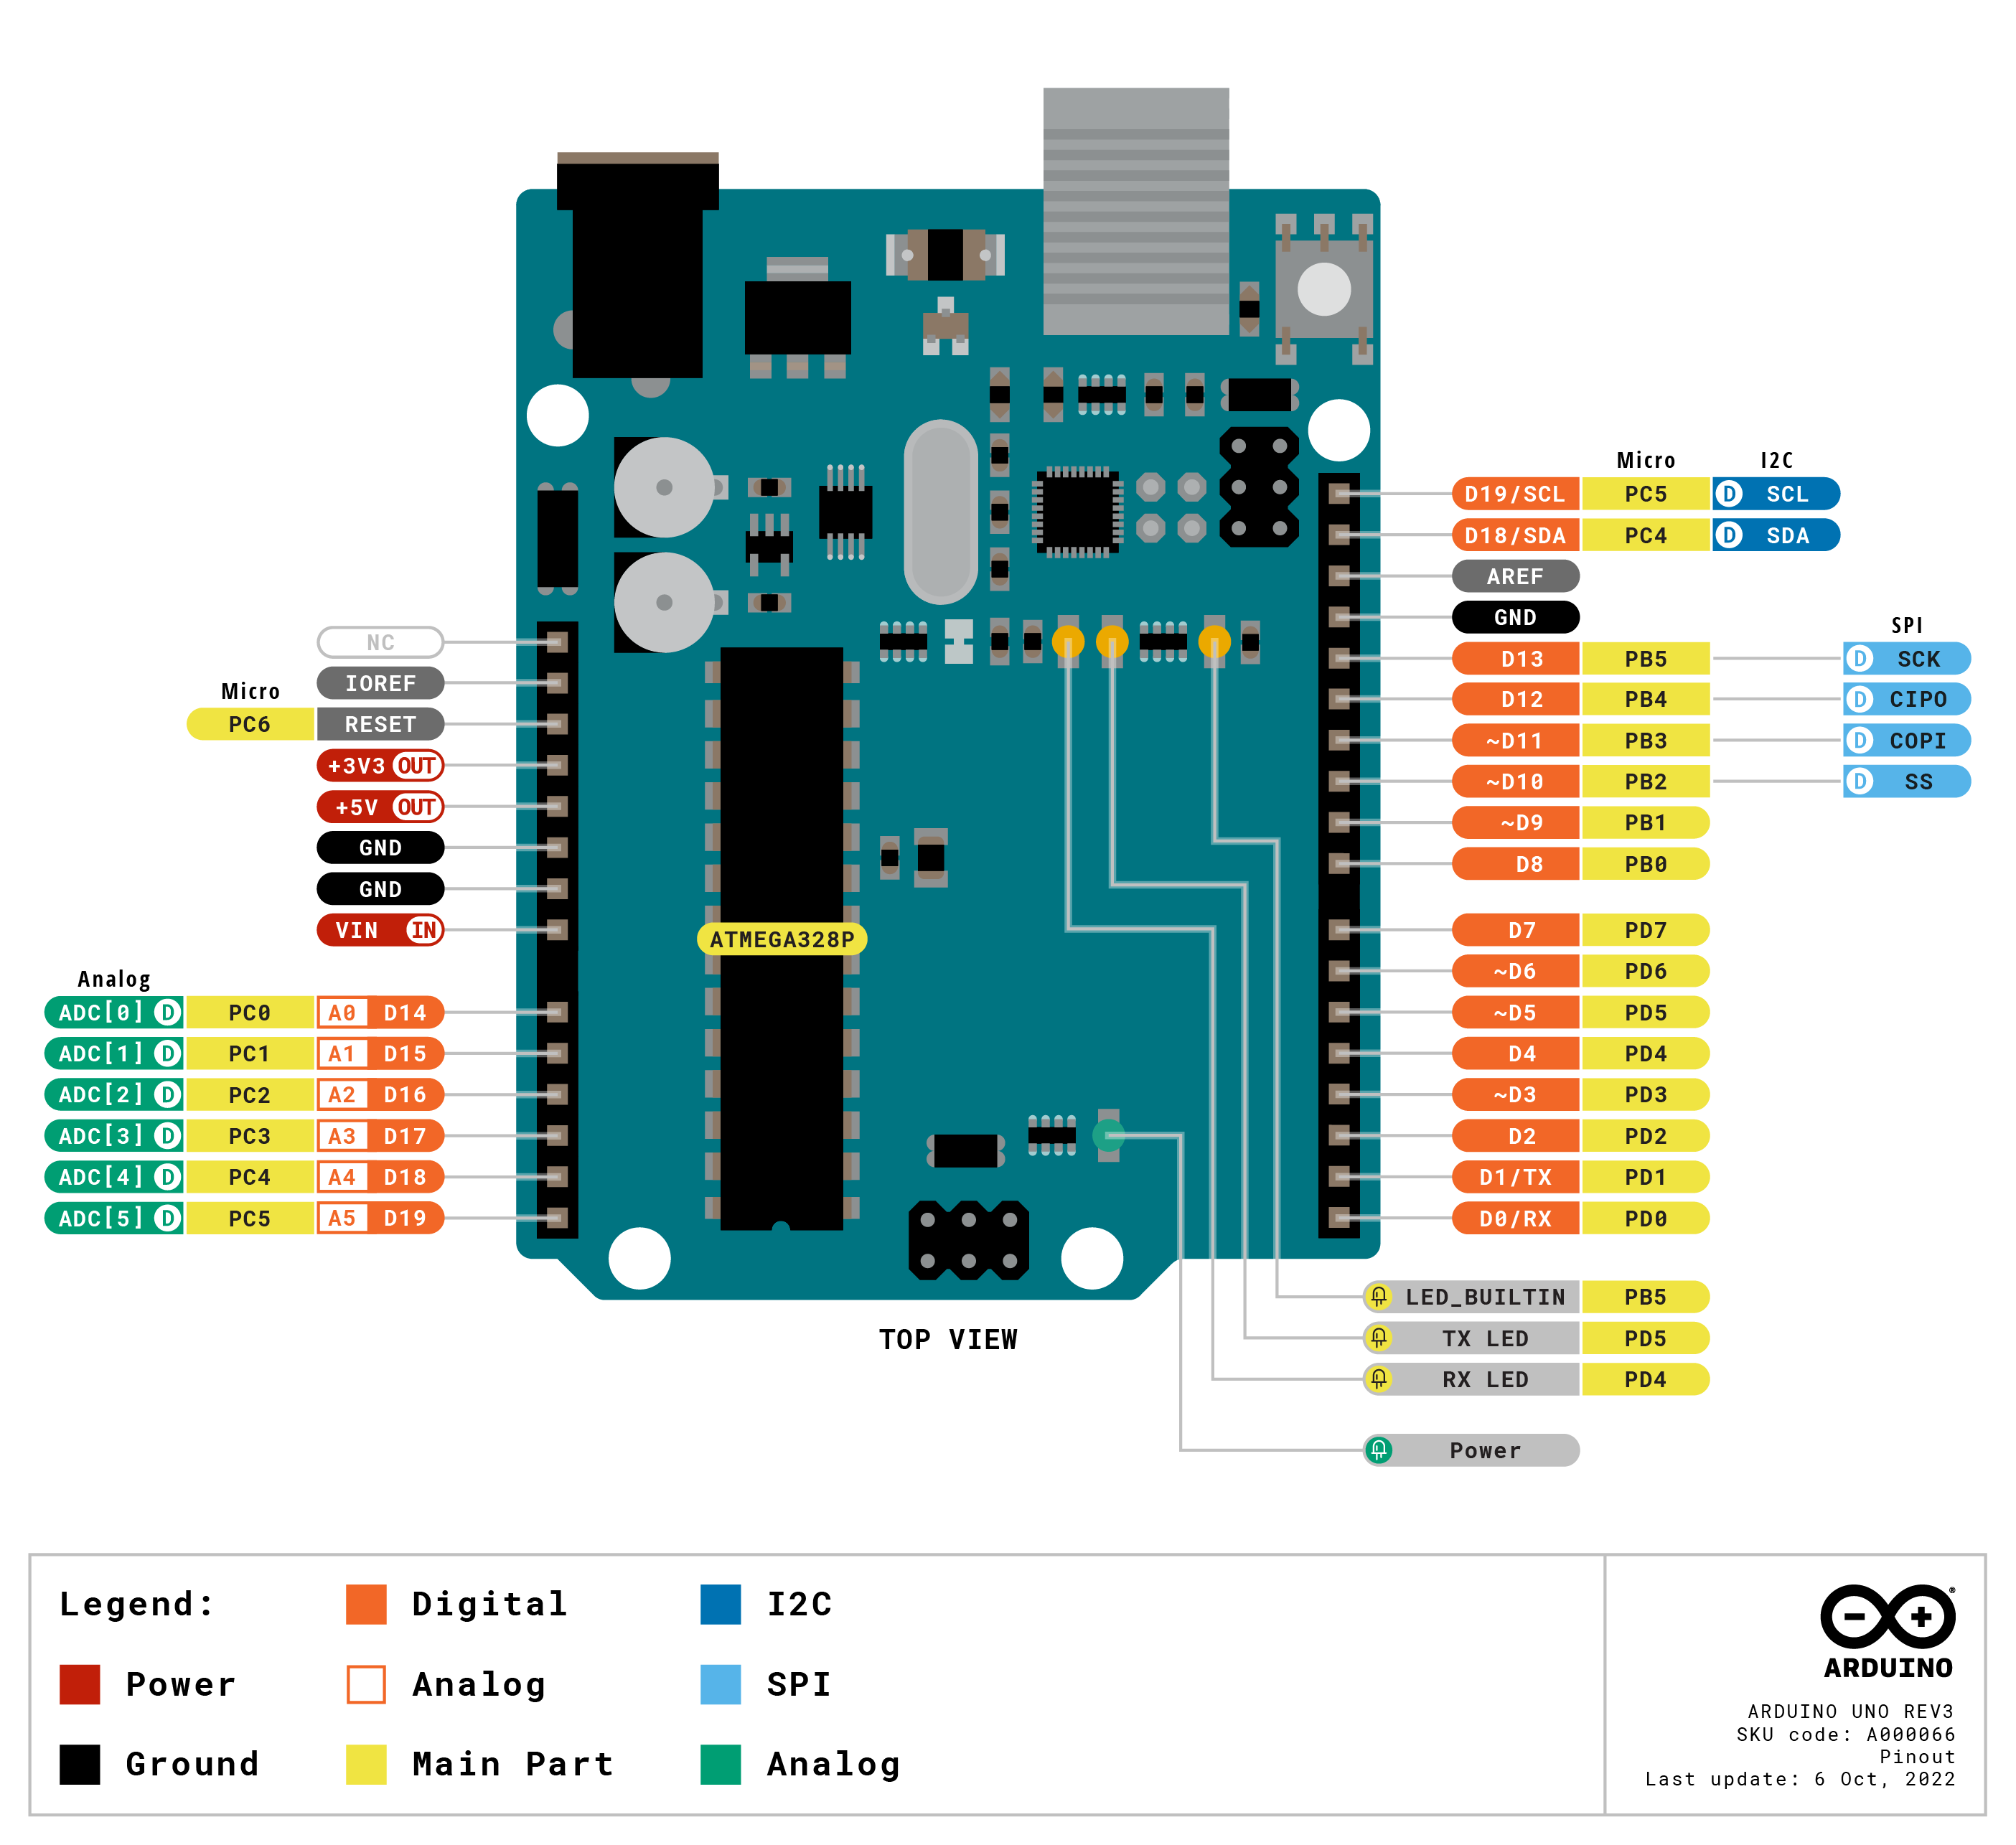
Arduino is a single-board microcontroller that can be programmed to control various electronics devices, such as LEDs, motors, and sensors. It is designed to be easy to use, even for those with no prior electronics or programming experience. The platform is based on the Atmel AVR microcontroller and provides a development environment that is easy to use and free to download.
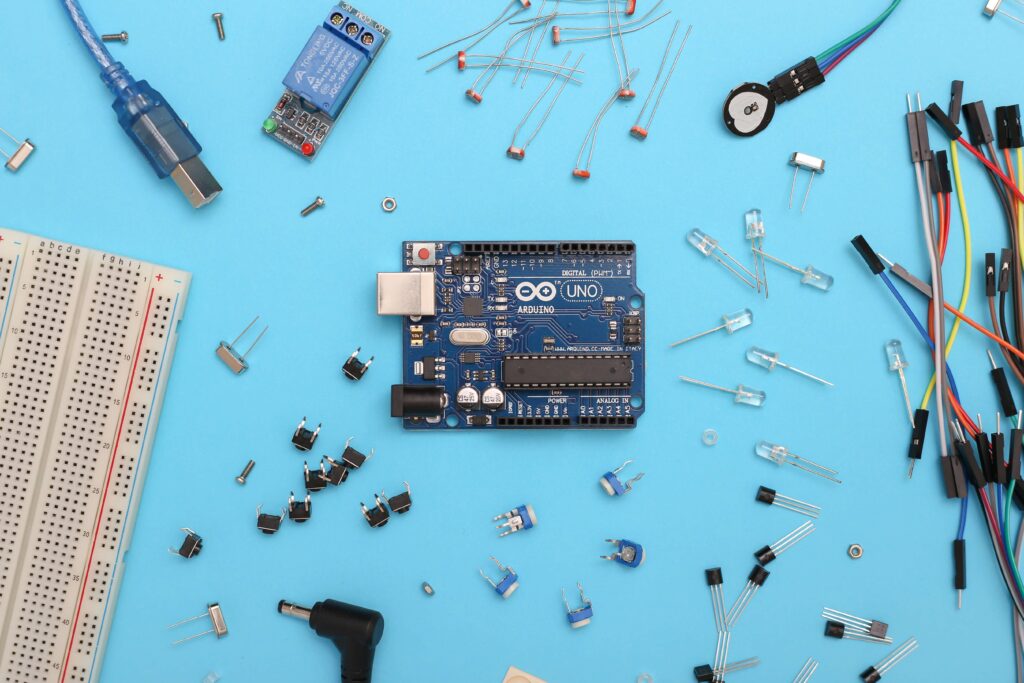
Components of Arduino
Before getting started with Arduino development environment, let’s take a look at the basic components of an Arduino board:
- Microcontroller – The heart of the Arduino board, the microcontroller, is responsible for executing the program code.
- Power supply – The Arduino board can be powered through a USB connection or an external power supply.
- Input/Output (I/O) pins – The I/O pins allow the board to interact with other electronic devices, such as LEDs and sensors.
- Digital and Analog Pins – Arduino boards have both digital and analog pins that can be used for different purposes. Digital pins are used for digital inputs and outputs, while analog pins are used for analog inputs.
- Reset button – The reset button is used to restart the microcontroller and execute the program code from the beginning.
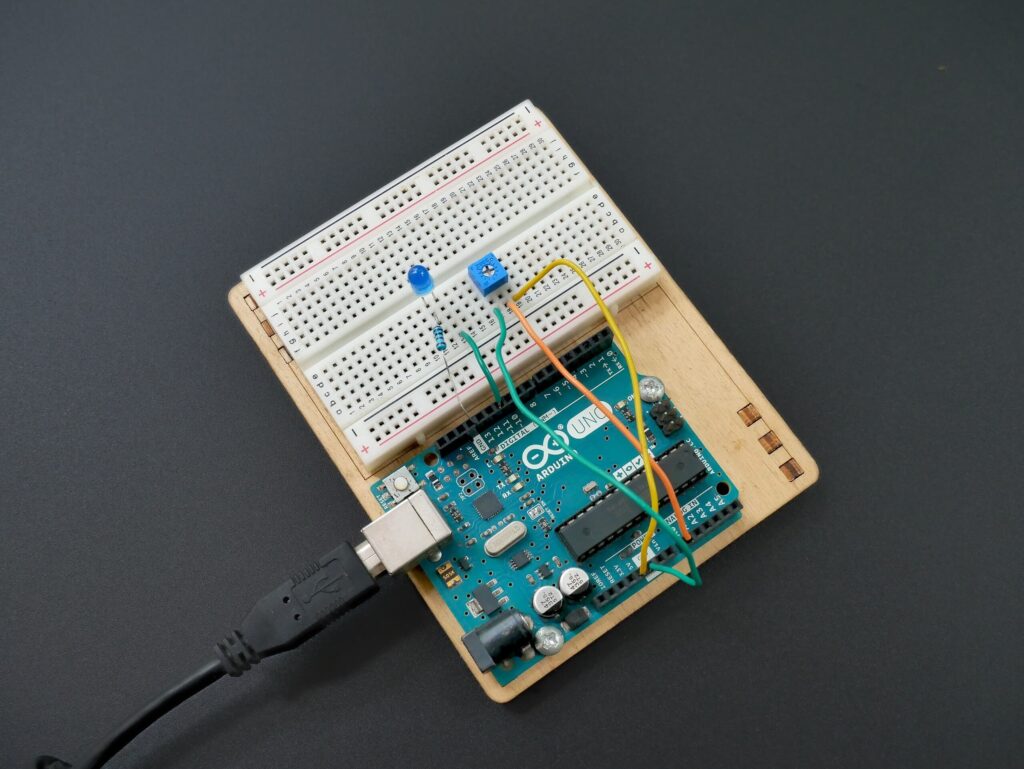
Setting up the Development Environment
Now that we have an understanding of the basic components of an Arduino board, let’s set up the development environment. Here’s what you’ll need:
- Arduino board – You can purchase an Arduino board from the official website or from a third-party seller.
- USB cable – The USB cable is used to connect the Arduino board to your computer.
- Arduino Integrated Development Environment (IDE) – The Arduino IDE is a free software application that provides a development environment for Arduino projects. You can download it from the official website.
Once you have all the components, follow these steps to set up the development environment:
- Connect the Arduino board to your computer using the USB cable.
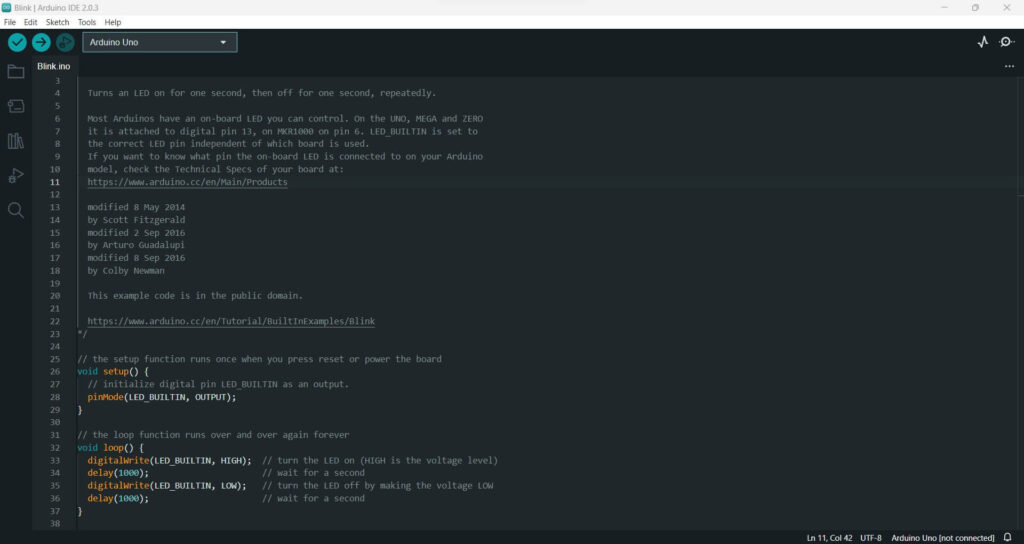
- Install the Arduino IDE on your computer.
- Open the Arduino IDE and select the board type and port from the Tools menu.
- Write the program code using the Arduino IDE and upload it to the board.
- Observe the output of the program on the board or any connected devices.
Concluding Getting Started with Arduino
In this guide, we covered the basics of getting started with Arduino, its components, and how to set up the development environment. With this information, you are now ready to start building your own projects with Arduino. There are many online resources available to help you learn more, such as the official Arduino website, online forums, and tutorial sites. Happy tinkering!
You may also like:
USEFUL AUTOMATIC ROOM LIGHT CONTROL USING ARDUINO AND PIR SENSOR HC-SR501