The NEO-6M GPS module is a powerful GPS receiver that can track position, velocity, and time data. Integrating NEO-6M GPS module with Arduino UNO opens up possibilities for numerous location-based projects, such as navigation systems, vehicle tracking, or time synchronization applications. In this guide, we’ll go through the process of interfacing the NEO-6M GPS module with Arduino UNO and include a sample code to get you started.
If you are interested in reading about working of global positioning system (GPS) you can visit the link given below:
What Is GPS & How do Global Positioning Systems Work? | Geotab
Understanding the NEO-6M GPS Module
The NEO-6M GPS module consists of:
- GPS Antenna: Receives signals from GPS satellites.
- Power Supply Pins: Operates at 3.3V to 5V.
- UART Pins (TX and RX): Used for serial communication with microcontrollers.

The module communicates via UART protocol, making it easy to interface with the Arduino UNO’s serial ports and it works on 9600 baud rate. The module is highly efficient and easy to use, making it a perfect choice for both beginners and advanced users working on GPS-based projects
Components Required
- Arduino UNO
- NEO-6M GPS Module
- Jumper wires
WIRING INSTRUCTIONS
Follow these steps to connect the NEO-6M GPS module with Arduino UNO:
| GPS Module Pin | Arduino Pin |
|---|---|
| VCC | 5V |
| GND | GND |
| TX | Pin 2 |
| RX | Pin 3 |
The TX pin of the GPS module transmits data, while the RX pin receives data from the Arduino. To avoid direct 5V logic to the RX pin of the GPS module, ensure compatibility by using a voltage divider or logic level shifter if needed.

Library Installation
We’ll use the TinyGPSPlus library for parsing GPS data. To install this library:
- Open the Arduino IDE.
- Go to Sketch > Include Library > Manage Libraries.
- Search for “TinyGPSPlus” and click Install.

Arduino Code
Here is a sample code to read and display GPS data:
#include <TinyGPSPlus.h>
#include <SoftwareSerial.h>

// Create instances of TinyGPS++ and SoftwareSerial
TinyGPSPlus gps;
SoftwareSerial gpsSerial(2, 3); // RX, TX

void setup() {
  Serial.begin(9600);         // Initialize Serial Monitor
  gpsSerial.begin(9600);      // Initialize GPS module
  Serial.println("GPS Module Initializing...");
}

void loop() {
  // Read data from GPS module
  while (gpsSerial.available() > 0) {
    char c = gpsSerial.read();
    if (gps.encode(c)) {
      displayGPSData();
    }
  }

  // If no valid data is available
  if (millis() > 5000 && gps.charsProcessed() < 10) {
    Serial.println("No GPS data received: Check connections.");
  }
}

void displayGPSData() {
  if (gps.location.isValid()) {
    Serial.print("Latitude: ");
    Serial.println(gps.location.lat(), 6);
    Serial.print("Longitude: ");
    Serial.println(gps.location.lng(), 6);
  } else {
    Serial.println("Location: INVALID");
  }

  if (gps.date.isValid()) {
    Serial.print("Date: ");
    Serial.print(gps.date.month());
    Serial.print("/");
    Serial.print(gps.date.day());
    Serial.print("/");
    Serial.println(gps.date.year());
  } else {
    Serial.println("Date: INVALID");
  }

  if (gps.time.isValid()) {
    Serial.print("Time: ");
    Serial.print(gps.time.hour());
    Serial.print(":");
    Serial.print(gps.time.minute());
    Serial.print(":");
    Serial.println(gps.time.second());
  } else {
    Serial.println("Time: INVALID");
  }

  Serial.println();
}
Testing
- Upload the code to your Arduino UNO.
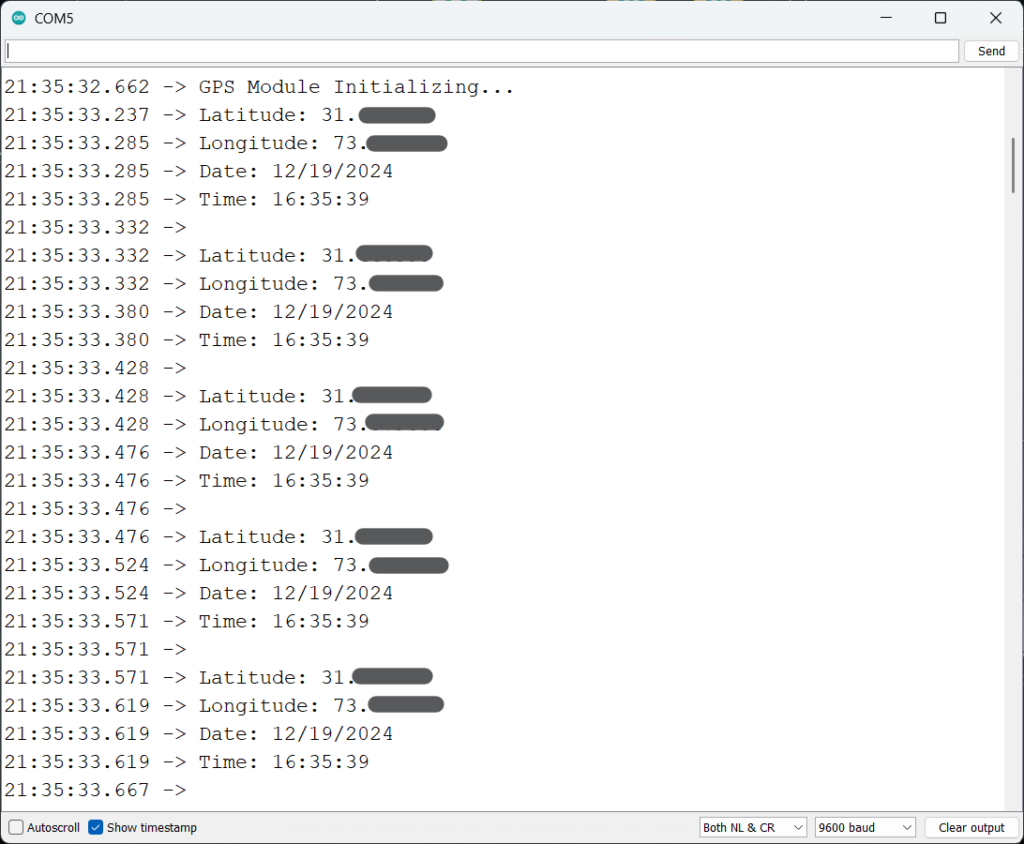
- Open the Serial Monitor (set baud rate to 9600).
- Place the GPS module in an open area to receive satellite signals.
- Observe the latitude, longitude, date, and time data on the Serial Monitor.

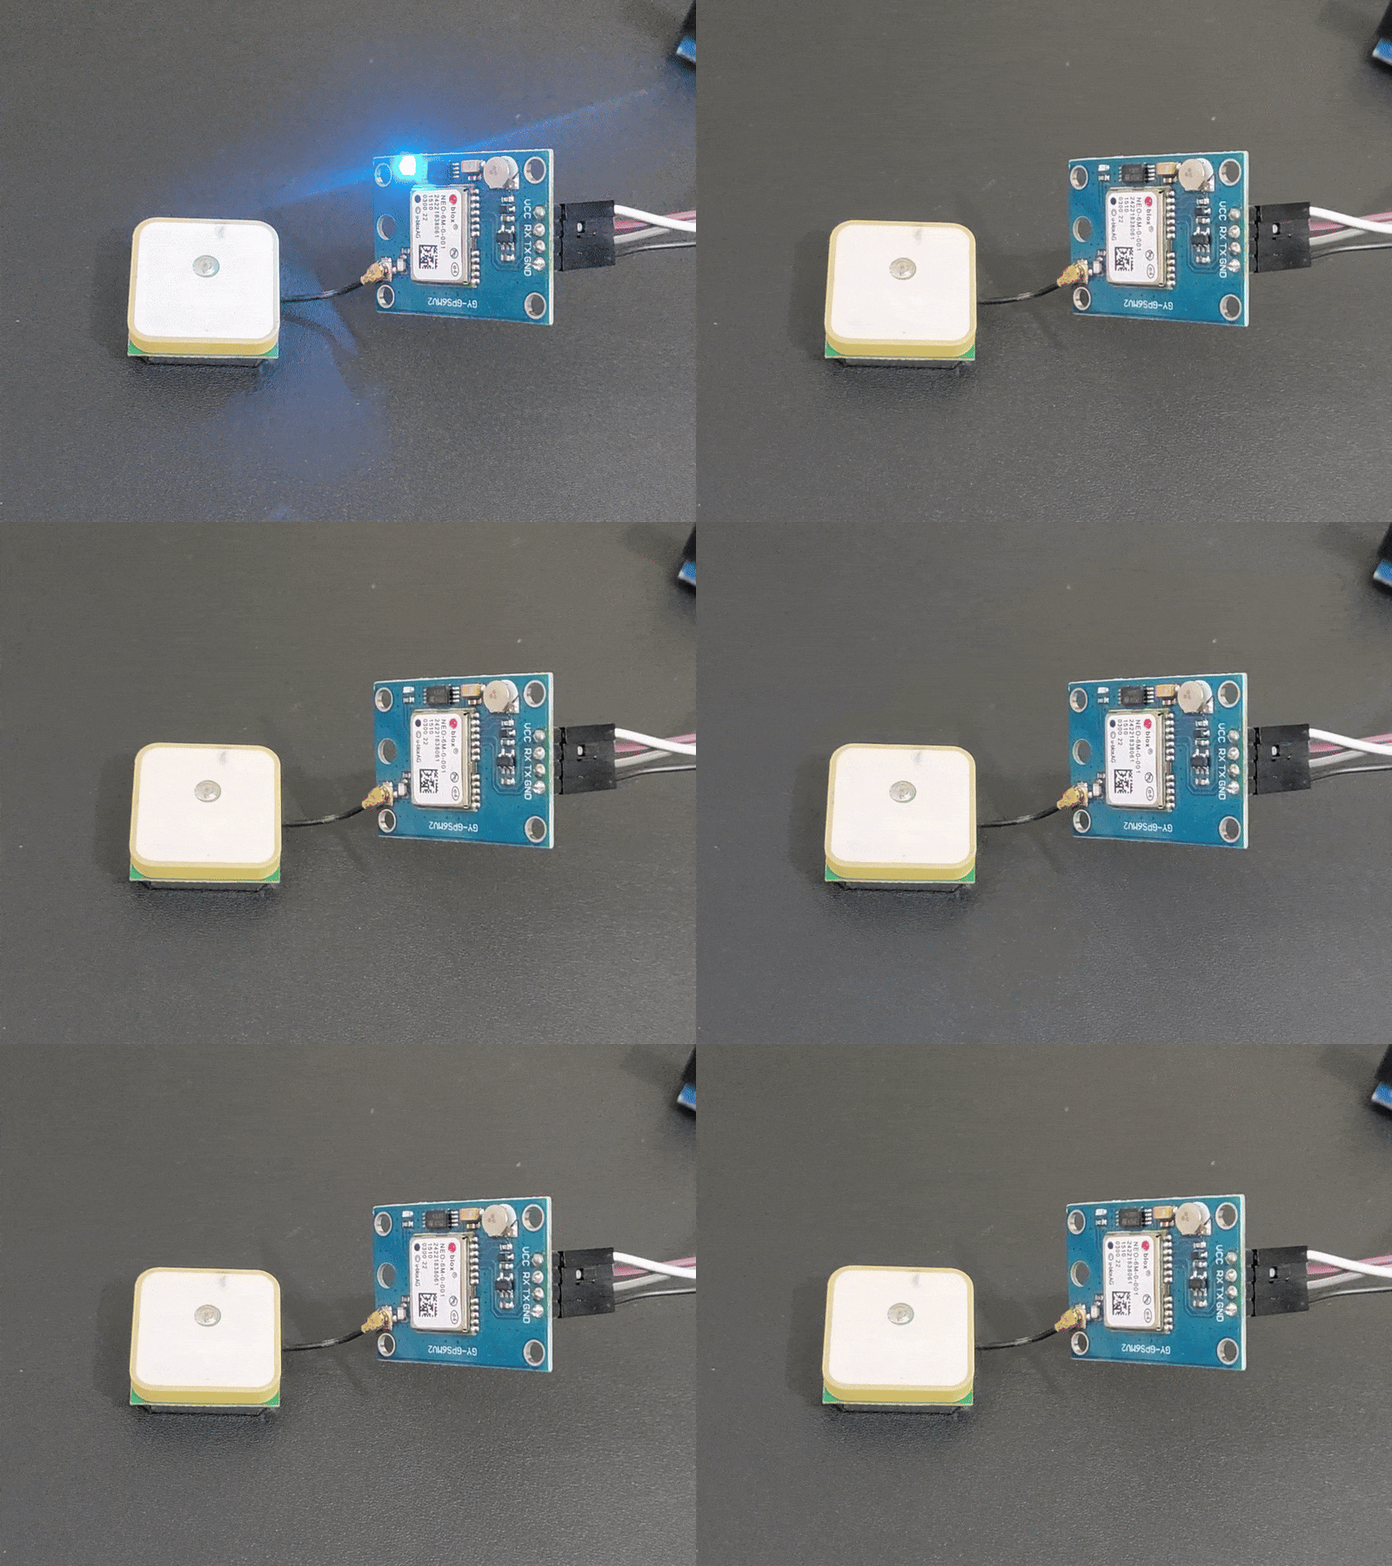
This is how the on-board LED of the GPS module blinks when it gets signal from satellites:

Conclusion
Interfacing the NEO-6M GPS module with Arduino is straightforward and opens up exciting project opportunities. With the provided code and library, you can easily extract and use GPS data for navigation, mapping, or timing purposes. Experiment and build creative GPS-based applications! The combination of Arduino’s versatility and the GPS module’s precision can be utilized in a variety of innovative projects. Whether you’re designing a real-time tracking system for vehicles or developing a time-synchronized application, the possibilities are vast. By integrating GPS technology into your projects, you can explore new dimensions in location-based automation and monitoring, paving the way for smarter and more efficient solutions.
Experiment and build creative GPS-based applications!
Thank You!!!
You can find more arduino sensor guides on this website:
0.96 Inch I2C OLED Display With Arduino – ArduinoYard
How To Use Ultrasonic Sensor HC-SR04 With Arduino: A Beginner’s Guide – ArduinoYard
Using IR Sensor With Arduino (Proximity Sensor) – Easy Guide – ArduinoYard
