Introduction
In our previous article, we learned what ESP-IDF is and why it’s considered the official development framework for ESP32 microcontrollers. Now, it’s time to move from theory to practice.
This step-by-step guide will help you set up ESP-IDF, build your first project, and Programming ESP32 with ESP-IDF. We’ll use the popular “Blink” example to make sure everything is working properly. This tutorial is written for beginners — no prior experience with ESP-IDF is required.
What You’ll Need
Before starting, make sure you have the following:
- An ESP32 development board (e.g., ESP32 DevKit V1)
- A USB data cable (not charge-only)
- A Windows PC (macOS/Linux users can still follow the same logic)
- Visual Studio Code (recommended editor)
- Stable internet connection
Step 1: Install ESP-IDF Tools
The easiest and most reliable way to install ESP-IDF on Windows is by using Espressif’s official ESP-IDF Tools Installer.
- Go to the official ESP-IDF website:
https://dl.espressif.com/dl/esp-idf/?idf=4.4 - Download the ESP-IDF Tools offline Installer for Windows.
- Run the installer and make sure the following options selected:
- ESP-IDF (latest version)
- ESP-IDF Tools (Python, Git, etc.)
- Visual Studio Code Extension
- Choose your installation directory (default is fine).
The installer will automatically set up your toolchain, Python environment, and IDF_PATH.
After installation, open the ESP-IDF Command Prompt from the Start menu — this terminal has all paths configured automatically.
ESP-IDF Desktop Icon
Step 2: Verify the Installation
Go to the desktop and open the CMD of ESP-IDF
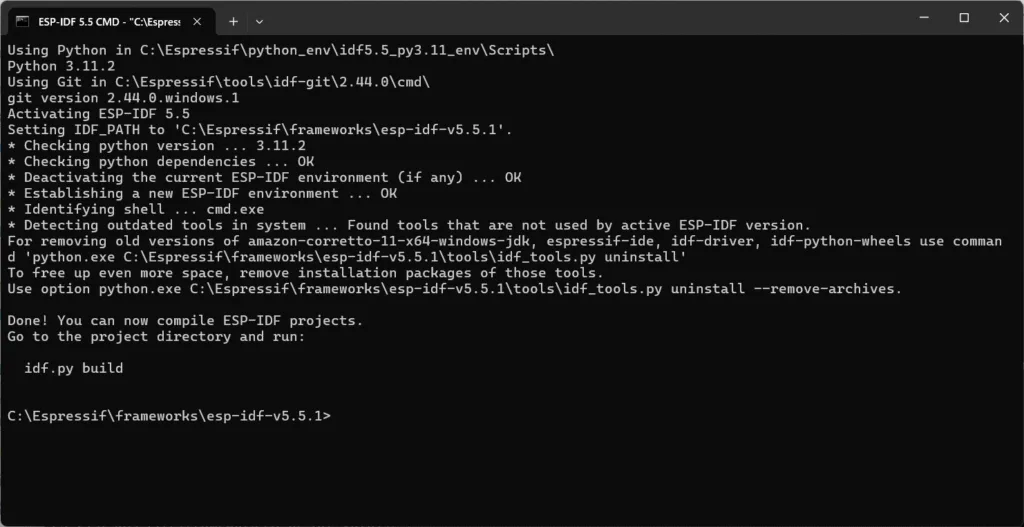
In the ESP-IDF Command Prompt, type:
idf.py --versionIt should return the ESP-IDF installed version.

If everything was installed correctly, you’ll see the ESP-IDF version printed (for example, v5.5.1).
Step 3: Create a New Project
Let’s create a new folder for our first project:
In the ESP-IDF CMD prompt enter the below lines one by one. It will create the first project named “blink test”.
mkdir esp32_projects
cd esp32_projects
idf.py create-project blink_test
cd blink_test
This will create a new directory with the following structure:
blink_test/
├── main/
│   └── main.c
├── CMakeLists.txt
└── sdkconfig
Step 4: Now Programming ESP32 with ESP-IDF
Now, open the blink_test folder in Visual Studio Code or Notepad.
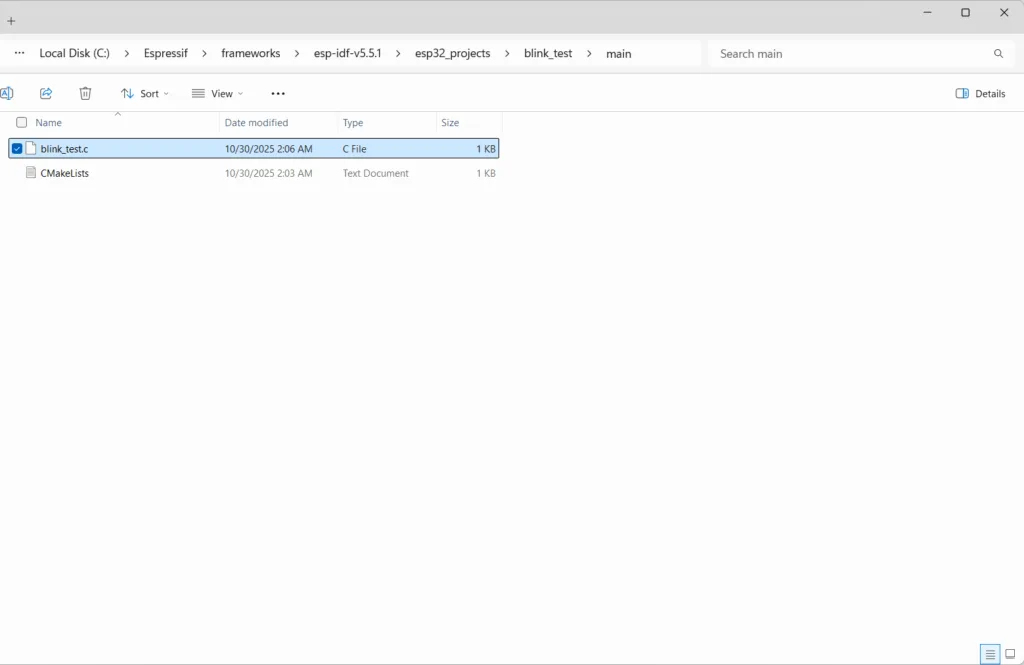
Go to C:\Espressif\frameworks\esp-idf-v5.5.1\esp32_projects\blink_test\main and open blink_test.c and replace its content with this:
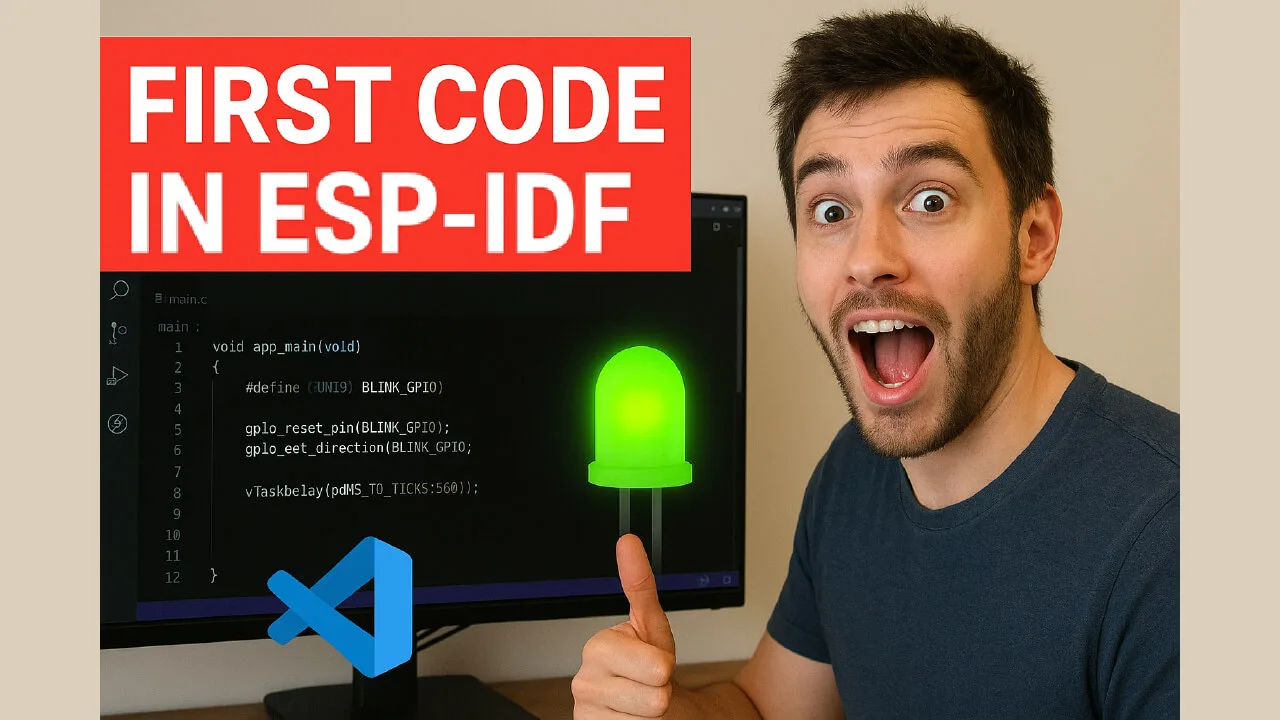
//Programming ESP32 with ESP-IDF
#include "freertos/FreeRTOS.h"
#include "freertos/task.h"
#include "driver/gpio.h"

#define BLINK_GPIO 2  // Change this if your board uses a different LED pin

void app_main(void)
{
    gpio_reset_pin(BLINK_GPIO);
    gpio_set_direction(BLINK_GPIO, GPIO_MODE_OUTPUT);

    while (1) {
        gpio_set_level(BLINK_GPIO, 1);
        vTaskDelay(pdMS_TO_TICKS(500));
        gpio_set_level(BLINK_GPIO, 0);
        vTaskDelay(pdMS_TO_TICKS(500));
    }
}
At C:\Espressif\frameworks\esp-idf-v5.5.1\esp32_projects\blink_test\main you will find these files.
Replace the code and save the file.

Step 5: Configure the Project (Optional)
Run:
idf.py menuconfig
This command opens a text-based menu.
Here you can:
- Change the serial port under Serial Flasher Config
- Adjust flash speed or partition tables
- Explore Wi-Fi and Bluetooth options
Press S to save and Q to quit.
Step 6: Build, Flash, and Monitor
Now connect your ESP32 board via USB.

(You can find your com-port in Windows Device Manager as shown above.)
Now run the following commands one by one:
(Replace COM8 with the actual COM port of your ESP32 board)
idf.py build
idf.py -p COM8 flash monitor
This is how it should look like. It confirms the code is uploaded successfully.
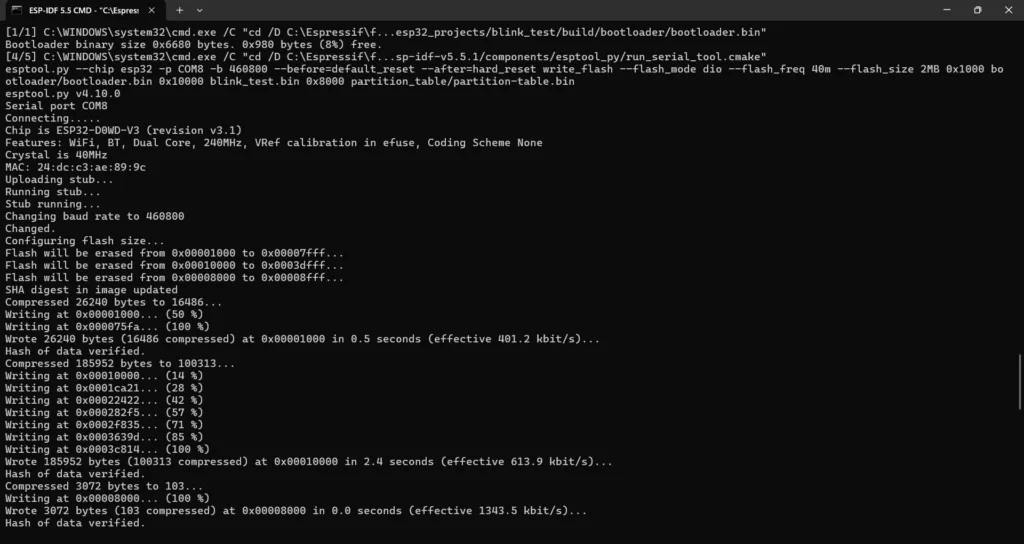
When successful, your onboard LED should start blinking!
Press Ctrl + ] to exit the monitor.
DEMONSTRATION:
Step 7: Explore the Project Structure
Each ESP-IDF project follows this layout:
blink_test/
├── main/              → your source code
├── components/        → reusable libraries (optional)
├── build/             → generated files after compilation
├── CMakeLists.txt     → build configuration
└── sdkconfig          → saved project settings
Step 8: Understanding FreeRTOS and app_main()
Unlike Arduino, ESP-IDF runs FreeRTOS by default — a real-time operating system.
When you write app_main(), you’re actually defining the main task that runs under FreeRTOS.
You can create multiple tasks using:
xTaskCreate(&task_function, "name", 2048, NULL, 5, NULL);
This makes ESP-IDF powerful for multitasking and industrial applications.
Introduction To FreeRTOS in Arduino IDE
Step 9: Troubleshooting Common Issues
| Problem | Possible Fix |
|---|---|
idf.py not recognized | Use the ESP-IDF Command Prompt |
| Flash fails | Use correct COM port, check USB cable |
| LED not blinking | Try another GPIO pin (e.g., 2 or 5) |
| Permission denied (Linux) | Add user to dialout group or use sudo |
Step 10: Next Steps
Once you’ve mastered the Blink example, try exploring:
wifi/getting_started/stationexample (connect to Wi-Fi)bluetooth/bluedroid/ble_spp_server(Bluetooth)mqtt/tcp(connect to MQTT broker)
All of these are included inside the ESP-IDF examples directory.
Final Thoughts on Programming ESP32 with ESP-IDF
You’ve now written and uploaded your first ESP-IDF project!
Unlike Arduino, ESP-IDF gives you professional-grade control, real-time performance, and access to all ESP32 features. In the next articles, we’ll explore Wi-Fi connectivity, FreeRTOS multitasking, and sensor interfacing with ESP-IDF.
Exactly what I needed! Thank you.
Welcome! Keep following ArduinoYard for more helpful guides.
This ESP-IDF setup guide is a real page-turner! Who knew installing tools could be so… *methodical*? The step-by-step wizardry of `idf.py menuconfig` reminds me of those complex Choose Your Own Adventure books where you mostly just waste time changing Wi-Fi settings. But hey, at least its not like trying to decipher ancient hieroglyphics… right? The blinking LED tutorial feels like the digital equivalent of throwing a pebble into a pond and watching it splash. Still, its better than staring blankly at a wall, and who knows, maybe Ill eventually build something cooler than a flashing light. Just dont blame me if the `idf.py build` command lingers longer than my patience!
True, ESP-IDF makes every tiny blink feel like a heroic achievement. But stick with it—soon you’ll be doing way cooler stuff than convincing an LED to flash on command.