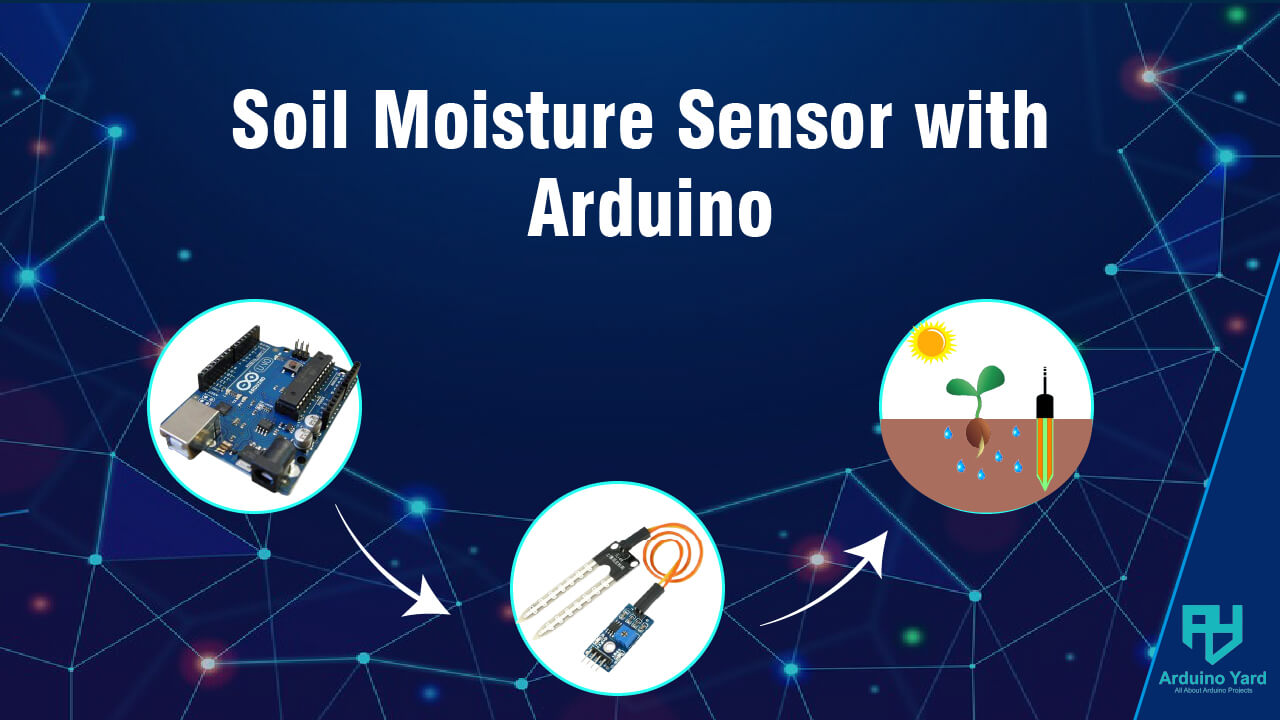
Introduction
Using a Soil Moisture Sensor with Arduino, you can efficiently monitor soil conditions and automate plant watering, making it a valuable tool for home gardening, agriculture, and smart irrigation systems. Maintaining proper soil moisture is crucial for healthy plant growth, and manually checking soil conditions can be time-consuming and inconsistent. With an Arduino-based soil moisture monitoring system, you can continuously track moisture levels and take action when necessary, ensuring your plants receive the right amount of water at the right time.
In this guide, we will explore how a resistive soil moisture sensor works, how to interface it with an Arduino, and how to implement a simple yet effective soil moisture monitoring system. By the end of this tutorial, you’ll be able to measure soil moisture levels and even convert raw sensor readings into a more understandable percentage format.
What is a Soil Moisture Sensor?
A soil moisture sensor measures the volumetric water content in the soil. It helps determine if the soil is too dry or too wet, enabling automated watering systems to optimize plant hydration. The most commonly used sensor with Arduino is the resistive soil moisture sensor.
How a Resistive Soil Moisture Sensor Works
The soil moisture sensor consists of two probes that measure conductivity in the soil. When soil moisture increases, conductivity improves, and the sensor outputs a higher value. The sensor provides an analog output (voltage variation) that can be read by an Arduino’s analog input.
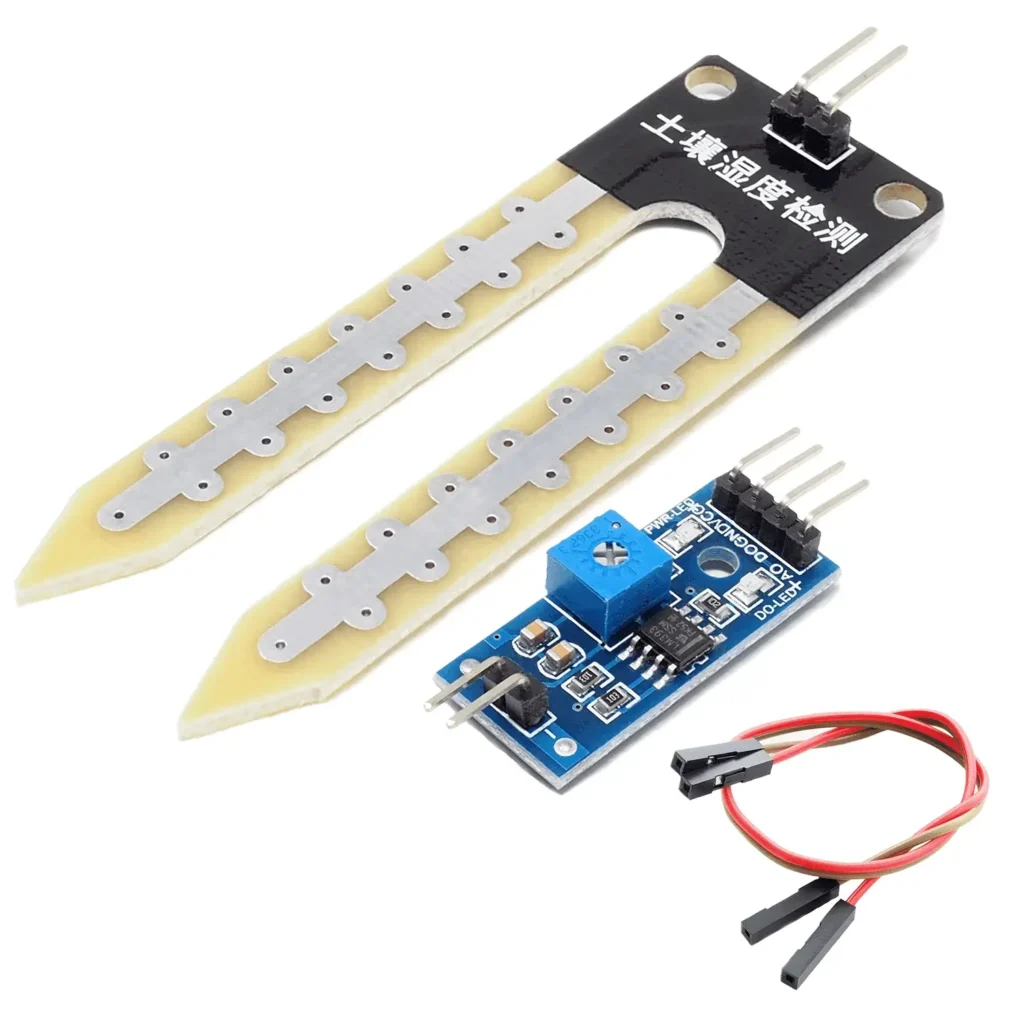
Soil Moisture Sensor Pinout
The capacitive soil moisture sensor comes with the following pins:
| Pin | Description |
|---|---|
| VCC | Power supply (3.3V to 5V) |
| GND | Ground connection |
| AO (Analog Output) | Outputs an analog voltage that varies based on soil moisture level |
| DO (Digital Output) | Outputs a digital HIGH/LOW signal based on a set moisture threshold (adjustable via onboard potentiometer) |

In this project, we are using the analog output (AO) for more precise moisture level readings. However, if you want a simple dry/wet indication, you can use the digital output (DO) instead. The DO threshold can be adjusted using the small potentiometer on the sensor board.
Interfacing Soil Moisture Sensor with Arduino
Components Required
- Arduino Board (Uno, Mega, or Nano)
- Resistive Soil Moisture Sensor
- Jumper Wires
- 10kΩ Resistor (if needed)
Circuit Diagram
Connect the soil moisture sensor to the Arduino as follows:
| Sensor Pin | Connects To |
|---|---|
| VCC | 5V (or 3.3V for ESP32) |
| GND | GND |
| AO (Analog Output) | A0 (Analog Pin of Arduino) |

Arduino Code for Soil Moisture Sensor
Here’s a simple program to read soil moisture levels and display them in the Serial Monitor.
// Soil Moisture Sensor with Arduino by ArduinoYard
#define SENSOR_PIN A0  // Define the sensor pin

void setup() {
    Serial.begin(9600); // Initialize Serial Monitor
}

void loop() {
    int moistureLevel = analogRead(SENSOR_PIN); // Read analog data
    Serial.print("Soil Moisture Level: ");
    Serial.println(moistureLevel);
    delay(1000); // Delay for readability
}
Understanding the Code
- The analogRead() function reads the sensor’s voltage output.
- The Serial Monitor prints moisture levels, helping determine dry or wet conditions.
- Adjust threshold values based on your sensor and soil type.
Serial Output

Mapping Soil Moisture Levels to Percentage
To get a more understandable moisture percentage, we can map the sensor readings to a 0-100% scale.
Moisture Percentage Code
// Soil Moisture Sensor with Arduino by ArduinoYard
#define SENSOR_PIN A0  // Define the sensor pin

// Define min and max sensor values (Adjust these based on your sensor and soil type)
#define DRY_VALUE 1023  // Sensor reading when soil is completely dry
#define WET_VALUE 300   // Sensor reading when soil is completely wet

void setup() {
    Serial.begin(9600); // Initialize Serial Monitor
}

void loop() {
    int sensorValue = analogRead(SENSOR_PIN); // Read raw sensor value

    // Map sensor value to moisture percentage (0% - 100%)
    int moisturePercent = map(sensorValue, DRY_VALUE, WET_VALUE, 0, 100);

    // Ensure values are within 0-100% range
    moisturePercent = constrain(moisturePercent, 0, 100);

    // Print the moisture percentage
    Serial.print("Soil Moisture: ");
    Serial.print(moisturePercent);
    Serial.println("%");

    delay(1000); // Delay for readability
}
Explanation
- DRY_VALUE and WET_VALUE define the sensor’s readings for dry and wet soil.
- The map() function converts raw sensor values into a 0-100% moisture range.
- The constrain() function ensures the percentage stays within valid limits.
- Modify DRY_VALUE and WET_VALUE based on your sensor and soil conditions.
Serial Output

Applications of Soil Moisture Sensor with Arduino
- Automated Plant Watering Systems – Triggers a pump when soil is dry.
- Agriculture Monitoring – Helps farmers optimize irrigation.
- Home Gardening – Prevents over or under-watering plants.
- Soil Research – Monitors soil conditions for research purposes.

Troubleshooting Common Issues
- Unstable Readings – Ensure proper sensor calibration and avoid excessive probe exposure.
- Corrosion – Resistive sensors degrade over time; replace them periodically.
- Incorrect Values – Check wiring and ensure the correct Arduino analog pin is used.
Conclusion
Using a Soil Moisture Sensor with Arduino, you can easily monitor and automate plant watering. Whether for home gardens or agricultural applications, this project provides an excellent foundation for smart irrigation solutions.
Did you find this guide helpful? Let us know in the comments!
Useful Resources and Further Reading
- How to Use an OLED Display with Arduino – Display sensor readings in a more interactive way.
- Relay Module with Arduino – Use a relay with a pump to water your plants.
- Arduino Analog Read Reference – Official documentation on reading analog values.
- How to Select the Best Soil Moisture Sensors