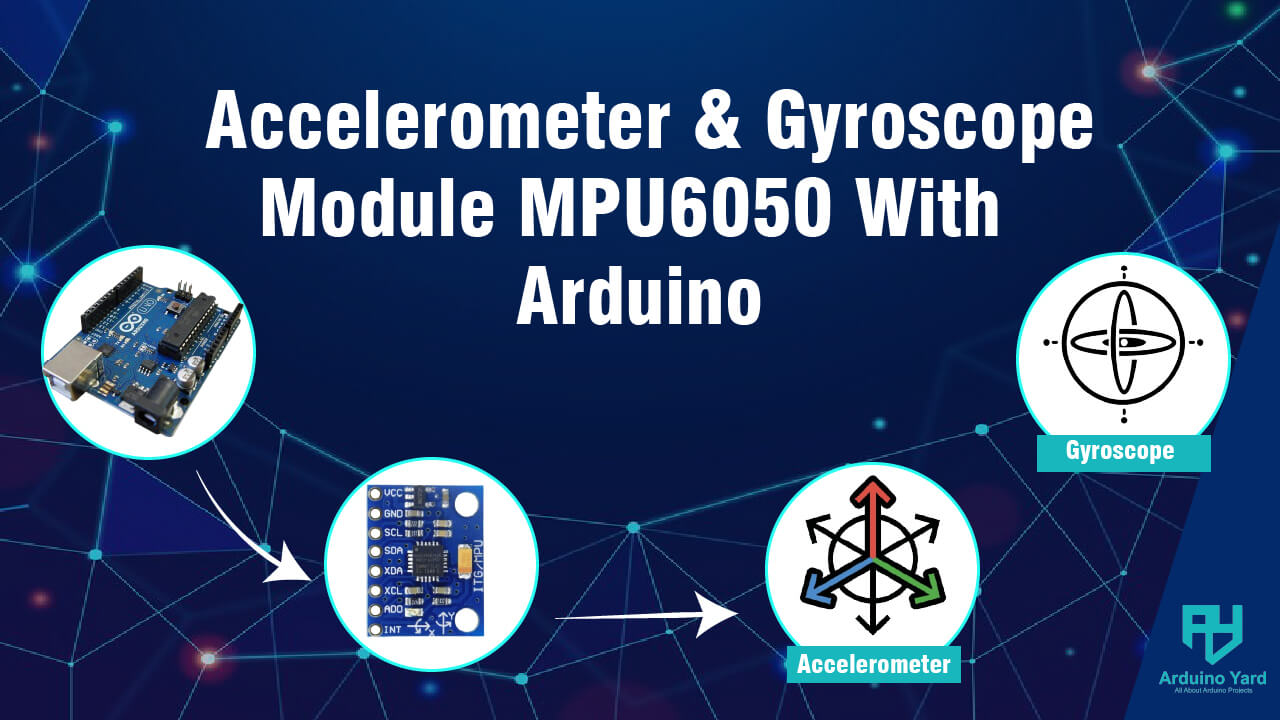
In this guide, we will explore how to interface the Accelerometer Module MPU6050 with Arduino, understand its working principle, and implement practical projects like tilt detection and motion tracking. The MPU6050 is a popular accelerometer and gyroscope sensor used for motion tracking and orientation sensing in Arduino projects. This module measures acceleration, angular velocity, and even temperature, making it ideal for robotics, drones, and motion-controlled applications.
Features of MPU6050 Module
- 3-Axis Accelerometer and 3-Axis Gyroscope
- Motion Processing Unit (MPU) for onboard calculations
- I2C Communication for easy interfacing
- Built-in Digital Motion Processor (DMP)
- Temperature Sensor
- Low Power Consumption

Components Required
- Arduino UNO/Nano
- MPU6050 (GY-521) Module
- Jumper Wires
Understanding How MPU6050 Works
The MPU6050 combines an accelerometer and a gyroscope into a single chip, enabling motion detection in six degrees of freedom (6DOF).
- Accelerometer: Measures acceleration along the X, Y, and Z axes.
- Gyroscope: Measures angular velocity (rotation) along the same three axes.
- Temperature Sensor: Provides an internal temperature reading of the sensor.
- Digital Motion Processor (DMP): Processes motion data internally, reducing the need for external computations.
- I2C Interface: Allows communication with the Arduino, requiring only two wires (SDA and SCL).
The MPU6050 works by detecting changes in motion and orientation using its internal MEMS (Micro-Electro-Mechanical Systems) sensors. The accelerometer detects the force exerted on it due to gravity, while the gyroscope measures angular velocity, allowing precise tracking of rotational movements.
For accurate motion tracking, the sensor needs to be calibrated to eliminate offsets and improve precision. Calibration ensures that when the sensor is stationary, it outputs near-zero values for acceleration and angular velocity.
MPU6050 Pinout and Connections
| MPU6050 Pin | Description | Arduino Connection |
|---|---|---|
| VCC | Power (3.3V-5V) | 5V |
| GND | Ground | GND |
| SDA | I2C Data | A4 |
| SCL | I2C Clock | A5 |
| INT | Interrupt | D2 (Optional) |

Installing Required Libraries
To use the MPU6050 with Arduino, install the following libraries:
- Adafruit MPU6050 Library
- Adafruit Unified Sensor Library
- Wire Library (Built-in)
Steps to Install:
- Open Arduino IDE.
- Go to Sketch → Include Library → Manage Libraries.
- Search for Adafruit MPU6050 and install it.
- Search for Adafruit Unified Sensor and install it.


Basic Code to Read MPU6050 Data
This code reads acceleration and gyroscope data from the MPU6050 and prints it to the Serial Monitor.
// Accelerometer Module MPU6050 with Arduino by ArduinoYard
#include <Wire.h>
#include <Adafruit_MPU6050.h>
#include <Adafruit_Sensor.h>

Adafruit_MPU6050 mpu;

void setup() {
  Serial.begin(115200);  // Start serial communication
  while (!Serial)
    ;  // Wait for serial connection

  // Initialize the MPU6050
  if (!mpu.begin()) {
    Serial.println("MPU6050 not detected!");
    while (1)
      ;  // Halt execution if MPU6050 is not detected
  }
}

void loop() {
  // Create sensor event objects for accelerometer, gyroscope, and temperature
  /* Get new sensor events with the readings */
  sensors_event_t a, g, temp;
  mpu.getEvent(&a, &g, &temp);

  /* Print out the values */
  Serial.print("Acceleration X: ");
  Serial.print(a.acceleration.x);
  Serial.print(", Y: ");
  Serial.print(a.acceleration.y);
  Serial.print(", Z: ");
  Serial.print(a.acceleration.z);
  Serial.println(" m/s^2");

  Serial.print("Rotation X: ");
  Serial.print(g.gyro.x);
  Serial.print(", Y: ");
  Serial.print(g.gyro.y);
  Serial.print(", Z: ");
  Serial.print(g.gyro.z);
  Serial.println(" rad/s");

  Serial.print("Temperature: ");
  Serial.print(temp.temperature);
  Serial.println(" degC");

  Serial.println("");
  delay(500);
}
Serial Monitor Output:

Tilt Detection Code for MPU6050 with Arduino
This code detects tilt along the X and Y axes and prints the status on the Serial Monitor.
#include <Wire.h>
#include <Adafruit_MPU6050.h>
#include <Adafruit_Sensor.h>

Adafruit_MPU6050 mpu; // Create an MPU6050 object

void setup() {
    Serial.begin(115200); // Start serial communication
    while (!Serial);

    if (!mpu.begin()) { // Check if MPU6050 is connected
        Serial.println("MPU6050 not detected!");
        while (1);
    }
}

void loop() {
    sensors_event_t a, g, temp;
    mpu.getEvent(&a, &g, &temp);

    float tiltX = a.acceleration.x;
    float tiltY = a.acceleration.y;

    Serial.print("Tilt X: "); Serial.print(tiltX);
    Serial.print(", Tilt Y: "); Serial.println(tiltY);

    if (tiltX > 3) {
        Serial.println("Tilted Right!");
    } else if (tiltX < -3) {
        Serial.println("Tilted Left!");
    }

    if (tiltY > 3) {
        Serial.println("Tilted Forward!");
    } else if (tiltY < -3) {
        Serial.println("Tilted Backward!");
    }

    delay(1000); // Wait for 500ms before checking again
}
Serial Monitor Output:

Applications and Project Ideas
The MPU6050 is widely used in various applications, including:
- Self-Balancing Robots – Used for stability and tilt correction.
- Drone Flight Controllers – Helps in orientation and movement stabilization.
- Gesture-Based Control – Detects hand movements for controlling devices.
- Gaming Controllers – Used in motion-sensing gamepads.
- Fitness Trackers – Tracks steps and movement in wearable devices.
- Virtual Reality (VR) Applications – Provides orientation tracking for immersive experiences.
Project Ideas:
- Tilt-Controlled Robot – Move a robot forward, backward, left, and right based on MPU6050 tilt.
- Motion-Activated Lights – Turn on lights based on movement detection.
- DIY Flight Simulator Controller – Control a virtual aircraft using tilt gestures.
- Step Counter (Pedometer) – Build a simple step tracker using accelerometer data.
- Wearable Head Tracking System – Track head movements for VR applications.
Conclusion
In this guide, we explored MPU6050 with Arduino, covered its pinout, wiring, and programming, and implemented basic and advanced projects. The MPU6050 is a versatile motion sensor for projects involving tilt detection, motion tracking, and robotics.
Do you have questions? Let us know in the comments! 🚀
