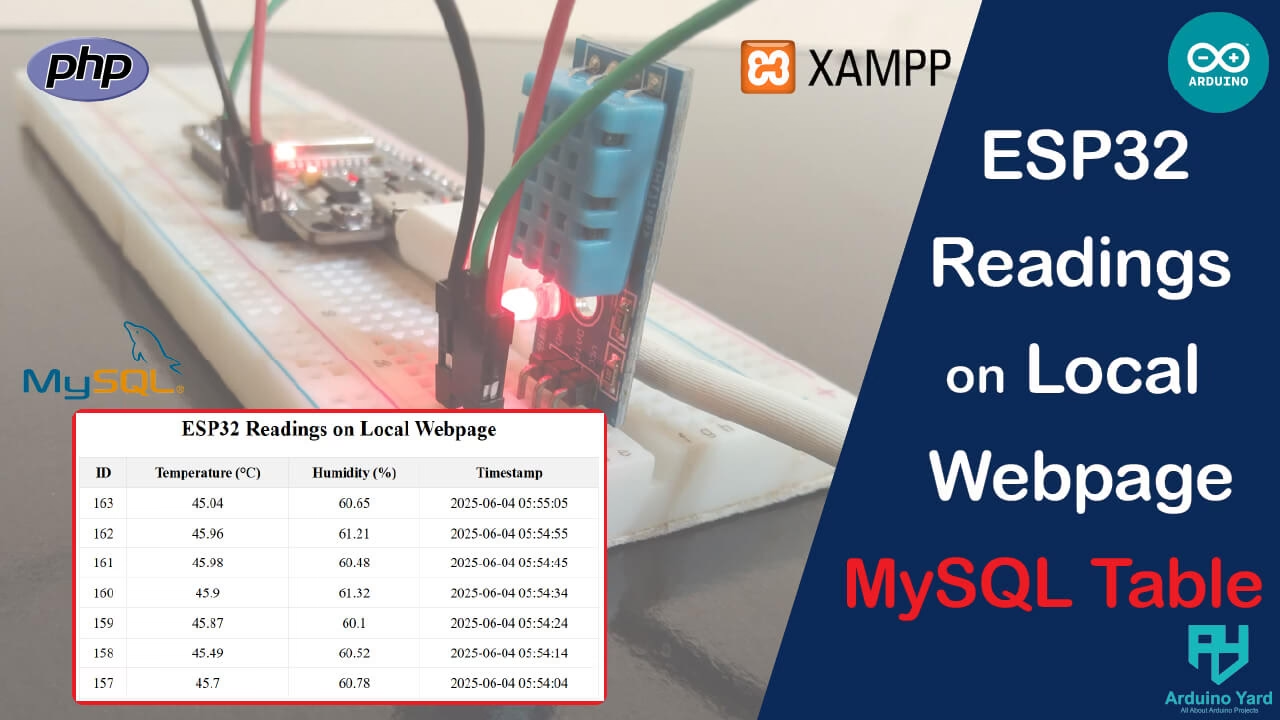
you’ll learn how to display ESP32 readings on a local webpage using XAMPP, PHP, and MySQL. If you’re working on an IoT project and want to monitor your ESP32 sensor data in real time without using cloud platforms, setting up a local server is an excellent option. In this blog post,
Why Display ESP32 Readings on a Local Webpage?
Displaying ESP32 readings on a local webpage is useful when:
- You want to monitor data in real time without internet dependency.
- Your project is in development or testing phase.
- You need a fast and private solution for data logging.
- You want a responsive interface without delays from cloud services.
Let’s walk through the steps required to build this project from scratch.
Required Tools and Components
- ESP32 development board
- DHT11 temperature/humidity sensor
- Windows PC with XAMPP installed
- Wi-Fi router for local network
- Arduino IDE
- Basic knowledge of PHP and MySQL
Step 1: Set Up XAMPP and MySQL Database
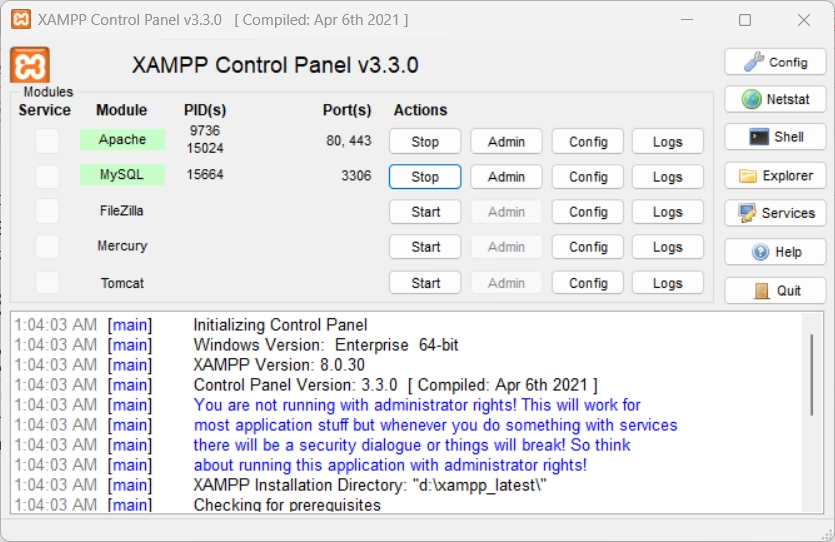
1. Start XAMPP
- Launch the XAMPP Control Panel
- Start Apache and MySQL
2. Create MySQL Database and Table
- Open your browser and go to
http://localhost/phpmyadmin - Click on Databases, create a new one named
esp_data - Click on the new database, then SQL.

Then click on SQL, and run this SQL command:
CREATE TABLE sensor_data (
  id INT AUTO_INCREMENT PRIMARY KEY,
  temperature FLOAT,
  humidity FLOAT,
  reading_time TIMESTAMP DEFAULT CURRENT_TIMESTAMP
);
As shown:
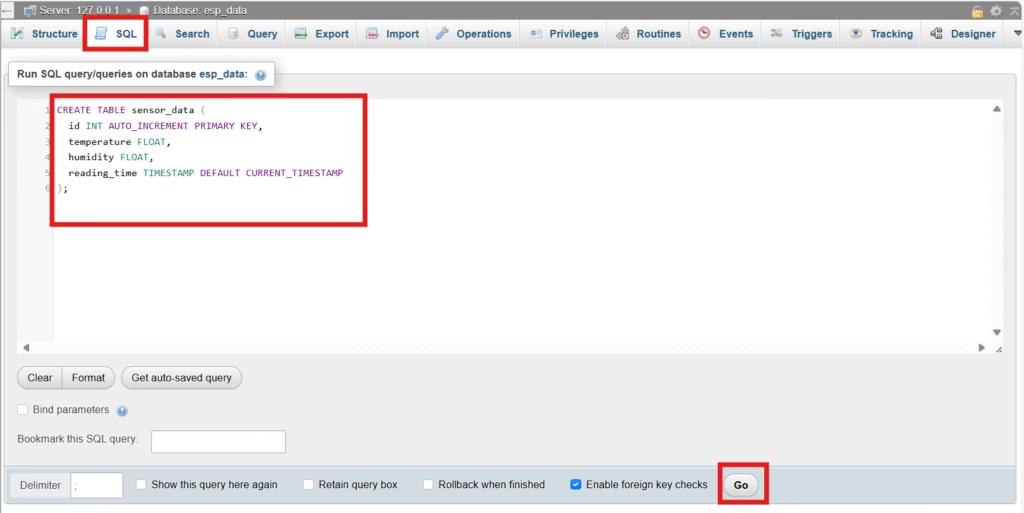
This table will store temperature and humidity values with a timestamp.
Step 2: Create PHP Script to Insert ESP32 Data in MySQL
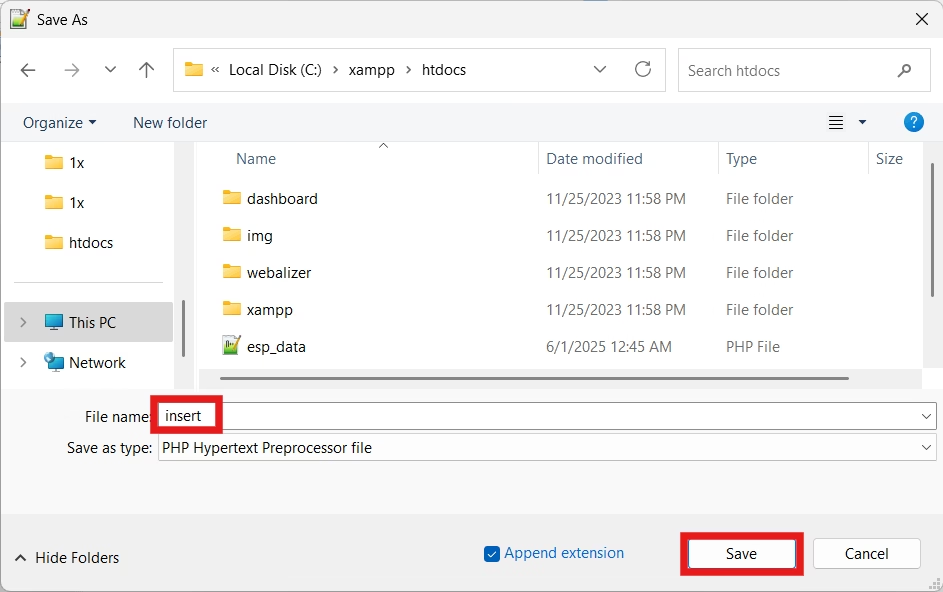
Navigate to C:\xampp\htdocs\ and create a new file called insert.php. Add the following code:
<?php
$servername = "localhost";
$username = "root";
$password = "";
$database = "esp_data";

$conn = new mysqli($servername, $username, $password, $database);

if ($conn->connect_error) {
  die("Connection failed: " . $conn->connect_error);
}

$temperature = $_GET['temperature'];
$humidity = $_GET['humidity'];

$sql = "INSERT INTO sensor_data (temperature, humidity) VALUES ('$temperature', '$humidity')";

if ($conn->query($sql) === TRUE) {
  echo "Data inserted successfully";
} else {
  echo "Error: " . $conn->error;
}

$conn->close();
?>
This script receives temperature and humidity from the ESP32 and inserts them into the database.
Step 3: Write ESP32 Code to Send Data
Open Arduino IDE and upload the following sketch to your ESP32.
//ESP32 readings on a local webpage
#include <WiFi.h>
#include <HTTPClient.h>
#include "DHT.h"

#define DHTPIN 27         // Connect DHT11 data pin to GPIO 27 (change if needed)
#define DHTTYPE DHT11     // Define sensor type DHT11

DHT dht(DHTPIN, DHTTYPE);

const char* ssid = "YOUR_WIFI_SSID";
const char* password = "YOUR_WIFI_PASSWORD";

String serverName = "http://192.168.1.100/insert.php"; // Replace with your PC's IP

void setup() {
  Serial.begin(115200);
  dht.begin();  // Initialize DHT sensor
  WiFi.begin(ssid, password);

  while (WiFi.status() != WL_CONNECTED) {
    delay(1000);
    Serial.println("Connecting to WiFi...");
  }

  Serial.println("Connected to WiFi");
}

void loop() {
  float temperature = dht.readTemperature();  // Celsius
  float humidity = dht.readHumidity();

  // Check if readings are valid
  if (isnan(temperature) || isnan(humidity)) {
    Serial.println("Failed to read from DHT sensor!");
    delay(5000);
    return;
  }
   // Print values to Serial Monitor
  Serial.print("Temperature: ");
  Serial.print(temperature);
  Serial.println(" °C");

  Serial.print("Humidity: ");
  Serial.print(humidity);
  Serial.println(" %");

  if (WiFi.status() == WL_CONNECTED) {
    HTTPClient http;

      String postData = "temperature=" + String(temperature, 2) + "&humidity=" + String(humidity, 2);
 http.begin(serverName+"?"+postData);
    int responseCode = http.POST("");

    if (responseCode > 0) {
      String response = http.getString();
      Serial.println("Server Response: " + response);
    } else {
      Serial.println("Error sending data to server.");
    }

    http.end();
  } else {
    Serial.println("WiFi not connected");
  }

  delay(10000); // Wait 10 seconds before sending again
}
//ESP32 readings on a local webpage
Replace
192.168.1.100with your actual PC IP address (useipconfigin CMD to find it). Add your SSID and Password in code.
Setting Up the Arduino IDE
1. Installing ESP32 boards in arduino IDE
Before starting, make sure you have the ESP32 boards installed in your Arduino IDE:
How To Install ESP32 And ESP8266 Boards In Arduino IDE (Step-by-Step Guide) – ArduinoYard
2. Install Required Libraries
Make sure you have the following libraries installed in your Arduino IDE:
In Arduino IDE, Go to Sketch > Include Library > Manage Libraries.
- Search for DHT Sensor Library (for reading data from the DHT11).

WIRING DIAGRAM
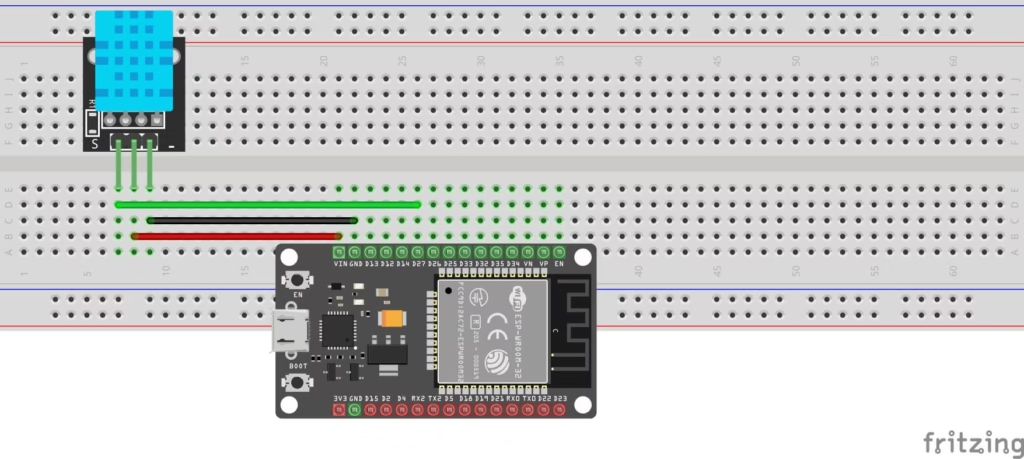
- Connect the VCC pin of the DHT11 to the VIN pin of the ESP32.
- Connect the GND pin of the DHT11 to the GND pin of the ESP32.
- Connect the Data pin of the DHT11 to GPIO 27 of the ESP32.
Step 4: Display ESP32 Readings on a Local Webpage
To display ESP32 readings on a local webpage, create a new file called dashboard.php in the same folder C:\xampp\htdocs\:
<!DOCTYPE html>
<html>
<head>
  <title>ESP32 Readings on Local Webpage</title>
  <style>
    table { border-collapse: collapse; width: 60%; margin: auto; }
    th, td { border: 1px solid #ddd; padding: 8px; text-align: center; }
    th { background-color: #f2f2f2; }
    h2 { text-align: center; }
  </style>
</head>
<body>
  <h2>ESP32 Readings on Local Webpage</h2>
  <table>
    <tr>
      <th>ID</th>
      <th>Temperature (°C)</th>
      <th>Humidity (%)</th>
      <th>Timestamp</th>
    </tr>
    <?php
    $conn = new mysqli("localhost", "root", "", "esp_data");
    $sql = "SELECT * FROM sensor_data ORDER BY reading_time DESC LIMIT 20";
    $result = $conn->query($sql);

    while ($row = $result->fetch_assoc()) {
      echo "<tr>
        <td>{$row['id']}</td>
        <td>{$row['temperature']}</td>
        <td>{$row['humidity']}</td>
        <td>{$row['reading_time']}</td>
      </tr>";
    }

    $conn->close();
    ?>
  </table>
</body>
</html>
Now go to http://localhost/dashboard.php to see your ESP32 readings on a local webpage!

Benefits of Showing ESP32 Readings on A Local Webpage
- No cloud account needed — run everything locally.
- Perfect for testing and development.
- Real-time updates with no latency.
- Full control of your database and data access.
Conclusion
Displaying ESP32 readings on a local webpage is one of the most practical ways to view and log sensor data in real time using your local network. With XAMPP, PHP, and MySQL, you can quickly build your own IoT dashboard with no monthly costs and full offline functionality.
Now that you’ve learned how to display ESP32 readings on a local webpage, you can expand this project to include more sensors, chart visualizations, or even control outputs remotely.
incase you missed the previous parts:
How To Install XAMPP Server On Windows: A Step-by-Step Guide – ArduinoYard
How To Connect ESP32 With XAMPP
Storing ESP32 Data In MySQL Database Using XAMPP: An Easy Guide – ArduinoYard
Create A Local ESP32 IoT Dashboard Using PHP And MYSQL – ArduinoYard