Table of Contents
Overview
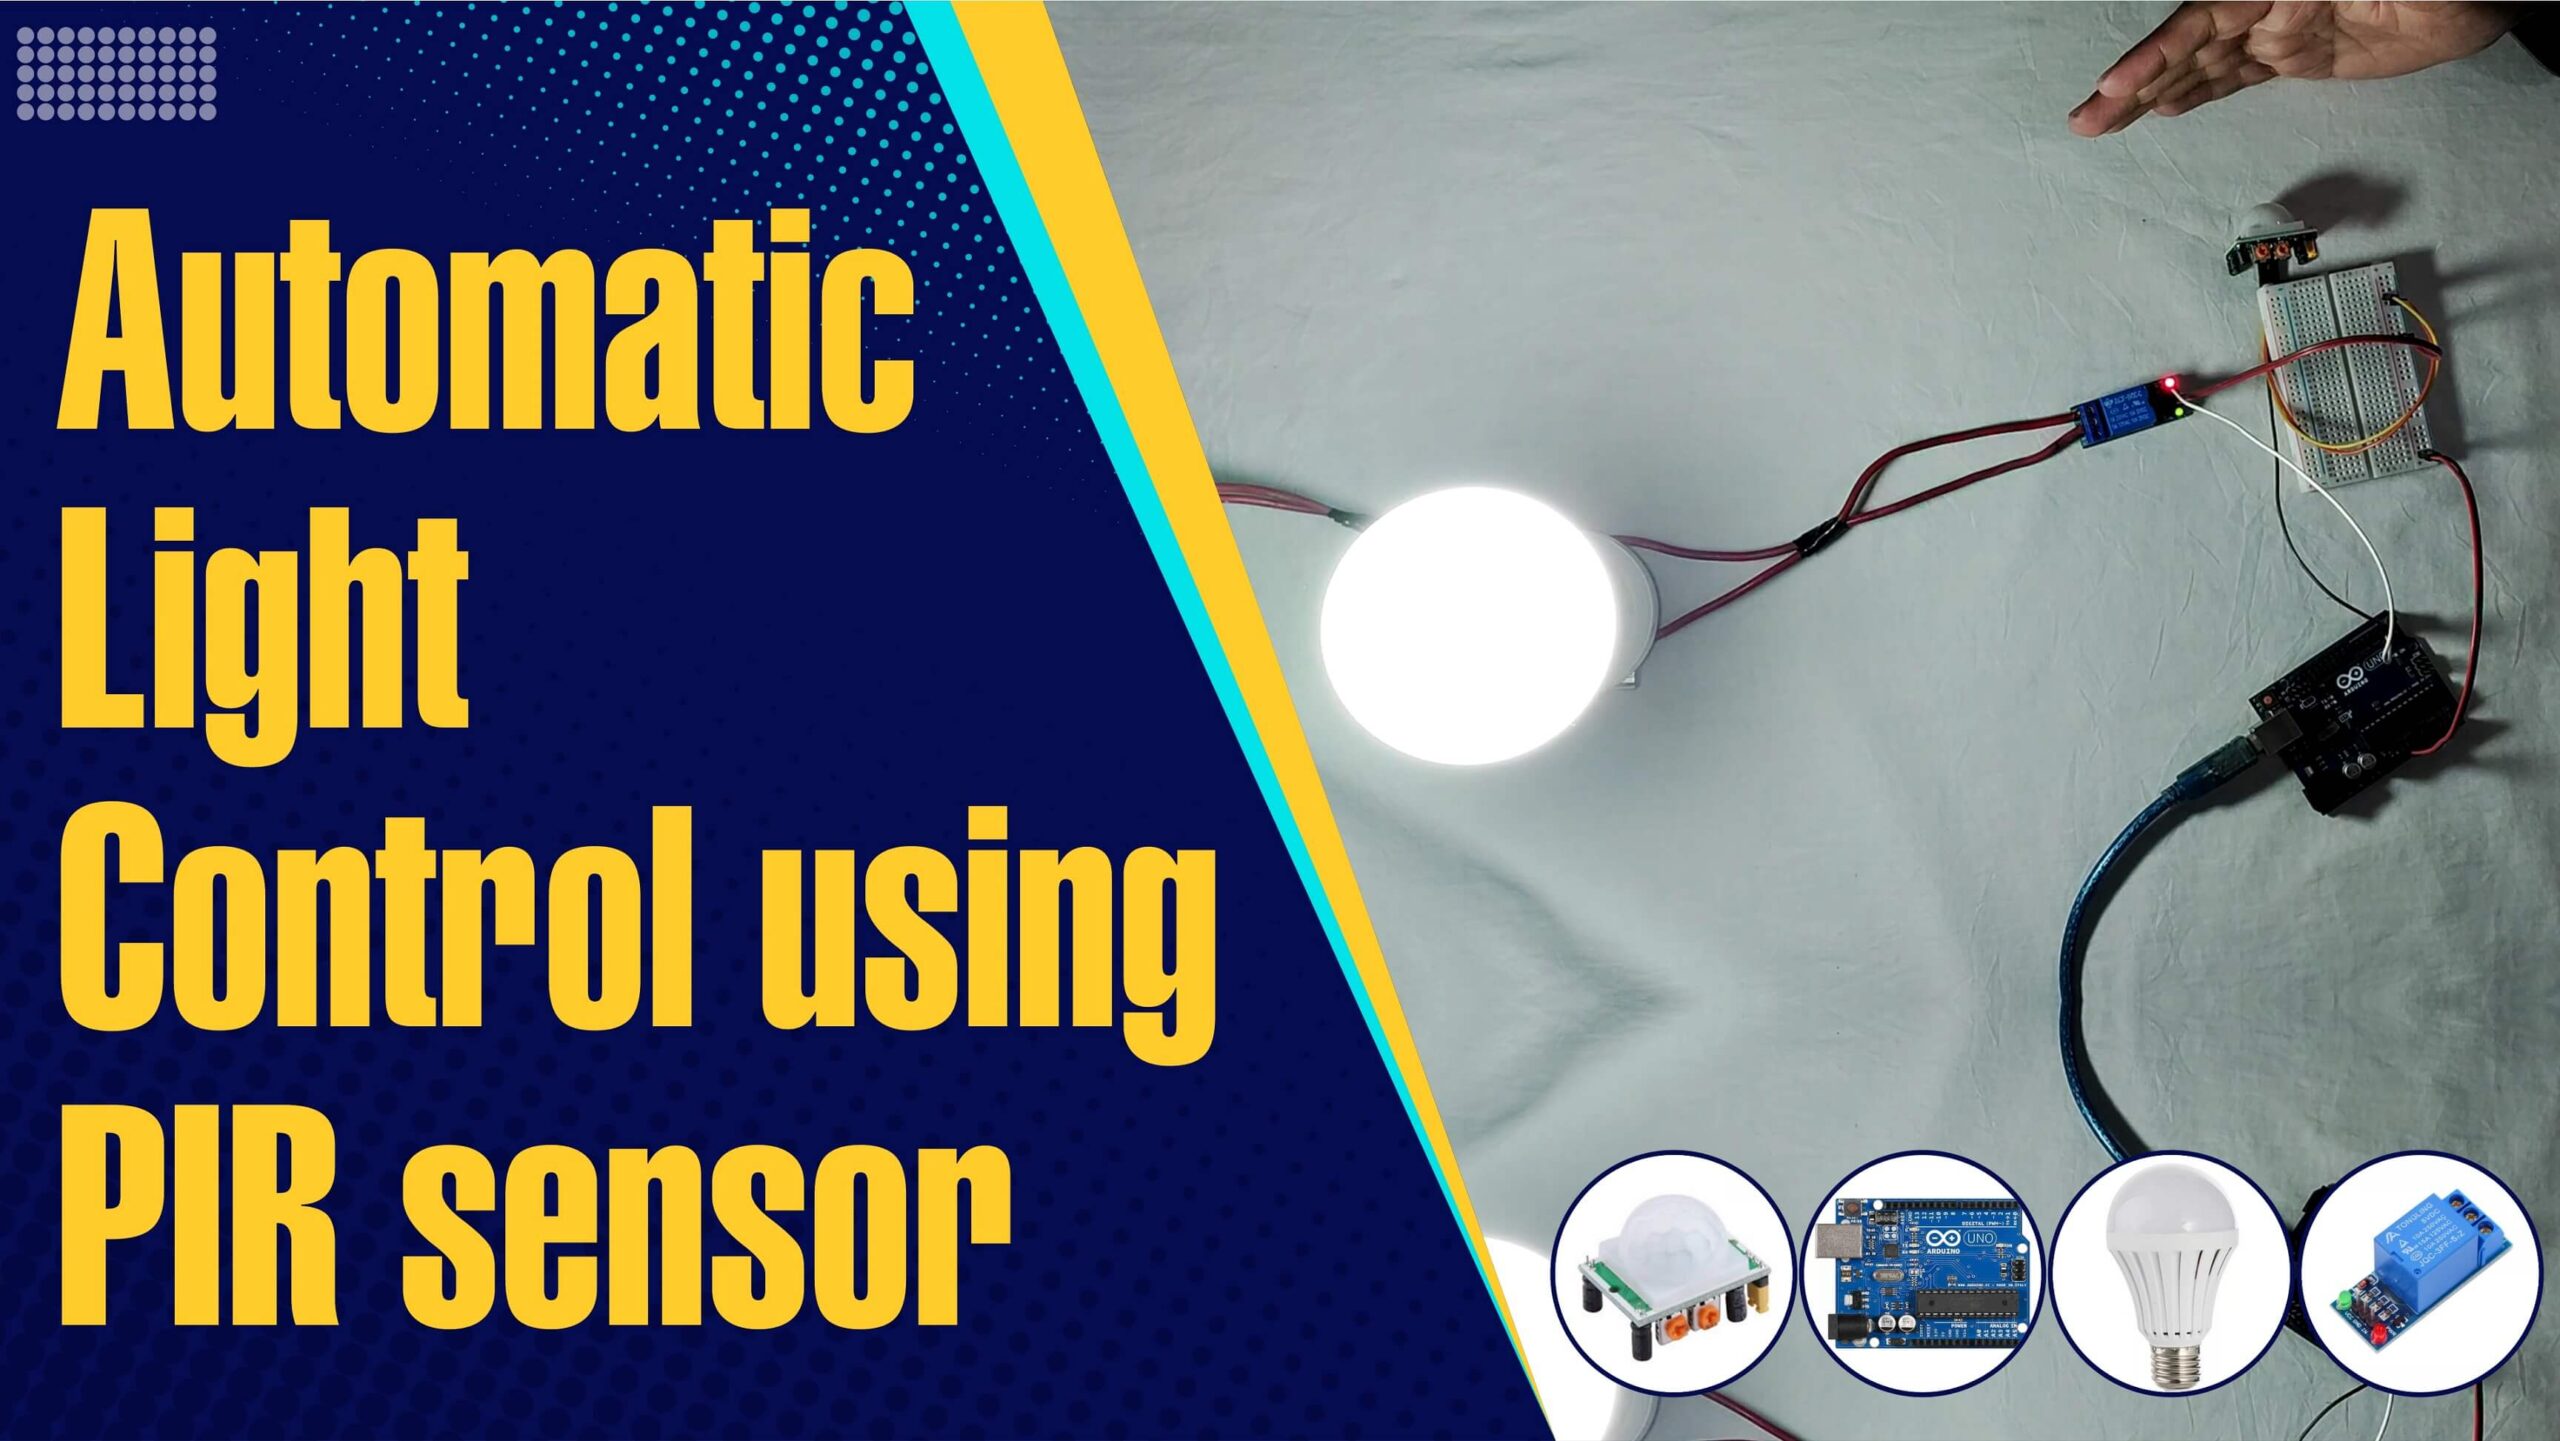
In this project, we are going to create an automatic light control system using an Arduino and PIR sensor. The PIR sensor detects the presence of a person in the room and sends a signal to the Arduino, which then controls the light accordingly. This project is an excellent starting point for beginners who are interested in learning how to use microcontrollers to automate simple tasks.
Watch it on YouTube.
What You’ll Need
To build this project, you’ll need the following components:
• Arduino UNO
• PIR HC-SR501 sensor
• 5V Relay module
• 220V AC light bulb/LED
• Jumper wires
• Breadboard
• USB cable for Arduino
Step 1: Understanding the PIR sensor
The PIR sensor, or Passive Infrared Sensor, serves as a key component in our project, enabling the detection of human presence by sensing the heat emitted from the body. Specifically, we’re utilizing the HC-SR501 sensor, which comes equipped with two potentiometers for customization.
Sensitivity Adjustment
The first potentiometer allows us to fine-tune the sensor’s sensitivity to movement. By adjusting this parameter, we can tailor the PIR sensor’s responsiveness to different environmental conditions. Higher sensitivity means the sensor can detect smaller heat changes, while lower sensitivity might be suitable for more controlled environments.
Time Delay Adjustment
The second potentiometer controls the time delay for which the sensor remains active after detecting motion. This setting determines how long the connected light or device will stay on once triggered. Whether you want a brief illumination or a more prolonged response, this adjustment offers flexibility in tailoring the system to your specific needs
Understanding these nuances in sensitivity and time delay empowers us to optimize the performance of our PIR sensor for the unique requirements of our project. In the subsequent steps, we’ll explore how to integrate Arduino and PIR Sensor effectively into our setup for a seamless and responsive outcome.
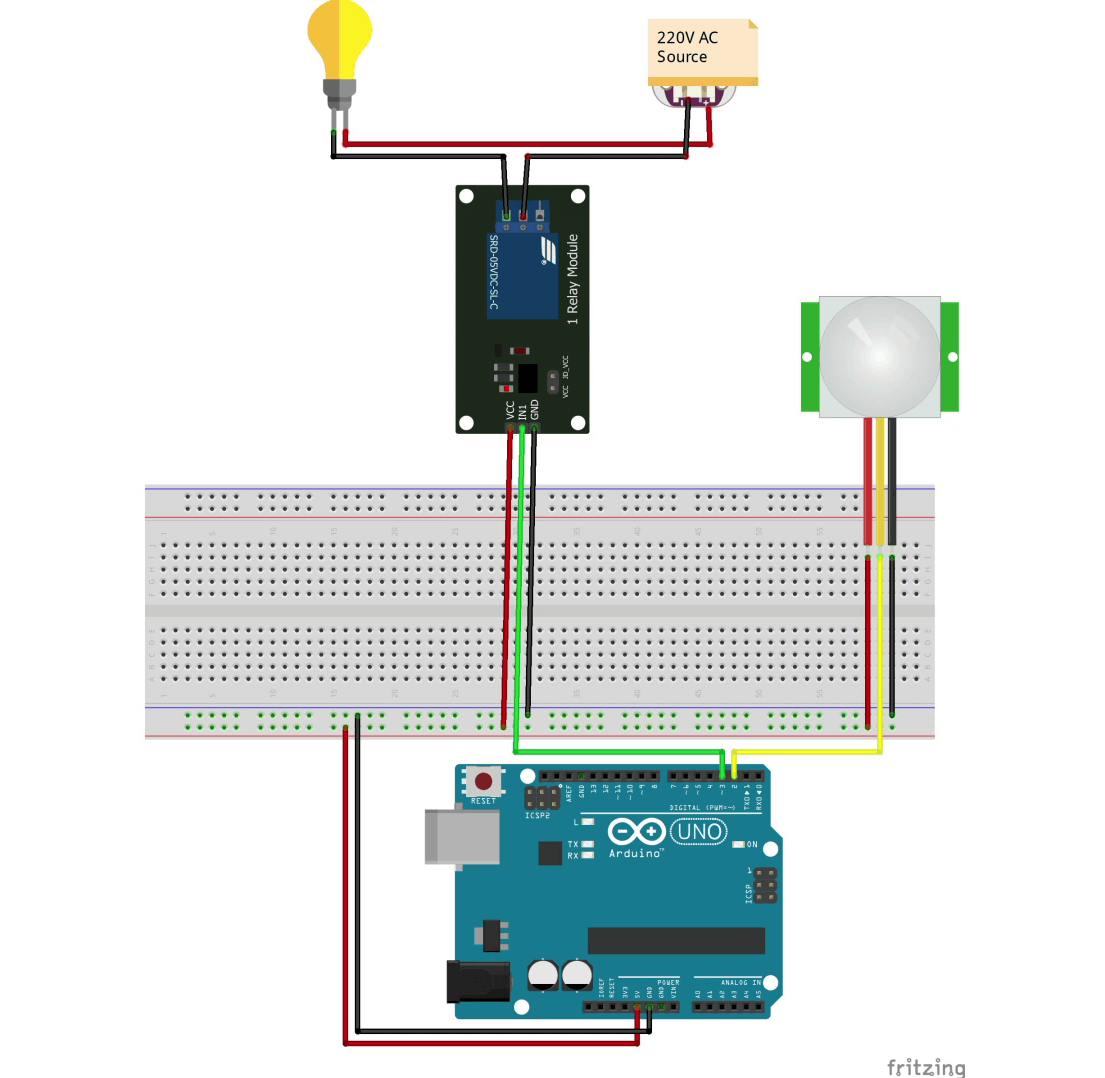
Step 2: Connecting the components
The first step in building this project is to connect all of the components together. You’ll need to connect the Arduino and PIR Sensor, and the relay module to the Arduino as well. Follow the circuit diagram below for proper connection:
Step 3: Writing the Code
Now that you have connected all the components, it’s time to write the code for the Arduino. Open the Arduino IDE, and copy and paste the following code:
// Automatic Room Light Control Using Arduino and PIR Sensor HC-SR501
// By ArduinoYard

int led = 3;        // the pin on which the LED(Relay module) is atteched
int sensor = 2;     // the pin on which the PIR sensor is atteched
int val = 0;        // variable to store the sensor status (value)

void setup() {
  pinMode(led, OUTPUT);      // initalize LED as an output
  digitalWrite(led, HIGH);
  pinMode(sensor, INPUT);    // initialize sensor as an input
}

void loop() {
  val = digitalRead(sensor);   // read sensor value
  if  (val == 1) { // if motion is detected
    digitalWrite(led, LOW);  // ON (Active LOW)
  }
  else {
    digitalWrite(led, HIGH); // OFF
  }
}This code sets up the PIR sensor and the relay module and checks the value of the PIR sensor. If the value is high, the relay is turned on, and the light turns on. If the value is low, the relay is turned off, and the light turns off.
Step 4: Testing the Project
Now that you have the circuit and code set up, it’s time to test the project. Connect the Arduino to your computer and upload the code. After the code is uploaded, move in front of the PIR sensor and verify that the light turns on. Once you move away from the sensor, the light should turn off.
Conclusion
This project is an excellent starting point for those who are interested in learning how to use microcontrollers to automate simple tasks. The PIR sensor is a useful component that can be used in a variety of projects, and this project is an excellent example of its capabilities. With a few adjustments to the code, this project using Arduino and PIR sensor can be extended to include additional features such as controlling multiple lights or adjusting the sensitivity of the sensor.
Detailed YouTube video:
You may also like:
ARDUINO MP3 PLAYER WITH VOICE CONTROL USING HC-05 BLUETOOTH MODULE AND DFPLAYER MINI