In this guide, we’ll show you how to control ESP32 devices via XAMPP, allowing you to create a local web interface to turn devices on or off with a click of a button.
If you’ve ever wanted to control your ESP32 devices from a local dashboard without relying on the internet, then using XAMPP and PHP is a powerful option. This is especially useful for home automation projects, prototyping, or educational purposes where a fast, secure, and internet-free setup is preferred.
Why Control ESP32 Devices via XAMPP?
Controlling ESP32 devices via XAMPP means you can:
- Host your own web server locally without internet.
- Avoid cloud service fees or security concerns.
- Build your own home automation system.
- Create responsive dashboards for IoT projects.
Let’s dive into the complete setup to control ESP32 devices via XAMPP.
What You Need
- ESP32 development board
- An LED
- Windows PC with XAMPP installed
- Wi-Fi router for local network
- Arduino IDE
- Basic knowledge of PHP, HTML and MySQL
Step 1: Set Up XAMPP Server
- Download and install XAMPP.
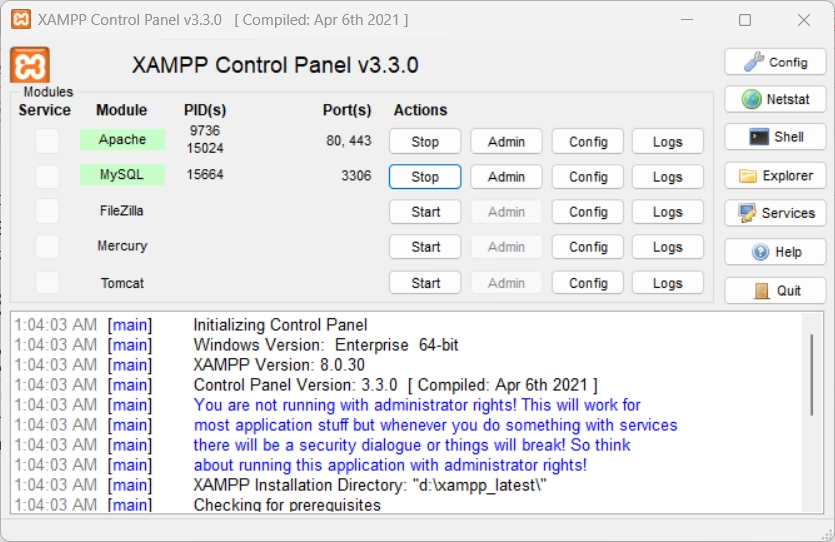
- Launch the XAMPP Control Panel.
- Start Apache and MySQL.
- Navigate to
http://localhost/phpmyadmin.
Step 2: Create MySQL Database and Table
Create a database named esp_control and run the following SQL to create a table:
CREATE TABLE device_state (
  id INT PRIMARY KEY,
  status VARCHAR(10)
);
Insert a default row to track the current status of the device:
INSERT INTO device_state (id, status) VALUES (1, 'OFF');This table will store the state (ON or OFF) that the ESP32 will fetch and respond to.

Step 3: Create the PHP Web Dashboard
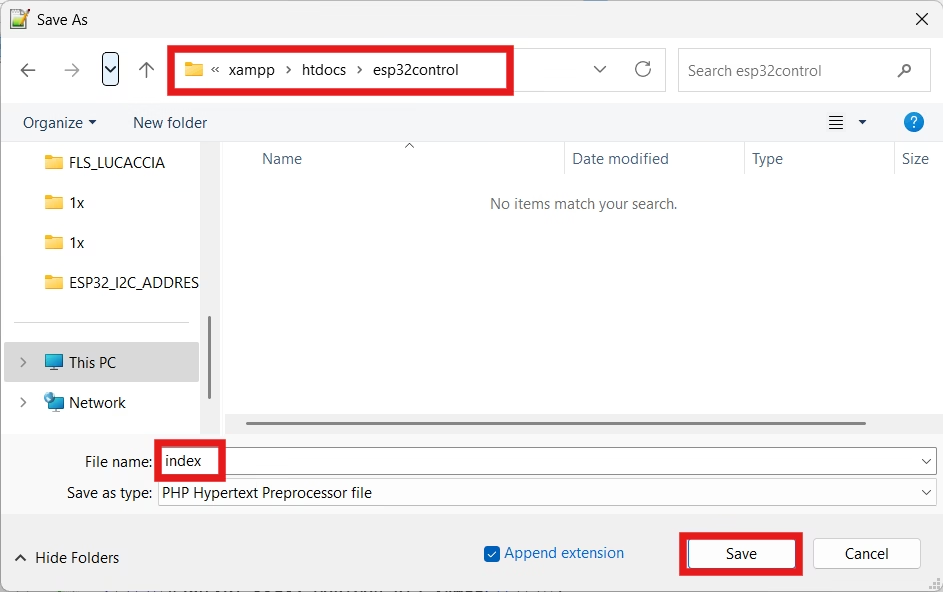
Now, create a folder inside C:\xampp\htdocs\esp32control and add a file named index.php:
<?php
$servername = "localhost";
$username = "root";
$password = "";
$database = "esp_control";
$conn = new mysqli($servername, $username, $password, $database);
if (isset($_POST['on'])) {
$sql = "UPDATE device_state SET status='ON' WHERE id=1";
$conn->query($sql);
} elseif (isset($_POST['off'])) {
$sql = "UPDATE device_state SET status='OFF' WHERE id=1";
$conn->query($sql);
}
$result = $conn->query("SELECT status FROM device_state WHERE id=1");
$row = $result->fetch_assoc();
$currentStatus = $row['status'];
$conn->close();
?>
<!DOCTYPE html>
<html>
<head>
<title>Control ESP32 Devices via XAMPP</title>
<style>
body { text-align: center; font-family: Arial; margin-top: 50px; }
button { padding: 15px 30px; font-size: 18px; margin: 10px; }
</style>
</head>
<body>
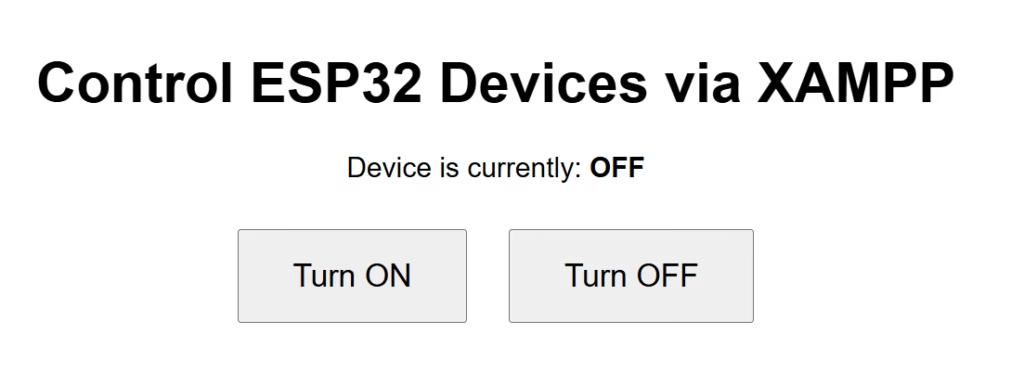
<h1>Control ESP32 Devices via XAMPP</h1>
<p>Device is currently: <strong><?php echo $currentStatus; ?></strong></p>
<form method="post">
<button type="submit" name="on">Turn ON</button>
<button type="submit" name="off">Turn OFF</button>
</form>
</body>
</html>
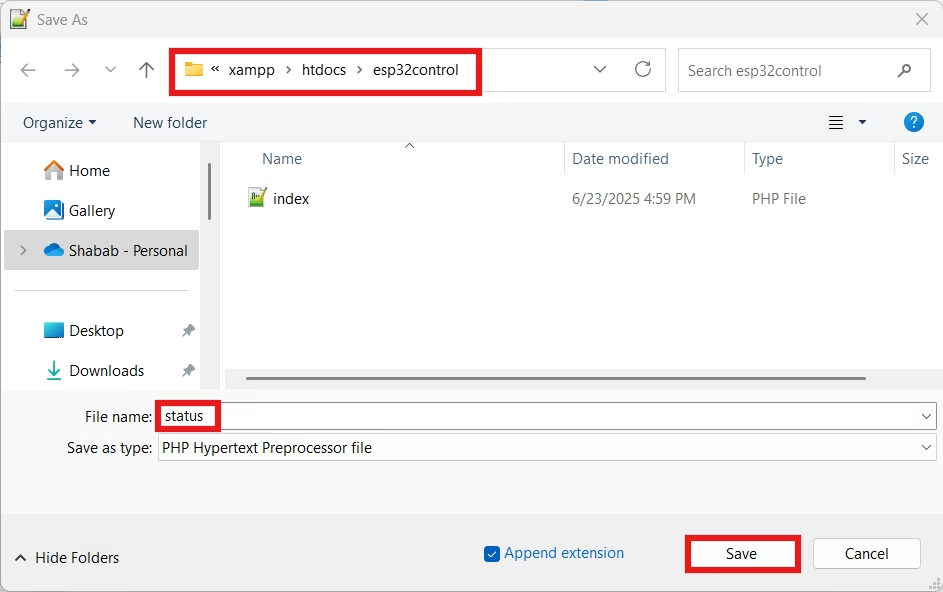
Saving the file in required folder:
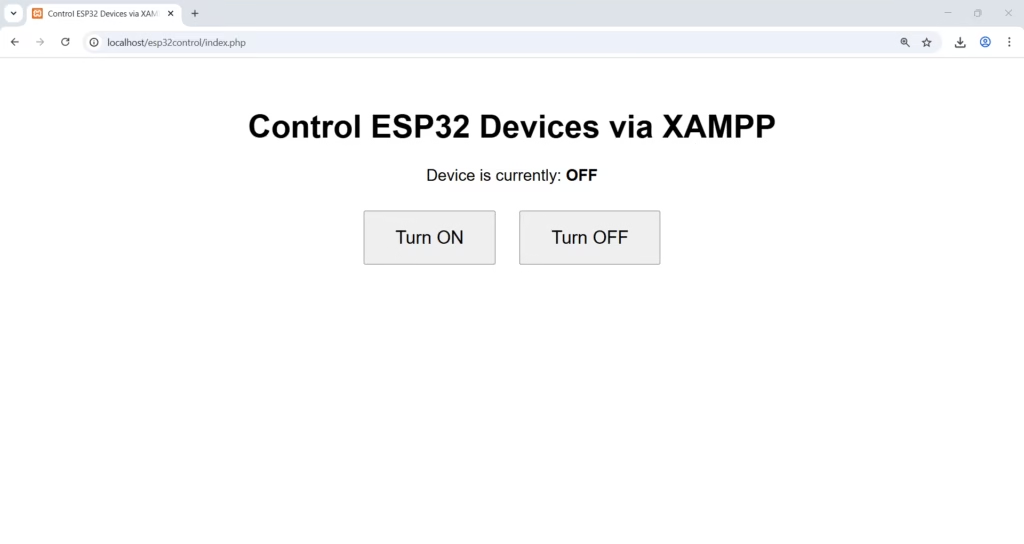
Visit http://localhost/esp32control/index.php to test the dashboard.
This web interface is key to our focus goal: to control ESP32 devices via XAMPP easily from a browser.
Step 4: ESP32 Code to Check Device Status
Installing ESP32 boards in arduino IDE
Before starting, make sure you have the ESP32 boards installed in your Arduino IDE:
How To Install ESP32 And ESP8266 Boards In Arduino IDE (Step-by-Step Guide) – ArduinoYard
Now upload the following code to your ESP32 using the Arduino IDE:
//Control ESP32 Devices via XAMPP
#include <WiFi.h>
#include <HTTPClient.h>

const char* ssid = "YOUR_WIFI_SSID";
const char* password = "YOUR_WIFI_PASSWORD";
const char* server = "http://YOUR_PC_IP/esp32control/status.php";

const int relayPin = 2;

void setup() {
  Serial.begin(115200);
  pinMode(relayPin, OUTPUT);

  WiFi.begin(ssid, password);
  while (WiFi.status() != WL_CONNECTED) {
    delay(1000);
    Serial.println("Connecting...");
  }
  Serial.println("Connected to WiFi");
}

void loop() {
  if (WiFi.status() == WL_CONNECTED) {
    HTTPClient http;
    http.begin(server);
    int httpResponseCode = http.GET();

    if (httpResponseCode > 0) {
      String response = http.getString();
      Serial.println("Response: " + response);

      if (response == "ON") {
        digitalWrite(relayPin, HIGH);
      } else {
        digitalWrite(relayPin, LOW);
      }
    } else {
      Serial.println("Error fetching status");
    }

    http.end();
  }

  delay(5000); // Check every 5 seconds
}
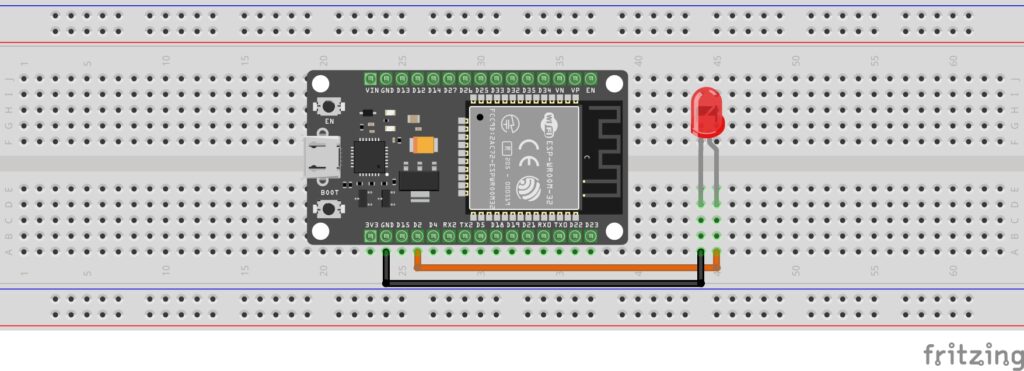
Circuit Diagram
- Connect the longer leg (positive) of the LED to GPIO 2 on the ESP32.
- Connect the shorter leg (negative) of the LED to the ESP32’s GND pin.
Open the Arduino IDE and paste the above code.
Replace Your_SSID, Your_PASSWORD and YOUR_IP with your Wi-Fi credentials and IP of the PC where XAMPP is installed (use ipconfig in CMD to find it).
Select ESP32 Dev Module under Tools > Board.
Choose the correct COM port under Tools > Port.
Click Upload to flash the code onto your ESP32.
HOW TO GET SERVER IP?

Make sure ESP32 and PC are connected to same network
Step 5: Create status.php to Serve Device Status
Add a status.php file in the same folder with this content:
<?php
$conn = new mysqli("localhost", "root", "", "esp_control");
$result = $conn->query("SELECT status FROM device_state WHERE id=1");
$row = $result->fetch_assoc();
echo $row['status'];
$conn->close();
?>And save in same folder:
Now, when the ESP32 sends a GET request to this page, it will receive either “ON” or “OFF” and act accordingly.
How It Works
- The user interacts with the PHP web dashboard.
- The dashboard updates the MySQL database.
- ESP32 continuously checks
status.phpfor the latest command. - Based on the result, ESP32 turns a relay or LED on or off.
This is the full cycle that allows you to control ESP32 devices via XAMPP from your local network!
When LED/Relay is OFF:
The webpage/dashboard
tHE HARDWARE
The Database Table update

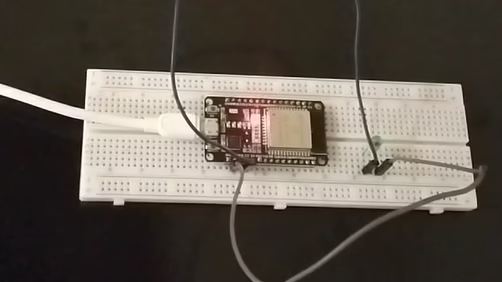
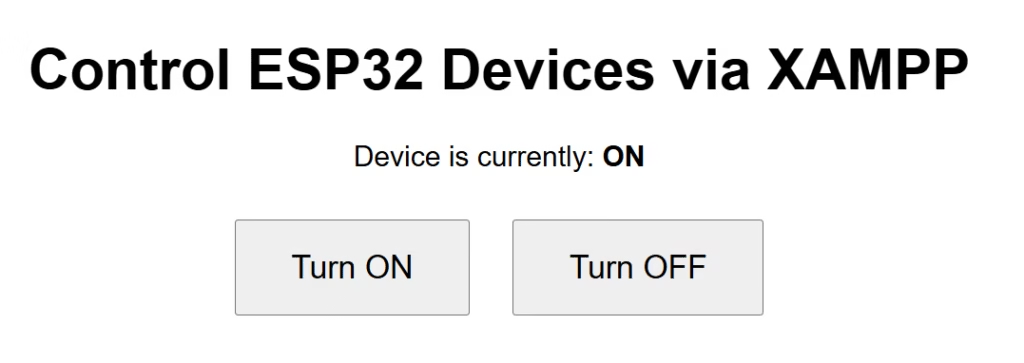
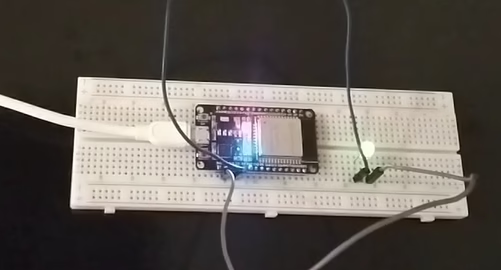
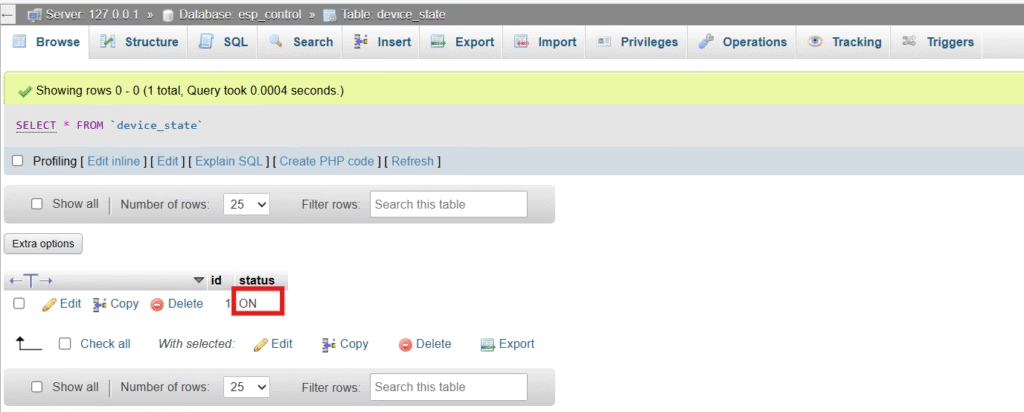
When LED/Relay is ON:
The webpage/dashboard
The Hardware
The Database Table Update
Advantages of This System
- No internet needed — works on LAN.
- Quick and secure communication.
- Full control over device behavior.
- Easy to expand for multiple devices.
Common Issues and Fixes
- ESP32 not connecting to Wi-Fi: Check SSID and password
- Connection refused: Ensure Apache is running in XAMPP
- PHP file not responding: Use the correct local IP and path
- Firewall blocking requests: Allow Apache through Windows Firewall
Final Thoughts
With this setup, you’ve built a reliable local system to control ESP32 devices via XAMPP using PHP and MySQL. This project forms a solid foundation for home automation systems, smart lighting, appliance control, and more — all hosted privately and securely on your local network.
incase you missed the previous parts:
How To Install XAMPP Server On Windows: A Step-by-Step Guide – ArduinoYard
How To Connect ESP32 With XAMPP
Storing ESP32 Data In MySQL Database Using XAMPP: An Easy Guide – ArduinoYard
Create A Local ESP32 IoT Dashboard Using PHP And MYSQL – ArduinoYard