Introduction
In this article, we’ll explore how to use a voltage sensor with Arduino to measure DC voltages up to 25V. Monitoring voltage is a crucial aspect of many Arduino-based electronics projects. Whether you’re building a battery-powered device, a solar monitoring system, or a basic power analyzer, knowing how to measure voltage accurately is essential.
What is a Voltage Sensor?
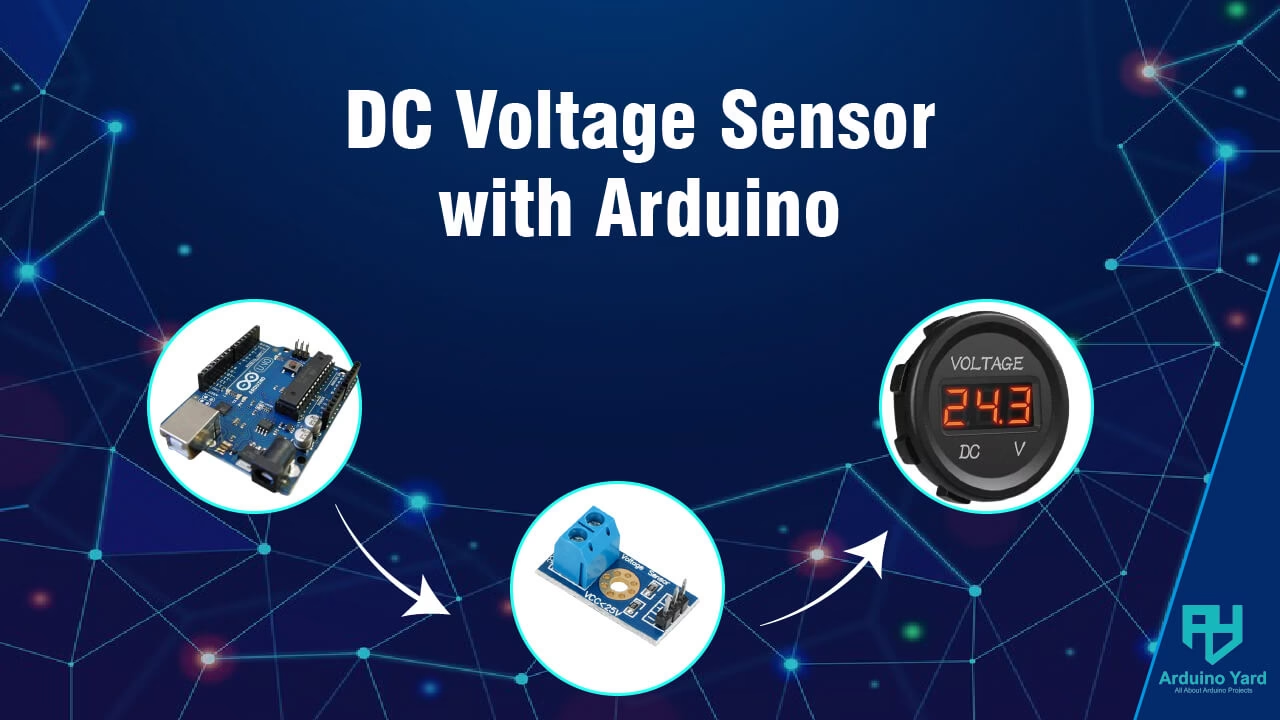
A voltage sensor is a device that detects and measures the voltage level of a circuit. For Arduino projects, a common type is the DC voltage sensor module, often based on a simple voltage divider circuit. These modules can measure input voltages higher than the Arduino’s analog pin limit (5V) by scaling down the voltage proportionally.

Specifications of a Typical Voltage Sensor Module
- Input Voltage Range: 0V to 25V DC
- Output Voltage: 0V to 5V (compatible with Arduino analog input)
- Based on: resistive voltage divider (typically 30kΩ and 7.5kΩ resistors)
- Pins: 3-pin connection: VCC, GND, and Analog Out (Vout)
How Does the Voltage Sensor Work?
The sensor uses a voltage divider circuit to reduce the input voltage to a safe level for the Arduino. The analog pin of the Arduino reads this scaled-down voltage (0-5V), which can then be converted back to the original voltage using simple math.
Voltage Divider Equation
If is the fixed resistor (7.5kΩ) and is the top resistor (30kΩ), the formula becomes:

To get the original voltage from the analog reading:

Components Required
- Arduino (UNO, Nano, Mega, etc.)
- DC Voltage Sensor Module (<25V)
- Jumper wires
- Power supply or battery to measure
Wiring the Voltage Sensor with Arduino
Connect the sensor module to Arduino as follows:
- VCC → Arduino 5V
- GND → Arduino GND
- Vout (Analog Out) → Arduino A0
Connect the voltage source(such as a battery) you want to measure to the left side of the sensor on pins Vcc and GND. We are using a 9V battery in the diagram below.

Arduino Code Example
// Basic code
const int sensorPin = A0;
float voltage = 0;

void setup() {
  Serial.begin(9600);
}

void loop() {
  int sensorValue = analogRead(sensorPin);
  float voltageOut = sensorValue * (5.0 / 1023.0);
  float actualVoltage = voltageOut * 5.0; // Scaling factor (R1 + R2)/R1 = 5

  Serial.print("Voltage: ");
  Serial.print(actualVoltage);
  Serial.println(" V");

  delay(1000);
}
Circuit:
We are Reading voltage from an 11.1V battery.

Serial Monitor Output:
We get the following readings on the Serial Monitor, showing a depleted battery voltage.

Mini Project: Digital Voltmeter with TM1637 Display
Let’s now use the voltage sensor in a real project — a simple digital voltmeter using a TM1637 4-digit 7-segment display. This display allows us to show voltage values directly, making it useful for battery monitoring or compact setups.
Refer to our detailed article on the TM1637 display here:
👉 TM1637 Display with Arduino
Components Required
- TM1637 4-digit 7-segment display module
- Voltage sensor module
- Arduino board (UNO/Nano)
- Jumper wires
Wiring Diagram
| Component Pin | Arduino Pin |
| TM1637 CLK | D2 |
| TM1637 DIO | D3 |
| TM1637 VCC | 5V |
| TM1637 GND | GND |
| Voltage Sensor VCC | 5V |
| Voltage Sensor GND | GND |
| Voltage Sensor Vout | A0 |

Code Example
// Digital Voltmeter using TM1637 and Voltage Sensor with Arduino
#include <TM1637Display.h>

#define CLK 2
#define DIO 3
#define SENSOR A0

TM1637Display display(CLK, DIO);

void setup() {
  display.setBrightness(5);
}

void loop() {
  int sensorValue = analogRead(SENSOR);
  float voltageOut = sensorValue * (5.0 / 1023.0);
  float actualVoltage = voltageOut * 5.0; // assuming scaling factor is 5

  int displayVoltage = actualVoltage * 100; // e.g., 12.34V → 1234
  display.showNumberDecEx(displayVoltage, 0b01000000, true); // Display with decimal

  delay(1000);
}
Explanation
- Analog Read: The Arduino reads the analog voltage from the sensor, scaled between 0 and 5V.
- Scaling the Voltage: Since the sensor reduces the voltage by a factor of 5, we multiply the analog voltage by 5 to get the original input voltage.
- Formatting for Display: We multiply the result by 100 so it can be displayed with two decimal places on the TM1637 (e.g., 12.34V becomes 1234).
- Display Function: The
showNumberDecEx()function shows the number along with the decimal point for proper formatting.
Demo Use Cases
- Use this project as a live battery monitor
- Display output voltage from a solar panel or charger
- Use with a DC-DC converter setup for real-time voltage feedback
Important Notes
- Do not exceed 25V on the input side, or the module may get damaged.
- Double-check resistor values if you’re building your own sensor.
- Always use a multimeter to verify actual voltages.
Applications of Voltage Sensor with Arduino
- Battery level monitoring (Li-ion, Lead-acid)
- Solar panel voltage tracking
- Power supply testing
- DC motor voltage feedback systems
Related Arduino Projects
Conclusion
Using a voltage sensor with Arduino is a simple yet powerful way to expand your project’s capabilities. With just a few lines of code and basic connections, you can accurately monitor voltages up to 25V and integrate that data into automation or alert systems. This makes voltage sensors a must-have tool for any Arduino enthusiast.