
While working on a DIY smart room monitor last month, I used a sensor called DHT11 with ESP32 to track temperature and humidity. It’s a simple yet reliable combo, making it perfect for beginners just getting started with ESP32 or IoT projects.
In this guide, we’ll walk you through the exact steps I followed to connect the DHT11 to the ESP32, read the sensor data, and view it in the Serial Monitor. Whether you’re building your first weather station or just experimenting, this setup is a great starting point.
What is the DHT11 Sensor?
DHT11 is a low-cost digital sensor used to measure temperature and humidity. When paired with an ESP32, it becomes a powerful tool for building DIY weather stations, automation systems, or learning basic electronics. Using DHT11 with ESP32 requires just a single digital pin, making it efficient for compact projects.
DHT11 vs. DHT22: Key Differences
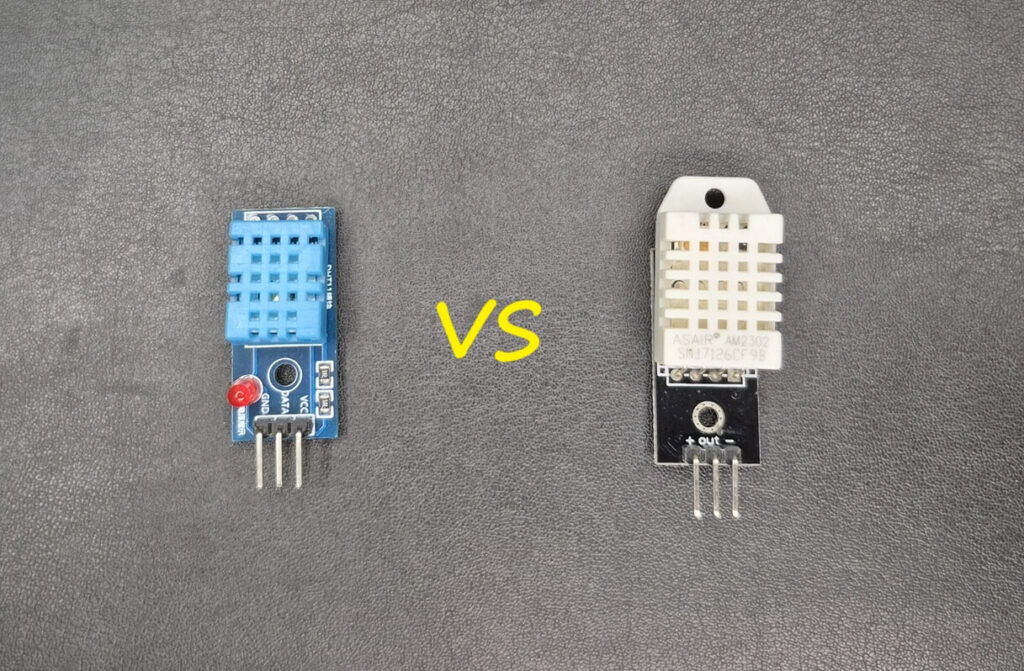
Here’s how DHT11 compares with DHT22:
| Feature | DHT11 | DHT22 |
|---|---|---|
| Temperature Range | 0-50 °C | -40 to 80 °C |
| Temperature Accuracy | ±2 °C | ±0.5 °C |
| Humidity Range | 20-90% RH | 0-100% RH |
| Humidity Accuracy | ±5% RH | ±2-5% RH |
| Sampling Rate | 1 Hz (1 second) | 0.5 Hz (2 seconds) |
| Cost | Cheaper | Slightly more expensive |
If you only need basic readings, using DHT11 with ESP32 is sufficient. For higher accuracy or extreme ranges, consider DHT22 instead.
Required Components
To set up DHT11 sensor with ESP32, you’ll need:
- ESP32 Development Board (any variant)
- DHT11 sensor module
- Breadboard and jumper wires
- (Optional) 10kΩ pull-up resistor
DHT11 Pinout
The 3-pin DHT11 sensor typically has the following pinout:
| Pin | Description |
|---|---|
| VCC | Power supply (3.3V–5V) |
| GND | Ground |
| DATA | Digital signal output |
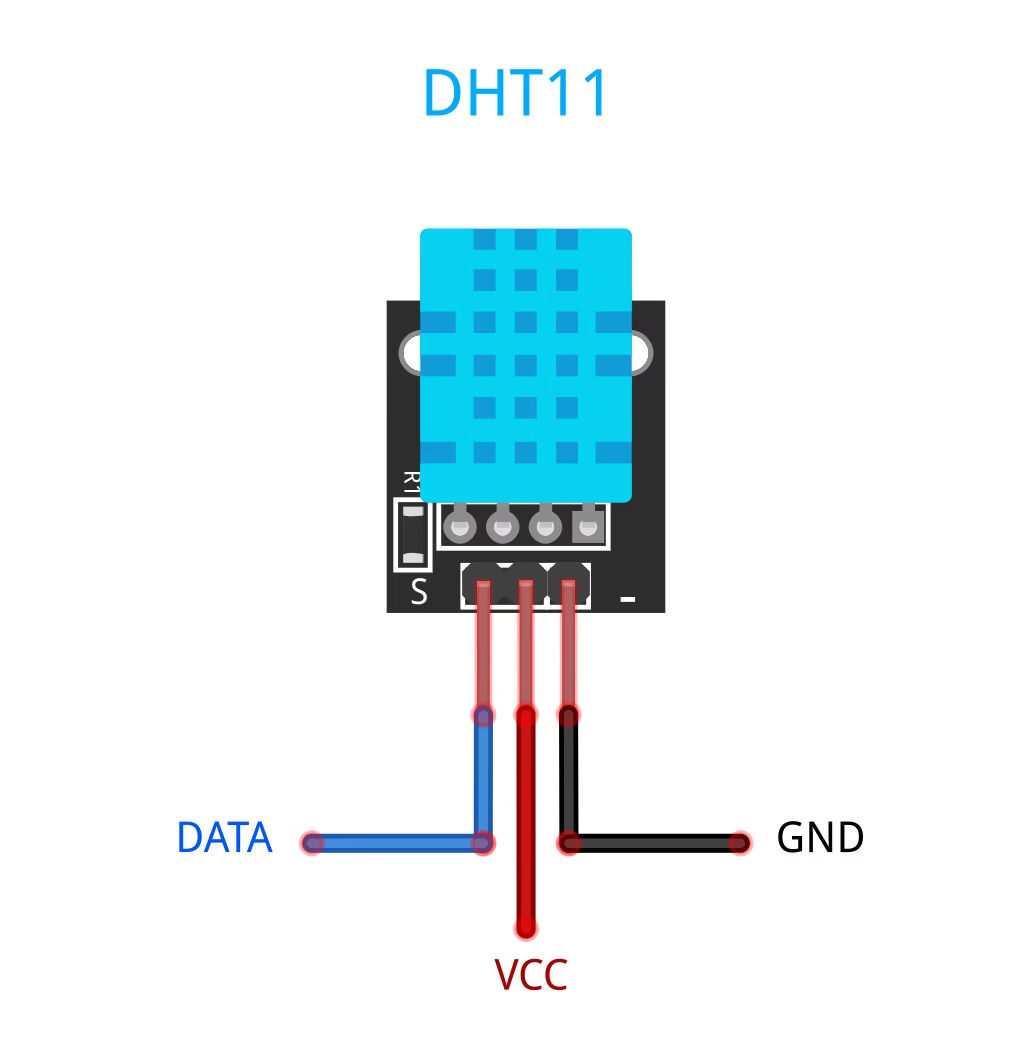
When using DHT11 with ESP32, connect the DATA pin to any digital GPIO pin (we’ll use GPIO 4 in our example).
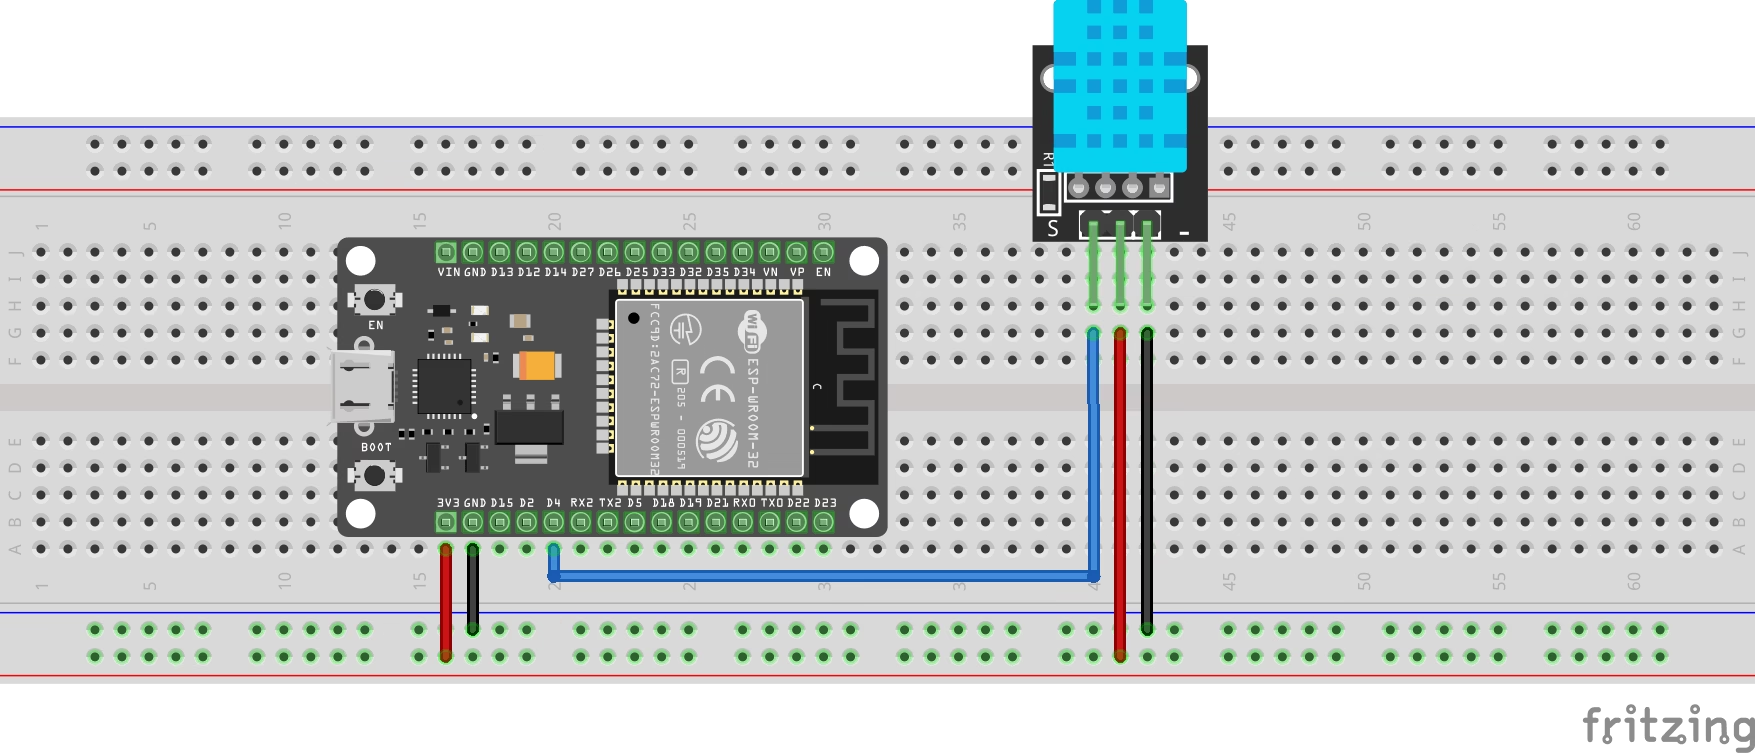
Circuit Diagram: DHT11 with ESP32
Wire the sensor as follows:
| DHT11 Pin | ESP32 Pin |
|---|---|
| VCC | 3.3V |
| GND | GND |
| DATA | GPIO 4 |
If you’re experiencing signal issues, place a 10kΩ resistor between VCC and DATA.
Installing the DHT Library
Before using the DHT sensors, you need to install the DHT library in the Arduino IDE:
- Open the Arduino IDE and go to Sketch > Include Library > Manage Libraries…
- In the Library Manager, search for DHT Sensor Library by Adafruit.
- Click Install and wait for the installation to complete.
For more details or manual installation, you can visit the Adafruit DHT Sensor Library GitHub repository.
ESP32 Code for DHT11
Upload the following code to your ESP32:
// Interfacing DHT11 Sensor with ESP32 by ArduinoYard
#include "DHT.h"

#define DHTPIN 4        // DHT11 data pin connected to GPIO 4
#define DHTTYPE DHT11   // Define sensor type

DHT dht(DHTPIN, DHTTYPE);

void setup() {
  Serial.begin(115200);
  dht.begin();
  Serial.println("Reading from DHT11 sensor...");
}

void loop() {
  float temperature = dht.readTemperature(); // Celsius
  float humidity = dht.readHumidity();       // Percent

  if (isnan(temperature) || isnan(humidity)) {
    Serial.println("Failed to read from DHT11 sensor!");
    return;
  }

  Serial.print("Temperature: ");
  Serial.print(temperature);
  Serial.println(" °C");

  Serial.print("Humidity: ");
  Serial.print(humidity);
  Serial.println(" %");

  delay(2000); // Wait 2 seconds before the next reading
}How the Code Works
- Sensor Type Setup: We define the sensor type using
#define DHTTYPE DHT11. - Pin Configuration: The sensor is connected to GPIO 4.
- Reading Values: The
readTemperature()andreadHumidity()functions fetch the environmental data. - Error Handling: If data is invalid, a failure message is shown.
This basic sketch forms the foundation for any project using DHT11 with ESP32.
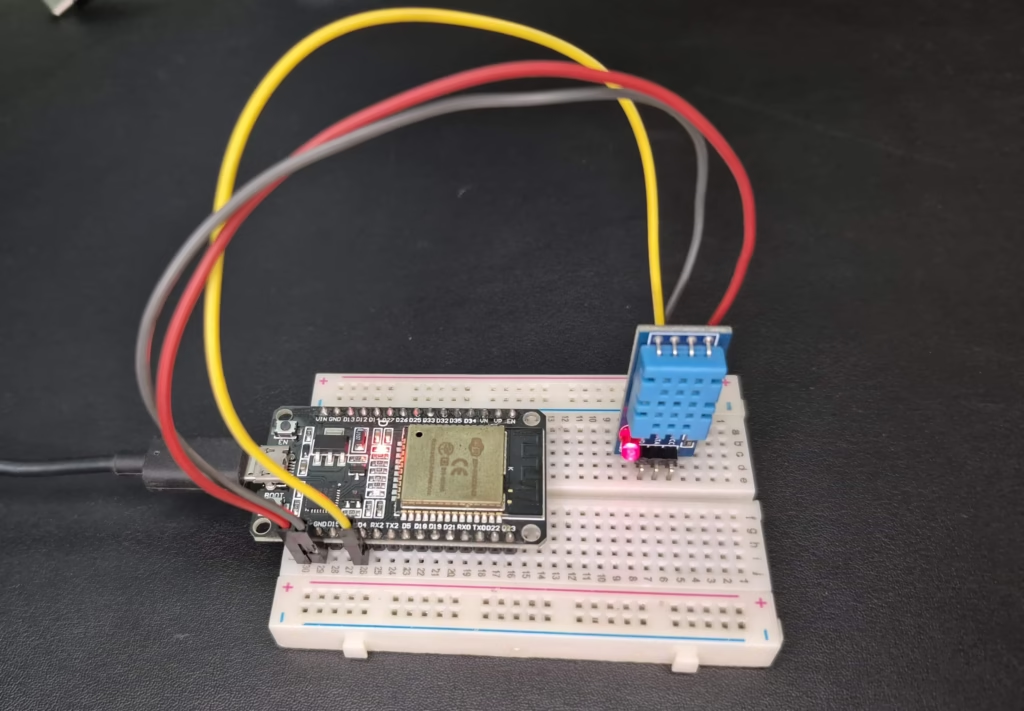
Output Example
Hardware:
Serial Monitor:
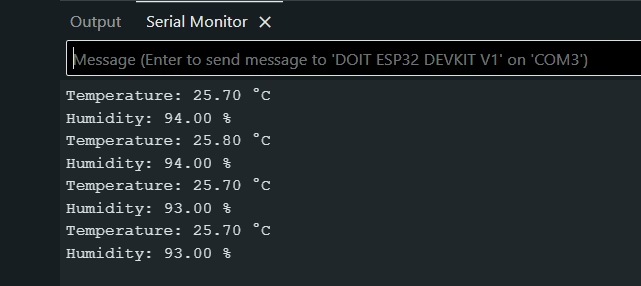
These values are updated every 2 seconds. You can modify the delay to suit your needs.
Error Handling and Troubleshooting Tips
Error: Failed to read from DHT sensor!
- Ensure the wiring is correct and stable.
- Check the sensor pinout and verify the pull-up resistor.
Random Values:
- Avoid long jumper wires as they may cause signal interference.
- Verify the power supply voltage.
No Output in Serial Monitor:
- Confirm that the Serial Monitor baud rate matches the code (115200 in this case).
Real-World Applications of DHT11 with ESP32
- Mini Weather Stations: Monitor room temperature and humidity.
- Fan Control Systems: Trigger fans based on environmental conditions.
- IoT Projects: Send climate data to the cloud or display on LCD/OLED.
- Greenhouse Monitoring: Keep your plants healthy by monitoring air conditions.
Conclusion
Now that you’ve successfully connected the DHT11 sensor to your ESP32, you have a reliable way to monitor temperature and humidity in your DIY projects. We’ve covered everything from wiring and library setup to reading real-time data in the Serial Monitor.
While the DHT11 isn’t the most precise sensor available, it’s a great starting point for beginners exploring ESP32 and basic IoT applications. You can now use this setup in simple home automation projects, learning dashboards, or as a stepping stone to more advanced systems.
Keep building, testing, and having fun with your projects. Stay tuned for more hands-on ESP32 tutorials.