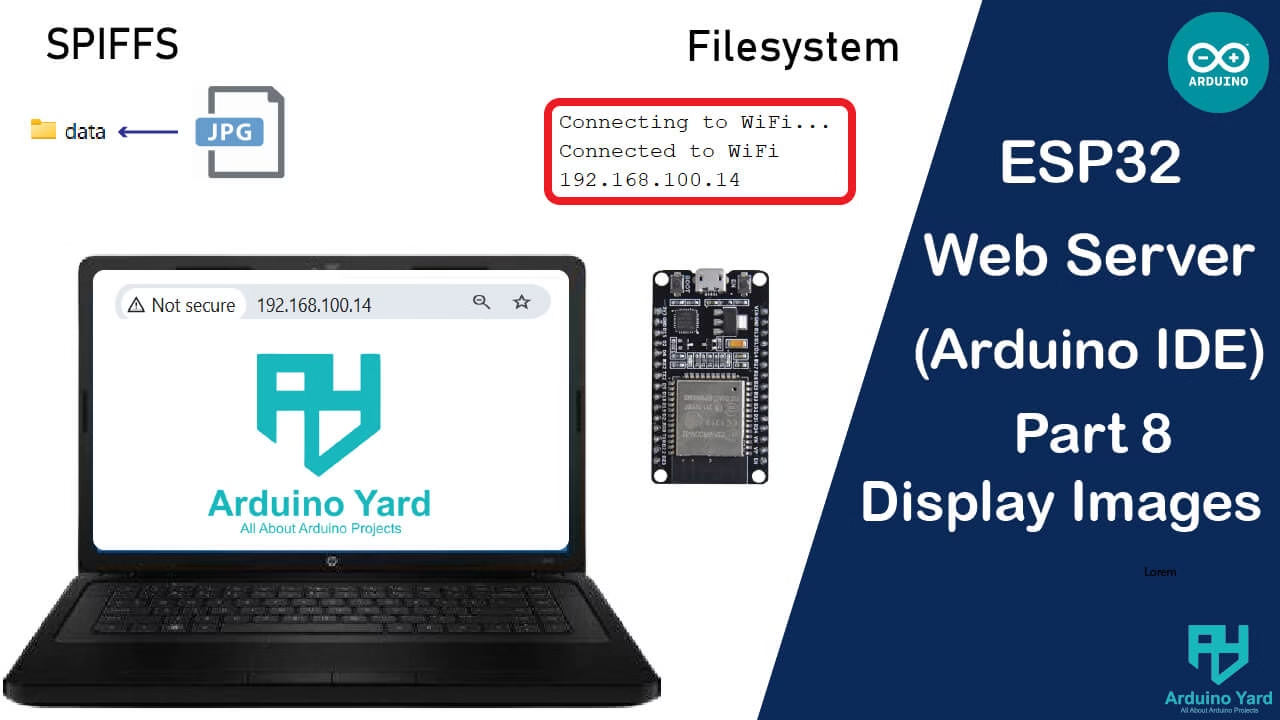
In this tutorial, we’ll explore how to display ESP32 Web Server Images using the Arduino IDE. This is particularly useful for IoT projects where visual representation is essential.
Methods to Display Images
There are several ways to display images on your ESP web server:
- Using Image URLs: Linking to images hosted online.
- Storing Images in SPIFFS: Uploading images to the ESP’s filesystem.
- Embedding Images as Base64: Converting images to Base64 strings and embedding them directly into HTML.
We’ll focus on the second method, which involves storing images in the ESP’s filesystem.
Prerequisites
Before we begin, ensure you have the following:
- Arduino IDE 1.8.x installed
- ESP32 Boards Manager
- ESPAsyncWebServer and AsyncTCP libraries
- Install them via Arduino Library Manager or download manually from GitHub.
Go to Sketch > Include Library > Manage Libraries in the Arduino IDE.
Search for ESPAsyncWebServer and install it.
Search for AsyncTCP and install it.
- Install them via Arduino Library Manager or download manually from GitHub.
- SPIFFS uploader plugin installed in Arduino IDE
Writing the Code
Here’s a sample code to serve an image stored in the ESP’s filesystem:
//Displaying ESP32 Web Server Images by ArduinoYard.com

#include <WiFi.h>
#include <ESPAsyncWebServer.h>
#include <SPIFFS.h>

const char* ssid = "Bukhari Net";
const char* password = "haider.net";

AsyncWebServer server(80);

void setup() {
  Serial.begin(115200);

  // Initialize SPIFFS
  if (!SPIFFS.begin(true)) {
    Serial.println("An error occurred while mounting SPIFFS");
    return;
  }

  // Connect to Wi-Fi
  WiFi.begin(ssid, password);
  while (WiFi.status() != WL_CONNECTED) {
    delay(1000);
    Serial.println("Connecting to WiFi...");
  }
  Serial.println("Connected to WiFi");
  Serial.println(WiFi.localIP());

  // Serve the HTML page
  server.on("/", HTTP_GET, [](AsyncWebServerRequest *request){
    request->send(SPIFFS, "/index.html", "text/html");
  });

  // Serve the image
  server.on("/image.jpg", HTTP_GET, [](AsyncWebServerRequest *request){
    request->send(SPIFFS, "/image.jpg", "image/jpeg");
  });

  server.begin();
}

void loop() {
  // Nothing here
}
Ensure that index.html references the image correctly:
<!DOCTYPE html>
<html>
<head>
  <title>ESP Image Display</title>
</head>
<body>
  <h1>Image from ESP Filesystem</h1>
  <img src="/image.jpg" alt="ESP Image">
</body>
</html>Uploading Files and Testing
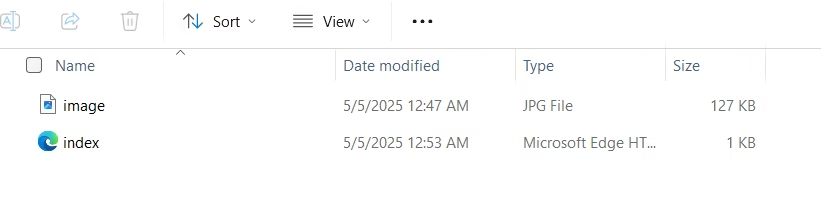
Place index.html and image.jpg inside the data folder.
- Code Directory:
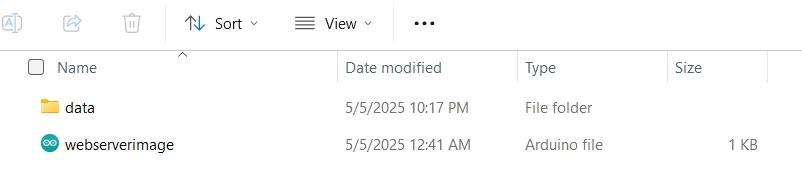
- Inside data folder:
Now connect the ESP32 Board to PC via USB Cable. Use the filesystem uploader to upload these files to the ESP. Go to Tools, select the right ESP32 board and COM port.

While uploading data folder content, make sure the serial monitor is OFF otherwise it will show ERROR.
Upload the Arduino sketch to your ESP board.
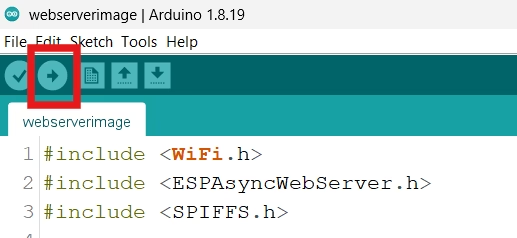
Open the Serial Monitor to find the IP address assigned to your ESP.
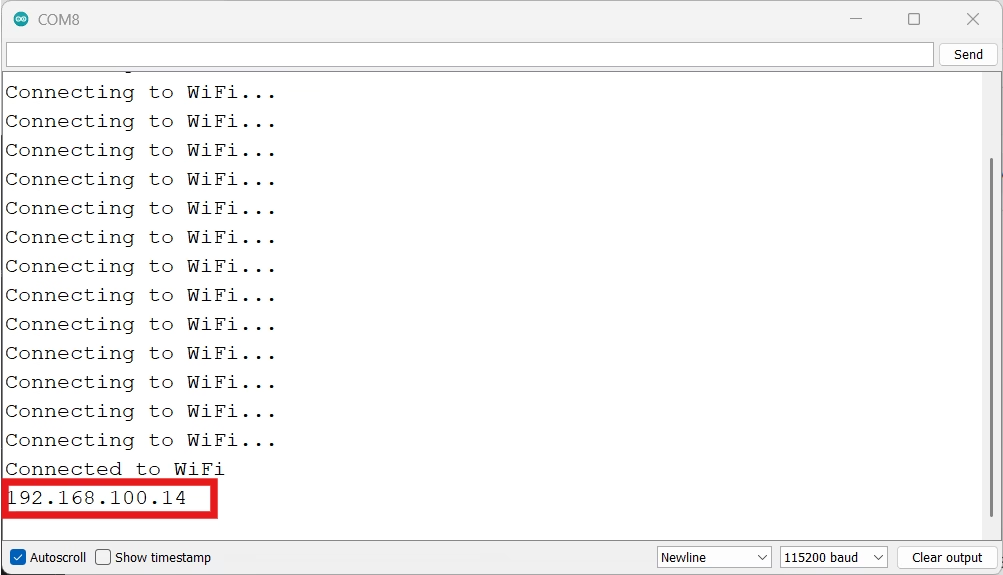
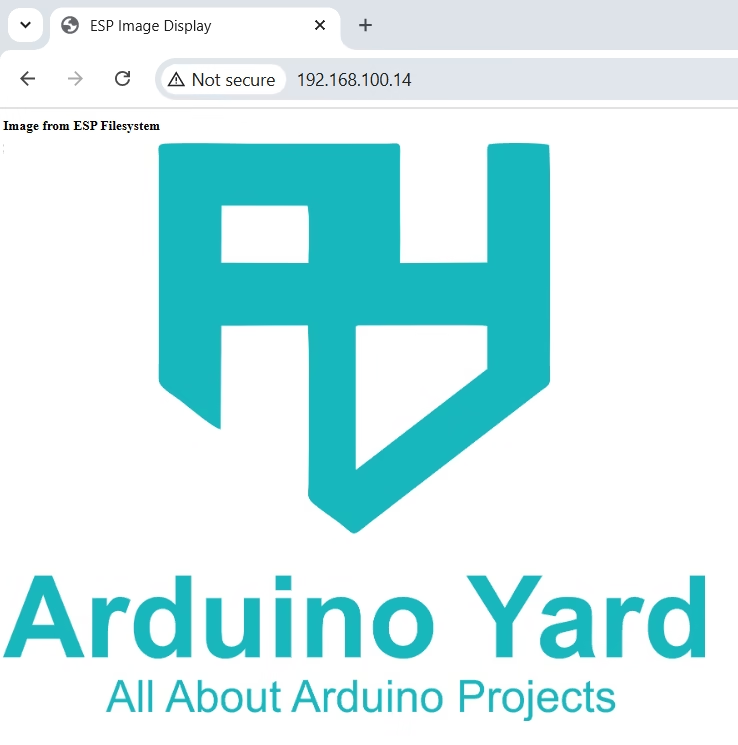
Enter the IP address in your browser to view the web page with the image.
Conclusion
Displaying ESP32 Web Server Images from the ESP’s filesystem is an efficient way to enhance your web server projects. This method ensures that your images are served quickly and reliably without relying on external sources. Feel free to modify this tutorial further to match your specific needs or to add more advanced features.
Feel free to modify this tutorial further to match your specific needs or to add more advanced features. You can use this technique to build rich dashboards, photo viewers, or status indicators.
It also helps in minimizing bandwidth usage, especially for offline or local network applications.
Best of all, once the files are uploaded, no internet connection is required to access them.
For more ESP32 Webserver tutorials visit: ESP32 Guides – ArduinoYard