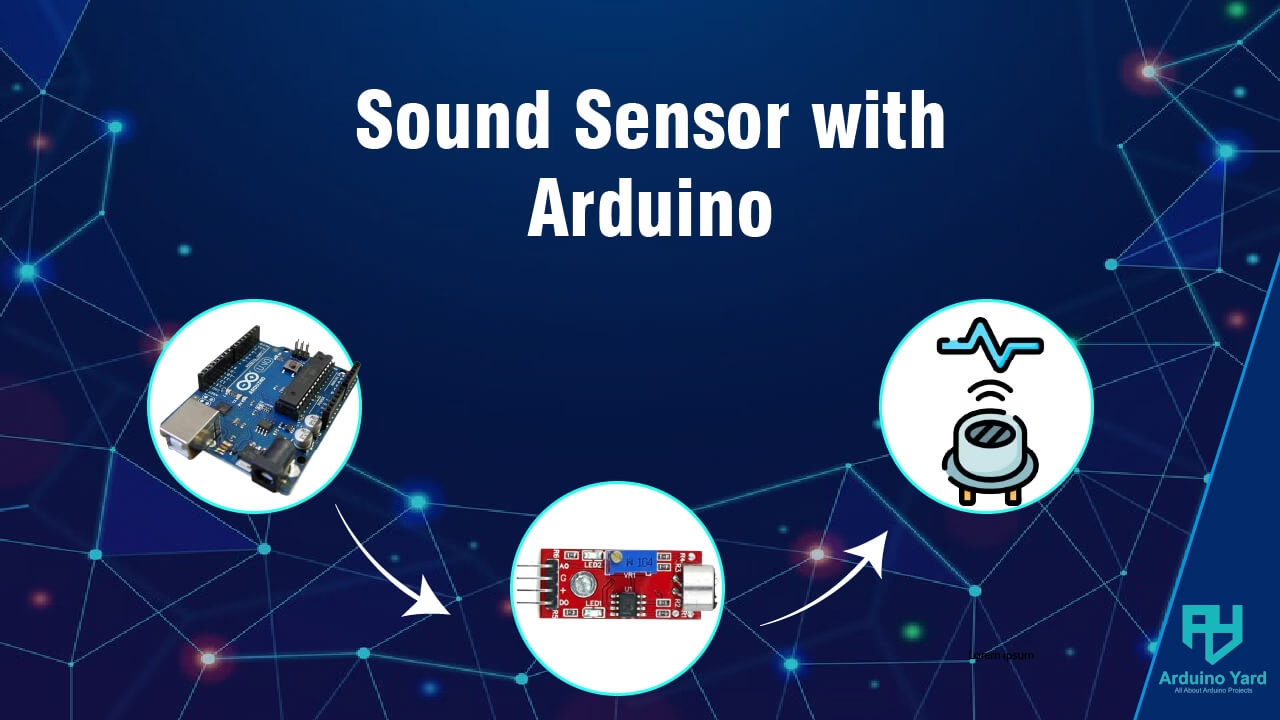
Introduction
The Sound Sensor with Arduino is an easy and practical way to detect audio signals like claps, knocks, or voice levels in your surroundings. Often used in noise-detecting projects, sound-activated lighting, or smart automation, this sensor detects sound intensity using an onboard microphone and sends either analog or digital signals to the Arduino.
In this guide, we’ll explore how the sound sensor works, how to interface it with Arduino, and walk through a practical mini project where an LED turns ON when sound is detected. Whether you’re a beginner or working on a creative automation project, this article has you covered.
Understanding the Sound Sensor Module
The sound sensor module consists of a small microphone (condenser mic), a comparator IC, sensitivity adjustment trim-pot, and output pins. It provides two outputs:
- Analog OUT (AO): Provides a varying voltage representing sound intensity
- Digital OUT (DO): Goes HIGH when sound crosses a set threshold (adjustable via trim-pot)
Pinout and Components
Refer to the image below to identify key parts of the sound sensor:

- Microphone (Condenser Mic): Detects sound vibrations
- Trim-pot: Adjusts sensitivity (threshold level for digital output)
- Comparator (LM393): Compares sound level with set threshold
- Power LED: Indicates module power
- Signal LED: Turns ON when sound is detected (Digital output goes HIGH)
Pinout:
| Pin Label | Function |
|---|---|
| A0 | Analog Output |
| G | Ground (GND) |
| + | VCC (3.3V–5V) |
| D0 | Digital Output |
How the Sound Sensor Works
When sound hits the microphone, it generates a small electrical signal proportional to the sound’s intensity. This signal is processed and compared to the threshold set using the trim-pot. If it exceeds the threshold, the digital output pin goes HIGH and the signal LED turns ON. Meanwhile, the analog output can be used for precise sound level monitoring.
Connecting Sound Sensor with Arduino
Here’s how you can wire the sensor to an Arduino Uno:
| Sensor Pin | Arduino Pin | Mode |
|---|---|---|
| VCC | 5V | Both |
| GND | GND | Both |
| D0 (Digital OUT) | Pin 2 | Digital Output |
| A0 (Analog OUT) | A0 | Analog Output |

Arduino Code for Sound Detection
Using Digital Output:
#define soundSensor 2

void setup() {
  pinMode(soundSensor, INPUT);
  Serial.begin(9600);
}

void loop() {
  int state = digitalRead(soundSensor);
  if (state == HIGH) {
    Serial.println("Sound Detected!");
  }
  delay(100);
}
Using Analog Output:
void setup() {
  Serial.begin(9600);
}

void loop() {
  int analogValue = analogRead(A0);
  Serial.print("Sound Level: ");
  Serial.println(analogValue);
  delay(100);
}
Mini Project: Clap/Sound Activated LED
This simple project toggles an LED ON or OFF with each clap or sharp sound detected by the sensor.
Components Required
- Arduino UNO or Nano
- Sound Sensor Module
- LED
Wiring
Wire the Circuit according to this diagram:

Code
const int soundSensorPin = 2;  // Digital output from sound sensor
const int ledPin = 13;         // Built-in LED pin

bool ledState = false;         // Current state of the LED
bool lastSoundState = LOW;     // Previous sensor state
unsigned long lastDebounceTime = 0;
unsigned long debounceDelay = 200; // milliseconds to ignore rapid changes

void setup() {
  pinMode(soundSensorPin, INPUT);
  pinMode(ledPin, OUTPUT);
  Serial.begin(9600);
}

void loop() {
  bool currentSoundState = digitalRead(soundSensorPin);

  // Detect rising edge: from LOW to HIGH
  if (currentSoundState == HIGH && lastSoundState == LOW) {
    // Simple debounce
    if (millis() - lastDebounceTime > debounceDelay) {
      ledState = !ledState;                 // Toggle LED state
      digitalWrite(ledPin, ledState);       // Apply state to LED
      Serial.println("Clap detected! LED is now " + String(ledState ? "ON" : "OFF"));
      lastDebounceTime = millis();          // Update debounce timer
    }
  }

  lastSoundState = currentSoundState;       // Save current state for next loop
}
Upload the code and clap near the sensor—each clap will change the LED’s state (turn it ON if it was OFF, and vice versa).
Sensitivity Adjustment
Use a small screwdriver to turn the trim-pot on the sound sensor module:
- Clockwise: Increases sensitivity (triggers more easily)
- Counter-clockwise: Decreases sensitivity
Tune it so that normal room noise doesn’t falsely trigger the LED, but a sharp sound (like a clap) does.
Applications
- Sound-activated lighting
- Clap switch automation
- Smart home noise detection
- Voice-based triggers for devices
- Noise level monitoring
If you want to control high-voltage devices like bulbs or fans based on sound, check out how to use a relay module with Arduino for switching.
To combine sound sensing with motion detection for an efficient system, you can also learn how to use a PIR sensor with Arduino for creating motion-activated lighting systems.
Tips and Troubleshooting
- If the LED stays always ON, reduce the sensor sensitivity.
- Ensure firm connections and correct pin mapping.
- Try serial monitoring to observe sensor output for debugging.
- Avoid background noise during testing.
Conclusion
The Sound Sensor with Arduino is a great way to integrate basic sound detection into your projects. With only a few components, you can build interactive systems like a sound-activated LED, light control, or noise alarms. It’s a beginner-friendly module for exploring audio interaction in electronics.
Let us know in the comments how you plan to use it in your next Arduino project!