Introduction
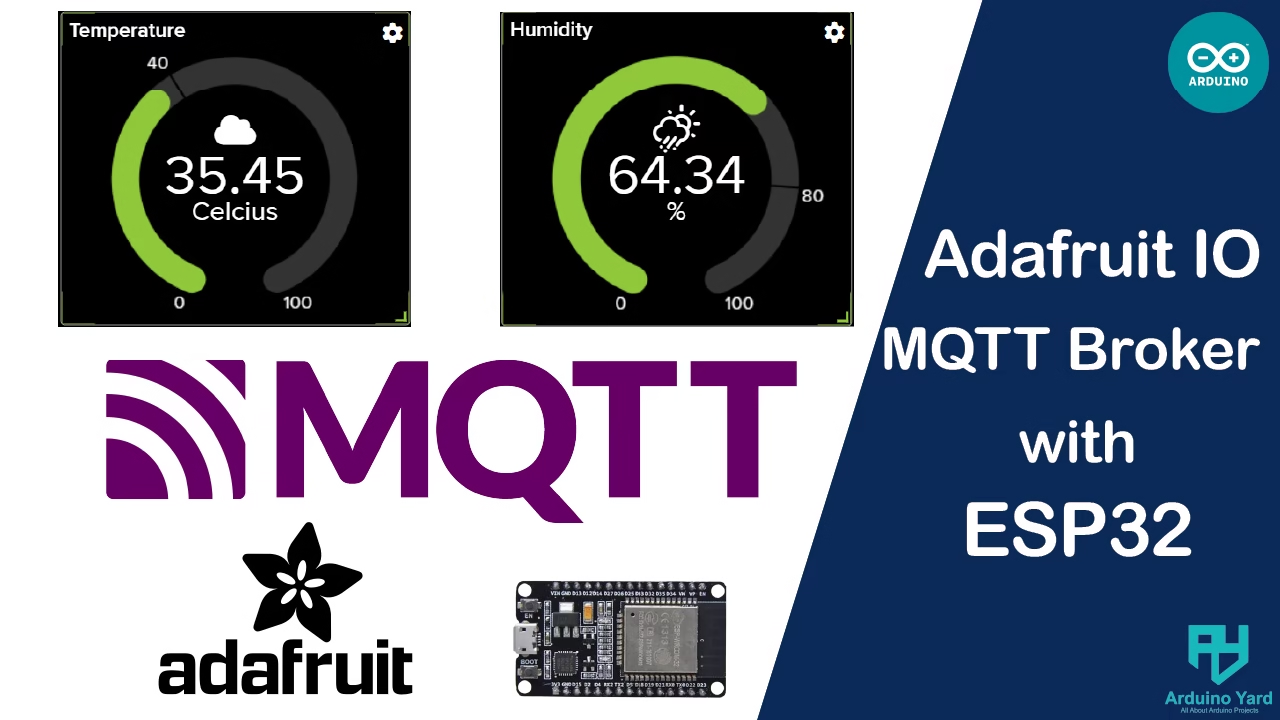
This guide will help you to get started with cloud based MQTT Broker Adafruit IO using ESP32. In the world of IoT (Internet of Things), MQTT (Message Queuing Telemetry Transport) is a widely used lightweight protocol for sending messages between devices. One of the easiest platforms for beginners to explore MQTT is Adafruit IO, a cloud service by Adafruit designed for IoT projects.
What is Adafruit IO?
Adafruit IO is a cloud-based IoT platform that allows you to store, view, and interact with data from your connected devices. It supports multiple protocols, including MQTT and REST API, and has a beginner-friendly interface with dashboards, gauges, charts, and more.
Prerequisites
Before you begin, make sure you have the following:
- ESP32 Development Board
- Adafruit IO account (sign up at io.adafruit.com)
- Internet-connected WiFi network
- Libraries:
Adafruit MQTTDHT Sensor Library
Step 1: Adafruit IO Account and dashbOARD setup
- Visit https://accounts.adafruit.com/users/sign_in and sign up or log in.
- After signing in, click on
Feeds. - Create a new Feeds (
temperature,humidity). - Click on dashboards, create a new dashboard and give it a name of your choice.
- Now open the dashboard and click on its settings.
- Add new blocks on available created feeds (
temperature,humidity). - Note down your Username and AIO Key from the
My Keysection. You’ll need these to connect your ESP32.
Here’s the video with the step-by-step instructions:
Step 2: Connect DHT11 Sensor to ESP32
| DHT11 Pin | ESP32 Pin |
|---|---|
| VCC | VIN |
| GND | GND |
| DATA | 27 |

Step 3: Install Required Libraries in Arduino IDE
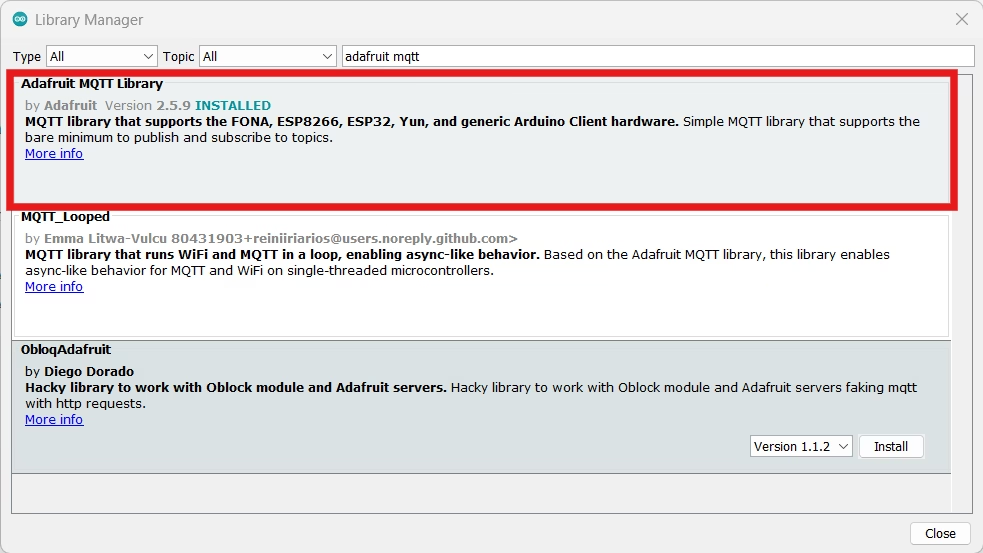
- Go to Sketch > Include Library > Manage Libraries.
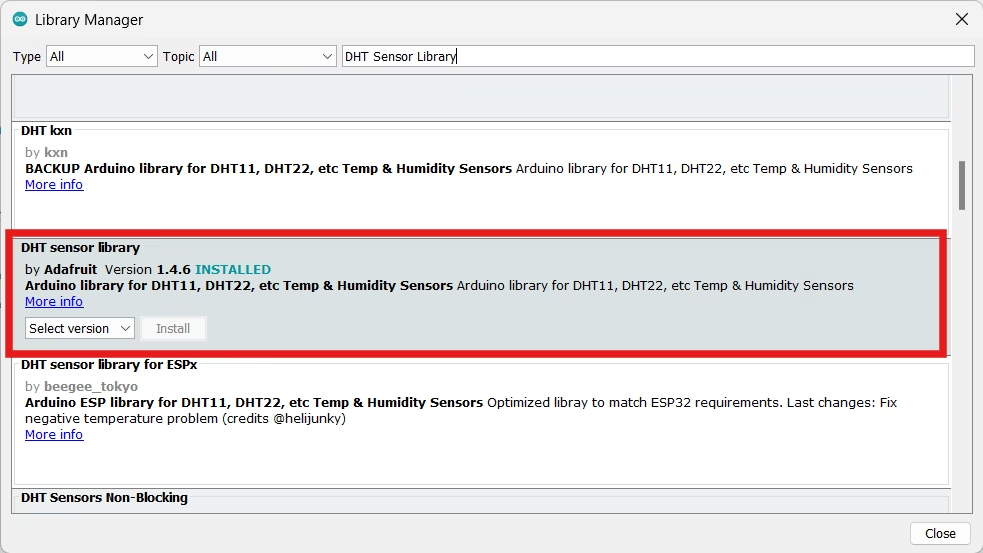
- Search and install:
- Adafruit MQTT Library
- DHT Sensor Library
Step 4: Code to Publish DHT11 Data to Adafruit IO via MQTT
Add your Network SSID, Password, Adafruit AIO Key and Adafruit username in your code before uploading.
//Adafruit IO using ESP32
#include <WiFi.h>
#include "Adafruit_MQTT.h"
#include "Adafruit_MQTT_Client.h"
#include "DHT.h"

// WiFi credentials
#define WLAN_SSID       "YOUR_WIFI_SSID"
#define WLAN_PASS       "YOUR_WIFI_PASSWORD"

// Adafruit IO credentials
#define AIO_SERVER      "io.adafruit.com"
#define AIO_SERVERPORT  1883
#define AIO_USERNAME    "YOUR_ADAFRUIT_USERNAME"
#define AIO_KEY         "YOUR_ADAFRUIT_AIO_KEY"

// DHT setup
#define DHTPIN 27
#define DHTTYPE DHT11
DHT dht(DHTPIN, DHTTYPE);

// WiFi and MQTT setup
WiFiClient client;
Adafruit_MQTT_Client mqtt(&client, AIO_SERVER, AIO_SERVERPORT, AIO_USERNAME, AIO_KEY);

// Feed definitions
Adafruit_MQTT_Publish temperatureFeed = Adafruit_MQTT_Publish(&mqtt, AIO_USERNAME "/feeds/temperature");
Adafruit_MQTT_Publish humidityFeed = Adafruit_MQTT_Publish(&mqtt, AIO_USERNAME "/feeds/humidity");

void setup() {
  Serial.begin(115200);
  delay(10);

  dht.begin();

  // Connect to WiFi
  Serial.println(); Serial.println();
  Serial.print("Connecting to ");
  Serial.println(WLAN_SSID);
  WiFi.begin(WLAN_SSID, WLAN_PASS);
  while (WiFi.status() != WL_CONNECTED) {
    delay(500);
    Serial.print(".");
  }
  Serial.println("WiFi connected");

  // Connect to MQTT
  connectToMQTT();
}

void connectToMQTT() {
  int8_t ret;
  while ((ret = mqtt.connect()) != 0) {
    Serial.print("MQTT connect failed, error: ");
    Serial.println(mqtt.connectErrorString(ret));
    delay(5000);
  }
  Serial.println("MQTT Connected!");
}

void loop() {
  if (!mqtt.connected()) {
    connectToMQTT();
  }
  mqtt.processPackets(10);
  mqtt.ping();

  float temp = dht.readTemperature();
  float hum = dht.readHumidity();

  if (!isnan(temp)) {
    Serial.print("Sending temperature: "); Serial.println(temp);
    temperatureFeed.publish(temp);
  }
  if (!isnan(hum)) {
    Serial.print("Sending humidity: "); Serial.println(hum);
    humidityFeed.publish(hum);
  }

  delay(5000); // 5-second delay
}
//Adafruit IO using ESP32
Select the right board and com port. Then upload the code.
Step 5: Visualize Data on Adafruit IO
After uploading the code to ESP32, visit your Adafruit IO Dashboard. It must be showing real time temperature and humidity data.

Customization Ideas
Once you get the basics working, try enhancing your project:
- Add more sensors like soil moisture or light.
- Control LEDs or relays remotely from Adafruit IO using MQTT subscribe feeds.
- Use
ifttt.comor Adafruit’s own triggers to send emails or notifications. - Create a mobile-friendly dashboard for live sensor tracking.
- Log sensor data over time for analytics.
Conclusion
With Adafruit IO using ESP32, building a cloud based MQTT IoT application becomes quick and beginner friendly. This setup helps you grasp real-time data communication, dashboards, and cloud-based control. Explore more by combining sensors, outputs, and conditional logic to build truly smart applications.
Thank you!!!