Introduction
In this guide, we will walk through the installation of Mosquitto MQTT Broker on Windows and how to configure it for local and remote connections. Mosquitto is an open-source MQTT (Message Queuing Telemetry Transport) broker used for IoT applications. It allows devices to communicate using the lightweight MQTT protocol.
What is MQTT?
Background
MQTT (Message Queuing Telemetry Transport) is a lightweight messaging protocol designed for constrained devices and low-bandwidth, high-latency, or unreliable networks. It was developed by IBM in the late 1990s and later standardized by OASIS (Organization for the Advancement of Structured Information Standards). The protocol follows a publish-subscribe model, making it highly efficient for real-time communication between IoT devices.
How MQTT Works
MQTT operates using three main components:
- Broker (Mosquitto in our case): The central hub that receives, filters, and distributes messages to connected clients.
- Publisher: A device that sends messages to a specific topic.
- Subscriber: A device that listens to specific topics and receives messages when published.
For example, a temperature sensor (publisher) can send data to an MQTT broker, and a monitoring dashboard (subscriber) can receive and display the readings.
Why Use MQTT?
- Lightweight & Efficient: Uses minimal bandwidth, making it ideal for IoT applications.
- Real-Time Communication: Ensures instant data transmission with low latency.
- Scalability: Supports a large number of devices and topics.
- Reliability: Offers QoS (Quality of Service) levels to ensure message delivery.
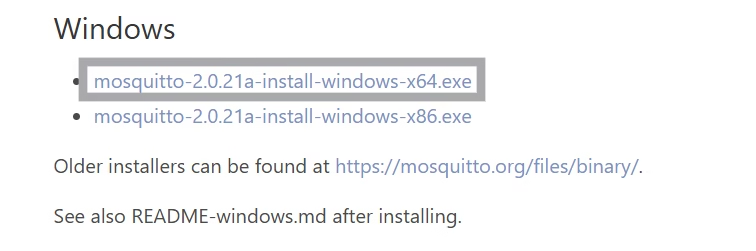
Step 1: Download Mosquitto
- Visit the official Mosquitto download page.
- Under Windows, download the latest .exe installer.
- Once downloaded, double-click the installer to begin the installation.
Step 2: Install Mosquitto MQTT Broker on Windows
- Run the Installer: Follow the on-screen instructions.
- Choose Components:

- Choose Installation Path: The default location is
C:\Program Files\mosquitto.
- Click Install and wait for the installation to complete.

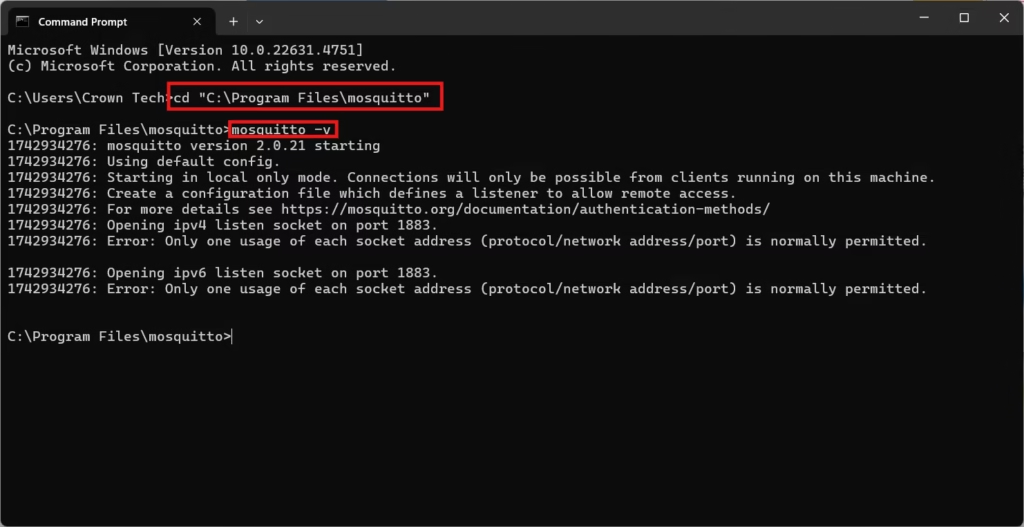
Step 3: Verify Installation
After installation, open a Command Prompt and check if Mosquitto MQTT Broker is installed correctly:
- Go to the mosquitto Directory using command
cd "C:\Program Files\mosquitto" - Then type mosquitto -v
If Mosquitto is installed, you should see output indicating the broker is running.
Step 4: Start Mosquitto Service
- Open a Command Prompt and navigate to the Mosquitto installation directory:
cd "C:\Program Files\mosquitto" - Now write command start mosquitto, It will start the mosquitto service.

- Now we can use Mosquitto MQTT Broker.
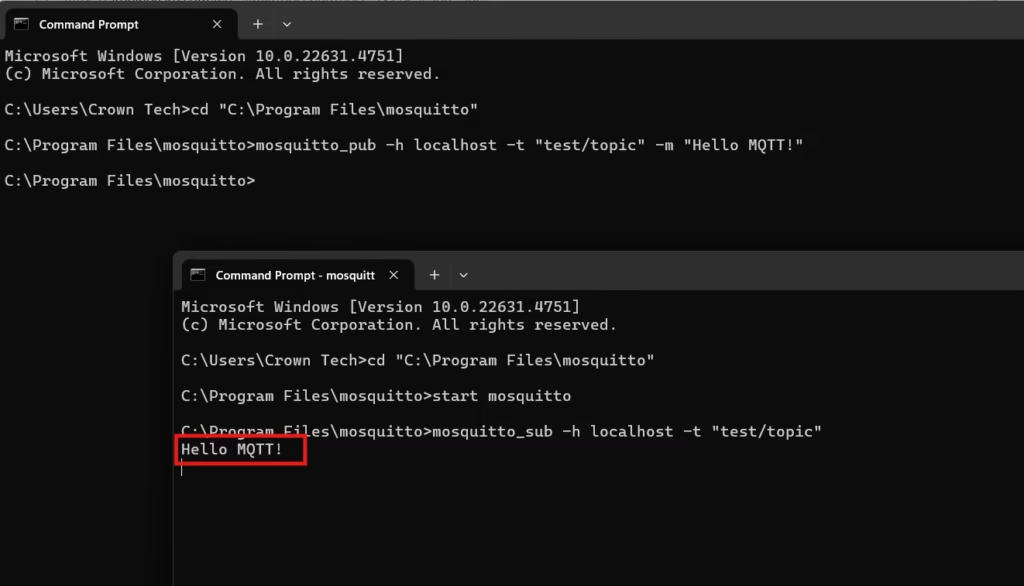
Step 5: Test MQTT Communication
Subscribe to the Topic
Open a new Command Prompt window and run:
mosquitto_sub -h localhost -t "test/topic"Publish a Message
Open another Command Prompt window and run:
mosquitto_pub -h localhost -t "test/topic" -m "Hello MQTT!"If Mosquitto is working correctly, you should see “Hello MQTT!” in the subscriber window.
Step 6: Configure Mosquitto MQTT Broker for Remote Access
By default, Mosquitto only allows local connections. To enable remote access:
Update configuration file:
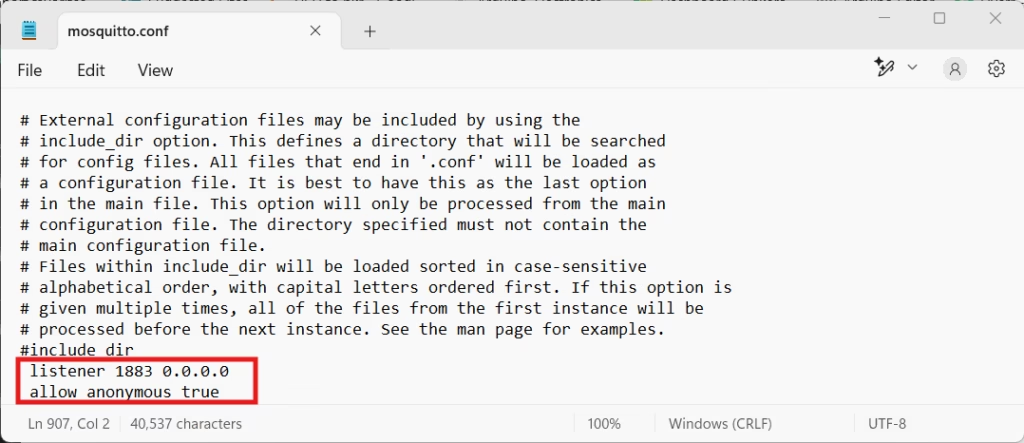
- Open the Mosquitto configuration file:
"C:\Program Files\mosquitto\mosquitto.conf"
- Add the following lines at the end:
listener 1883 0.0.0.0allow_anonymous true
- Save the file.
Allow Mosquitto MQTT Broker through Windows Firewall:
- Open Windows Defender Firewall.
- Click on Advanced settings.
- Go to Inbound Rules > New Rule.
- Select Port, click Next.
- Choose TCP, enter 1883 in the port field, and click Next.
- Allow the connection, click Next, select all networks, and click Next.
- Name the rule “Mosquitto MQTT” and click Finish.
Test remote connection using:
- mosquitto_sub -h YOUR_PC_IP -t “test/topic”
- mosquitto_pub -h YOUR_PC_IP -t “test/topic” -m “MQTT over Network!”


Find Your PC’s IP Address:
Open command window enter command ipconfig and Enter:

Conclusion
You have successfully installed and configured Mosquitto MQTT Broker on Windows. Now, you can use it for IoT applications, home automation, and more. Next, try integrating Mosquitto with an ESP32, Raspberry Pi, or Python to create a complete IoT system!
Thank You!!!
If you are interested in getting started with HTTP Web Server using ESP32, Must visit:
Getting Started With The ESP32 Web Server: Hello World! – ArduinoYard